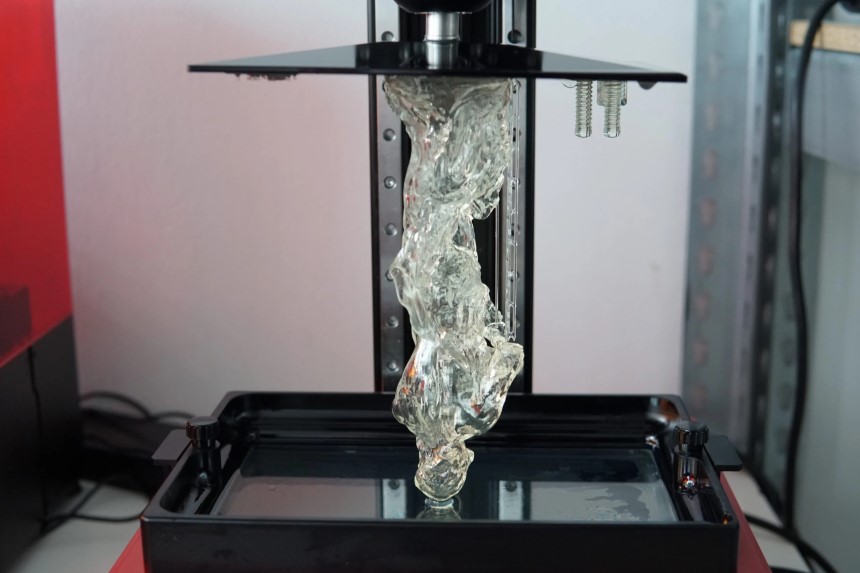
There are many instances where you might want to make a clear 3D print. For example, you might want to show off the interior workings of a machine. At other times, you might want an opaque water bottle. Or you might want to create a light fitting. Regardless, you’ll often end up facing the same problem.
The resin will be clear when it comes off the printer. But, over time, it will start to turn yellow or develop a frosted finish. So, what is causing this issue, and what should you do if you want clear resin printing?
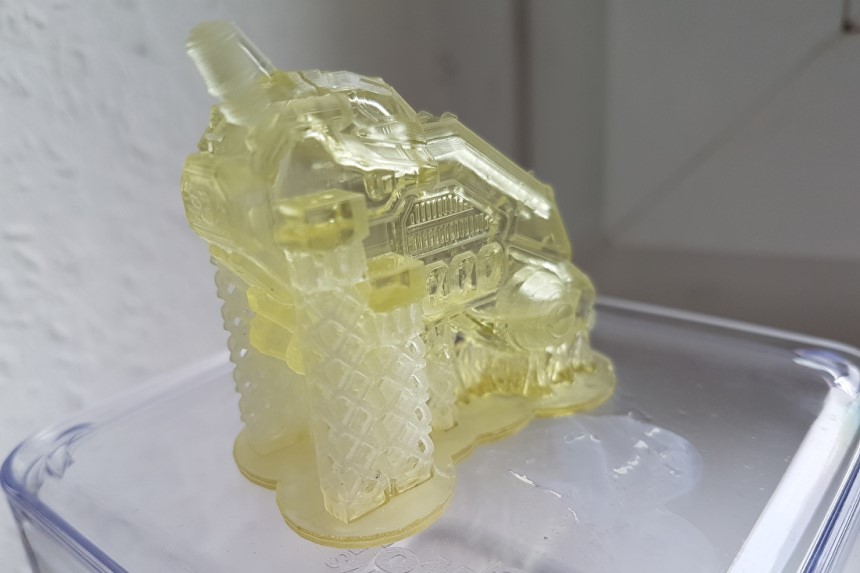 Nothing is more annoying than seeing a part come out of the printer clear, only for it to end up turning yellow a few days later. There are a few reasons why this might be happening.
First, it might be linked to the amount of sunlight the print receives. More specifically, the level of UV radiation it is exposed to. Because of this, the more time it spends in the sun, the worse it will become. Often, the yellow will start fairly mild. But it will quickly become darker and spread over the entire model.
Sometimes, the issue will lie in the type of resin being used. Usually, you’ll need to turn to a specialized resin when you are seeking to make clear parts. Otherwise, you will be left with something that will quickly become discolored.
It will also come down to the way that the 3D print has been prepared. The post-production process will reduce the impact that sunlight will have on the print. Plus, dipping the resin in an alcoholic solution to clean it will cause it to become cloudy. Further processing will be required to get it back to being transparent. When done right, it can ensure that your print will stay clear for a long time.
All 3D parts will require some level of post-production to make sure that they look their best. But clear resin will need a few unique techniques. Let’s look at some of the things you should be doing. This article has a good overview of these methods and how they can be used.
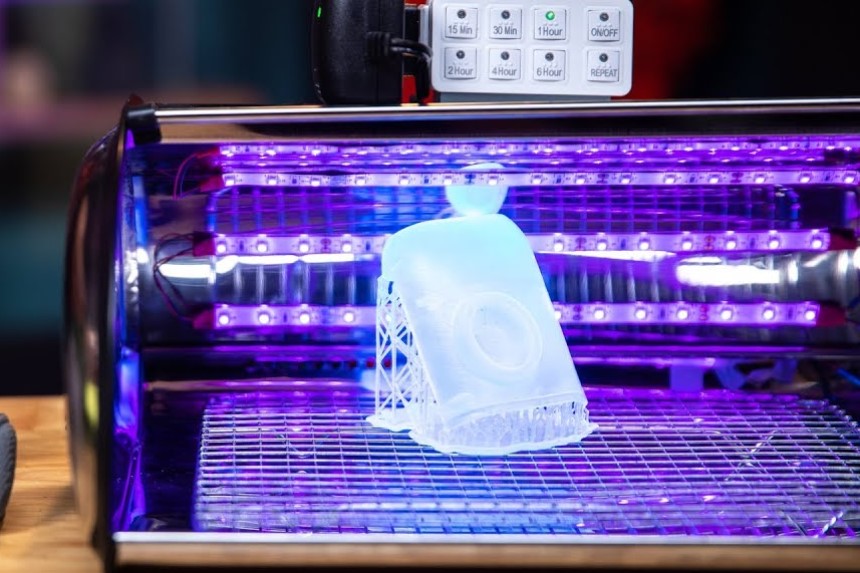 The first thing that you should do is cure your parts. This curing process will allow them to harden and improve durability. To cure your prints, you’ll need to expose them to UV radiation.
Unlike sunlight, though, you can control the type of radiation they are exposed to. This helps prevent yellowing. The higher temperatures will help make the print harder. When done right, you should be able to see all the fine details that make up your print.
Finding the right exposure time prints will be a little tricky. Often, you’ll need to use some trial and error. Though you should look at the back of the resin bottle. This will give you a recommended starting point. This video talks you through this process.
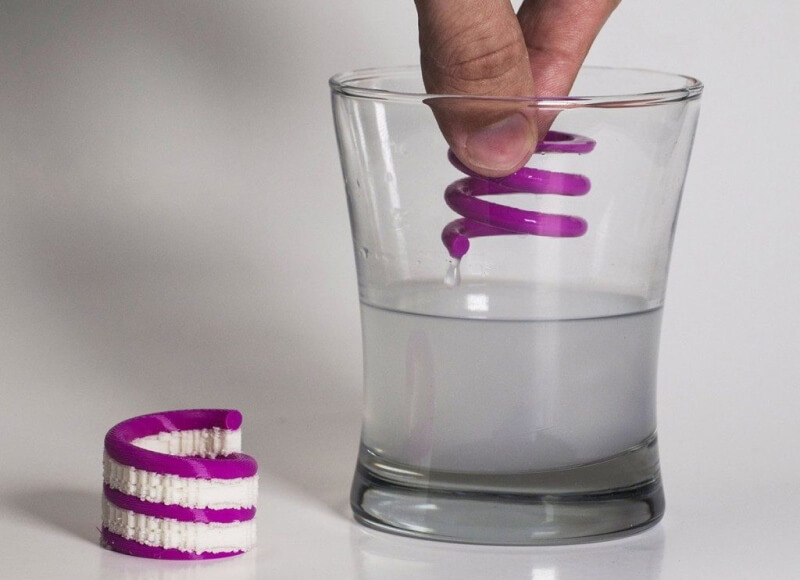
Once you take the print out of the machine, you’ll need to wash it with alcohol. IPA or Ethanol is the most popular option. Then, leave it to dry. You might notice that the finish has become a little cloudy once it has finished drying. The good news is that the next part of this process will fix this issue.
 If your print has flat surfaces, this is the best option for you. Before you try adding a resin coat, it’s best to wait until the model is completely dry. Using some fans can help you with this aspect.
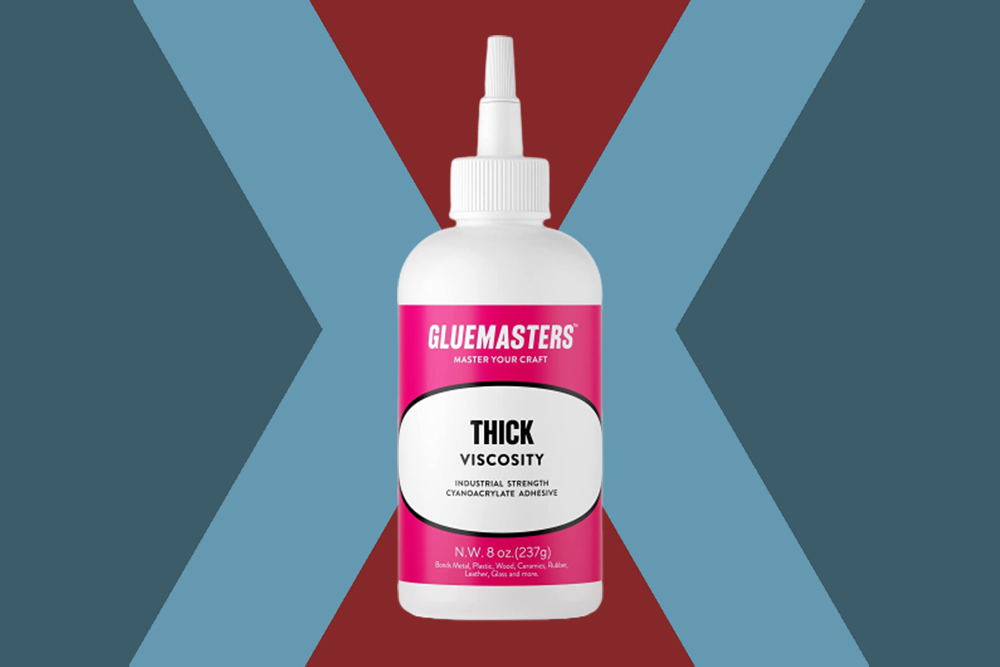
Next, you’ll need to lower the print into a clear resin, so it gets a thin resin coating. Depending on the complexity of the model, you might need to apply this resin coating to multiple parts of the model at a time. It can be faster to spray the resin coating on. You can use a paper towel to dab off the excess resin.
You can then post-cure it. Ideally, you will be able to nitrogen cure the print. This will remove oxygen from the chamber, stopping the model from becoming sticky.
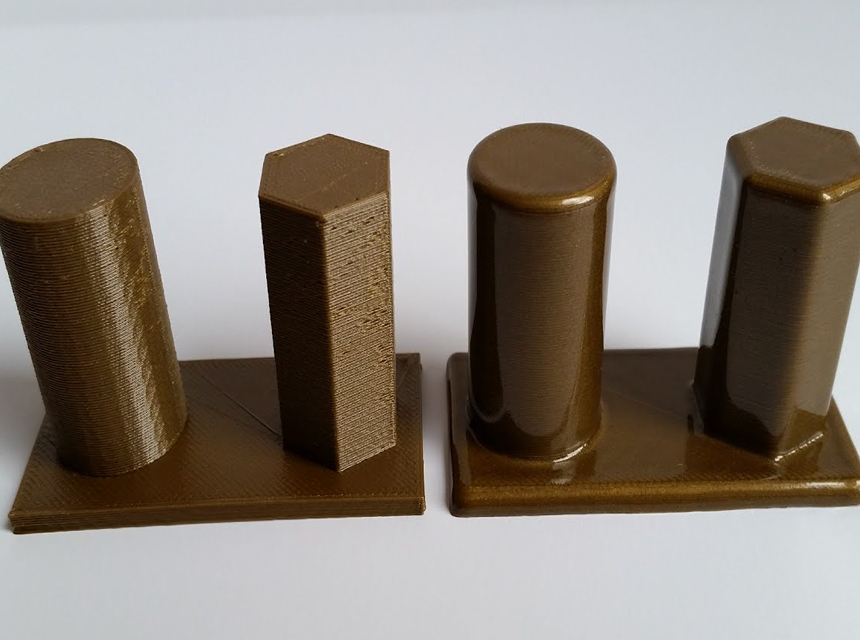
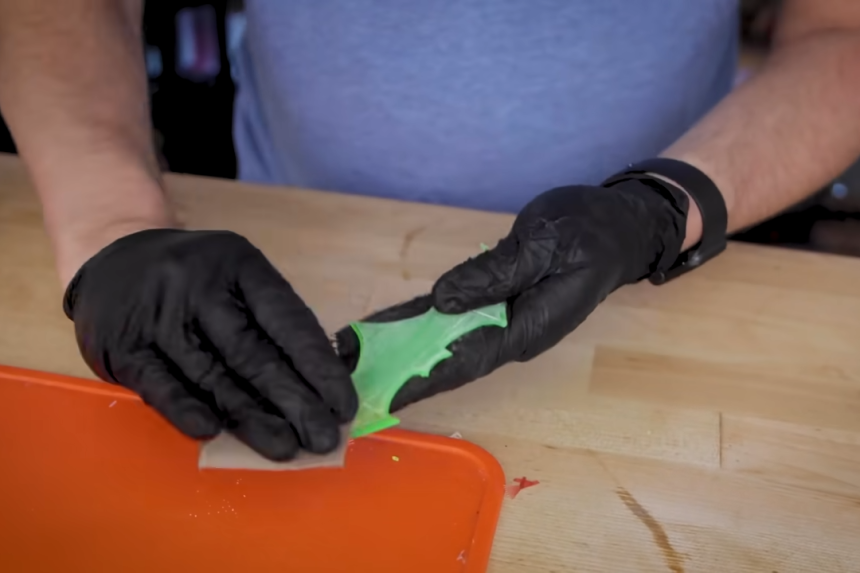 Sometimes, there will be small inconsistencies within the print that prevent it from becoming fully transparent. If you want your print to be smooth to the touch, you’ll need to use 3,000-grain sandpaper. Though you can go up to 12,000-grain sandpaper. By the time you reach such a fine grain, the surface should be shiny.
It’s best to start with a rougher grain and work your way up. Depending on the complexity of the print, this can be a time-consuming process. Holding the print up to the light will allow you to see which imperfections remain.
When you are happy with the way it’s looking, you can add some polish to a microfiber cloth and gently wipe it down. Often, you’ll need to do this by hand. Though it can help to use a tool like a polishing wheel. You can finish by using an acrylic spray and curing the print.
 Often, yellowing issues will stem from the type of resin that is being used. This is why it’s recommended that you choose a high-quality resin, like Clear Impact. There are a few things that set this resin apart.
First, it allows you to create prints that are transparent and retain some flexibility. As a result, they will be able to exposed to higher impact forces. This can come in very useful when building mechanical components. Even better, it can cope with a wide range of weather conditions and has a low water absorption rate. Plus, it will resist yellowing, so it stays clearer for longer.
A clear resin print can be spectacular. The good news is that it doesn’t have to be tricky. All you need to do is pair the right resin with the right post-print processing. So, use these tips to master the art of clear resin printing.