You want smooth 3D prints, right? Little wonder why you chose to use ABS. Now, you would agree when we say that ABS gives your print a shiny and smooth look. But what if we told you it could get even better? Yes, your 3D prints can be shinier and smoother.
In recent times, PLA Trusted Source Sources and origins - Polymers - OCR - GCSE Design and Technology Revision - OCR - BBC Bitesize Materials are chosen based on factors including working properties, aesthetics, environmental impact, function, manufacturing processes etc. It is important to choose a material fit for purpose. www.bbc.co.uk and ABS have been the go-to options for 3D prints due to their ability to resist high temperatures (-20°c and 80°c) and impact. Without a doubt, ABS is an inexpensive material that provides you with high-quality prints. However, if you want top-notch and flawless quality, you should smoothen every 3D print you create with ABS material.
Thankfully, it isn’t a difficult process. What’s more, you don’t need the assistance of any experts or professionals. Yes, you can do it yourself. But how do you go about it? Not to worry, in this article, we will let you in on all the details you need for a successful ABS smoothing. Let’s get started!
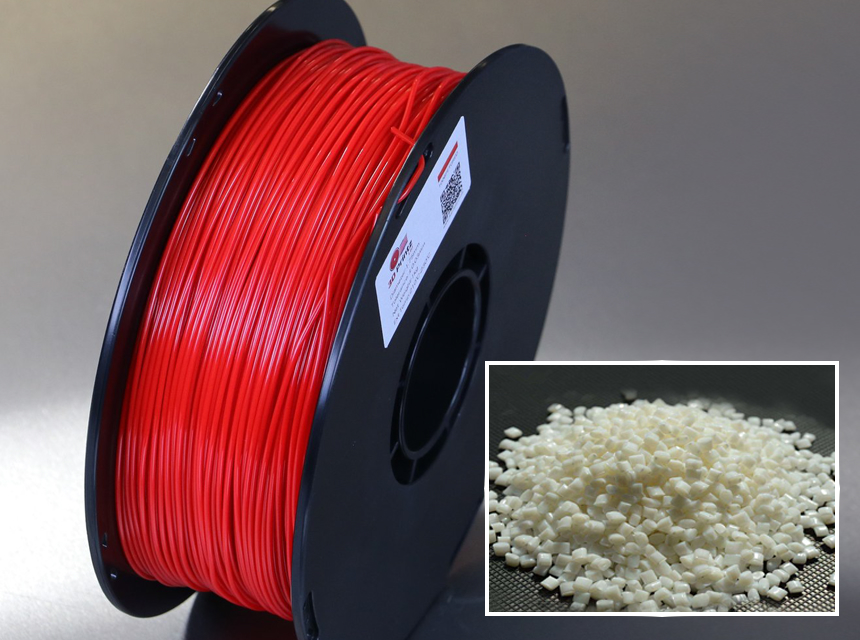
Before we show you these different ABS smoothing methods, it’s only right that we talk about ABS for a little bit. And there is no better way to do this than explaining what ABS is. You already know ABS. However, what you possibly don’t know is that ABS is the initials for “Acrylonitrile Butadiene Styrene.” It is an industrial thermoplastic polymer Trusted Source Polymers - Material categories and properties - OCR - GCSE Design and Technology Revision - OCR - BBC Bitesize All materials have physical and working properties. Physical properties are the traits a material has before it is used, whereas working properties are how the material behaves when it is manipulated. www.bbc.co.uk and is one of the most used materials for 3D printing — second only to PLA.
According to expert reviews, the ideal 3D printer should be able to print various filaments. And thanks to the presence of the direct-drive extruder and silent motor design, the TENLOG 3D printer is the best out there. Additionally, based on customer reviews, the ideal ABS filaments for any 3D printer must extrude easily and smoothly. Gizmo Dorks is a perfect fit, as it comes with light and durable filaments.
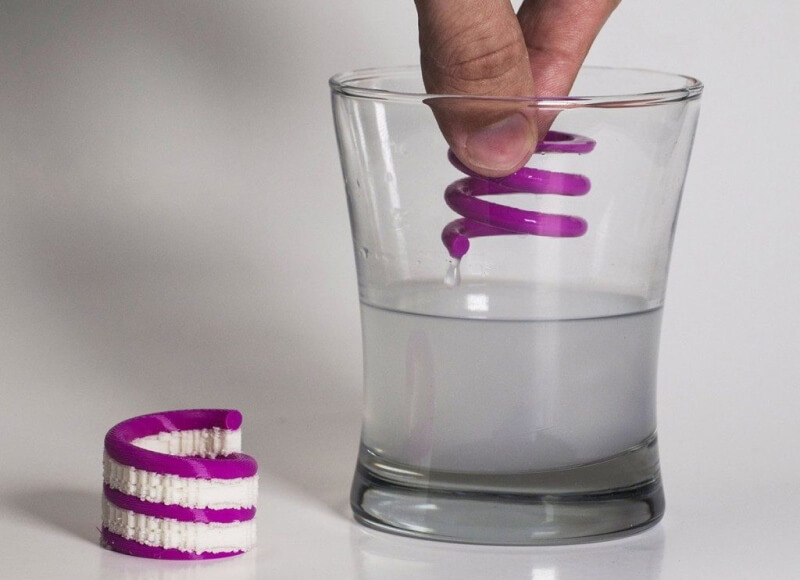
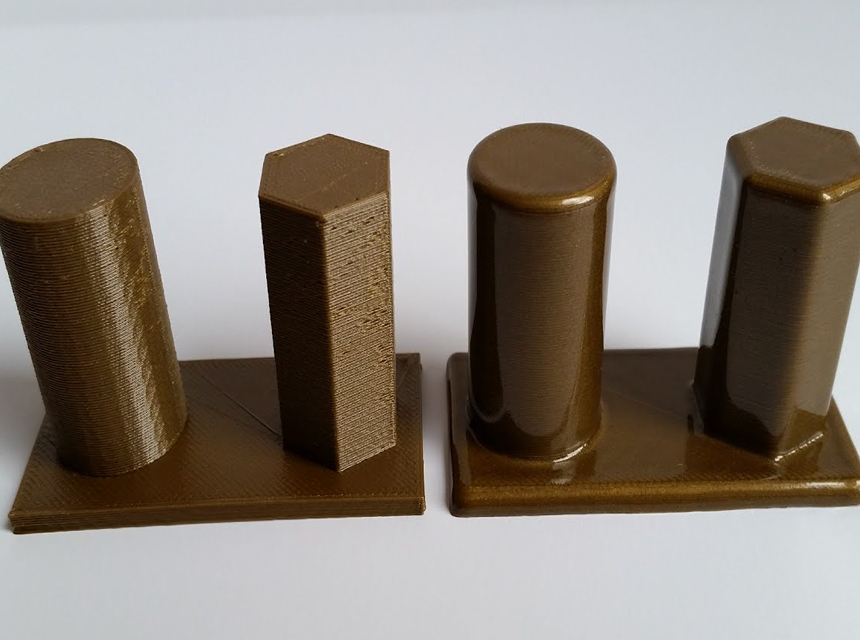
It is a well-known fact that ABS gives your 3D prints a satisfactory appearance. But why should you settle for less when you get even more out of prints made of ABS? Here’s the thing, the process of smoothing helps you to completely get rid of any obvious layer line, giving your prints a smooth and tidy finish. As a matter of fact, after ABS smoothing, your 3D print will look more like an injection-molded object than one from a 3D printer. Does this sound like the kind of print you crave? If yes, in little or no time, you will satisfy this craving. Do you know why? Because we are about to show you the different methods you can use to get this result.
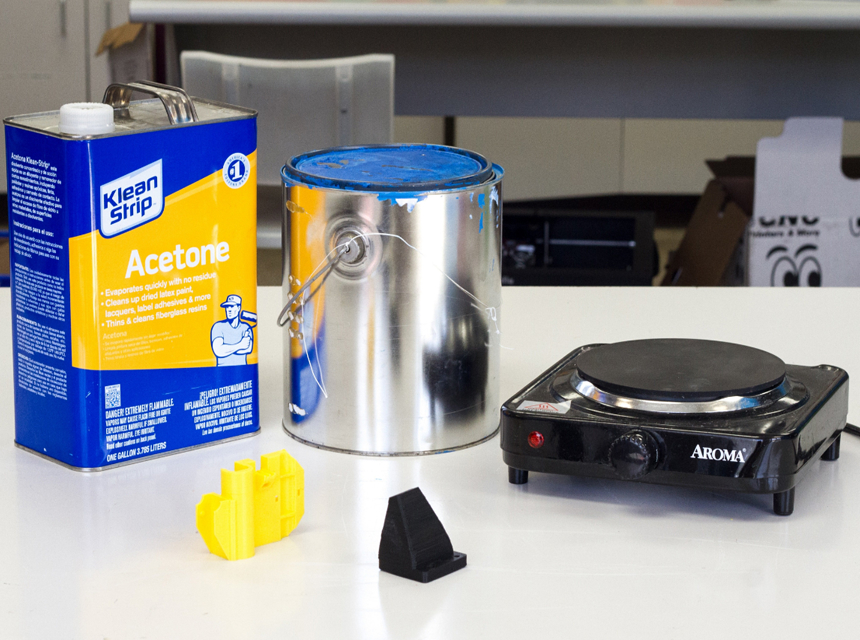
The best way to smoothing ABS is by using acetone. This is because acetone easily dissolves ABS. Therefore, if you apply acetone the right way, only the corners of each print layer will dissolve, resulting in a smooth and shiny surface. But what is acetone, and why is it perfect for smoothing ABS?
Acetone is a colorless solvent that is mostly used for cleaning purposes. Nail polish remover is an excellent example of an acetone product and how it works.
Indeed, there are different kinds of printers, including dual extruder 3D printers, corexy 3D printers, printers with filaments sticking to nozzles, 3D printers for miniatures, and a few others. Regardless of the printer you use, here are 3 ways you can use acetone to smoothen your ABS 3D prints:
Now, let’s show you how each method works and which of them is best suited for ABS smoothing.
This is one of the three ways to use acetone and inarguably the simplest way to apply acetone to your ABS 3D print. In this case, all you need is a brush and acetone.
However, the downside to this method is that you get to use up most of the acetone without getting the optimum result — a flawlessly smooth and shiny print surface. Additionally, there is a high possibility that white spots will appear and remain on the surface of your prints.
Based on expert reviews, you can use suitable print coats to conceal the white spots. With regards to this, XTC-3D print coating fits the bill, as it has an Epoxy coating that gives 3D prints a smooth and high gloss finish.
Here’s another option you can consider, as it is better than Method 1. It involves the immersion of your 3D prints into an Acetone bath.
It is worth noting that this method is not suitable for beginners. This is because you may encounter some difficulties when dealing with the object.
This method demands that you touch the print after dipping it into the bath, increasing the possibility of damages to the surface. Furthermore, the solvent can penetrate the print, leading to more damage.
Finally, estimating the ideal period for immersion can be extremely challenging. For instance, if you keep the print in the bath for a long time, it will be tainted by dissolved plastic. Hence, you have to find the right balance when immersing the print into the Acetone bath. On the other hand, you can also decide to dip the print quickly into acetone. But the result can be inconsistent and quite messy. This is why you need to strike a balance.
In addition, research has shown that any object immersed in the Acetone bath for smoothing often ends up with a twisted structure. For this reason, we do not advise beginners to use this method, as it requires a great deal of attention and carefulness.
Remember we promised to point out the best of the 3 options? Here it is. When it comes to smoothing ABS prints, this method stands head and shoulders above the other available options.
Indeed, exposing your ABS 3D prints to the solvents’ fumes is the best way to smoothen them. This is why we recommend that you use the steam bath method. Isn’t it just another bath with more disadvantages than advantages? What differentiates this steam bath from an acetone bath? If you are looking for answers to these questions, don’t you worry, we are about to clear the air.
Steam bath has all the advantages an acetone bath offers. But the good news is, it doesn’t have the disadvantages you will likely experience when using an acetone bath. The process of smoothing with a steam bath is called vapor smoothing. And it is easy to carry out — it isn’t technical or complicated.
Once you use this method, not only will you be surprised at its simplicity, but also you will be in awe of the smooth and shiny finish it gives to your ABS 3D prints. Nonetheless, you still need to pay attention to specific details, such as controlling the vapors and ensuring it reaches every exposed part of the print equally. We will show how this method works in a bit. Read on!
In simple words, smoothing makes the surface of your ABS 3D print melt, giving room for a smoother surface. This process requires experience and sensitivity. You will get better with each attempt at smoothing — and your ABS 3D prints will become more spectacular with time. But it won’t just happen, and you have to put in the work and time required and remain patient all through the process.
If you can pull this off, you will appreciate the beauty of the result you will achieve ultimately. Now that we know how smoothing works, let’s show you all you need to know about the acetone steam bath.
As we mentioned earlier, vapor smoothing in a steam bath is the best way to smoothen your ABS 3D print. The steam bath is easy to use. And in this guide, we will give you a detailed breakdown of how you can go about it.
Below we have summarized all the tools you will need to smoothen your ABS 3D prints. They include:
Once you have gotten these tools, you are good to go. But before you begin the smoothing, you need to pay attention to your safety. As they say, “Safety first.” With regards to this, we have listed key safety tips you should follow to prevent any accidents or injuries.
If you want to stay safe during the process of ABS smoothing, here’s what you should do:
Now, let’s discuss the process involved in ABS smoothing using a steam bath.
The vapor smoothing process requires that you follow a laid-out plan that includes 4 important steps. None of these steps must be neglected if you want the ultimate result. First, you have to put into consideration how you want to orient the ABS 3D print.
This will help you get a finish that meets the requirements. This is why it’s advisable that you place the 3D prints on their base. You can also decide to place them on the side that doesn’t require a smooth surface finish.
Secondly, get an aluminum foil sheet and use it to create a base for your ABS 3D prints to rest on. You can do this by folding the aluminum foil three to four times. Alternatively, any surface made of metal or glass can also serve as a good base.
Next, dip the tissues into acetone and place them on the walls of the metal or glass container you are using. If you want to keep the tissues in place without worrying about them falling off, you should use magnets. Finally, place the metal or glass container upside down over your ABS 3D prints. Make sure the tissues don’t come in contact with the prints.
This part doesn’t require any action or effort. That’s why we call it “the relaxed step.” Here, all you have to do is stay patient and observant. So, get a timer and set it to about 15 minutes and wait. With every passing minute, you will notice that the ABS 3D print begins to shine brighter. Once the timer hits 15 minutes, you can bring the metal or glass container down and allow the finished part to rest.
If this is your first time, it is best you stick to the 15 minutes mark. This helps to prevent you from going overboard with the vapor bath.
Over time, due to consistent usage, you will begin to understand how the steam bath works. In other words, you will be able to easily determine the right time frame for your 3D prints exposure to steam. After a while, you would likely have tried different time frames and discovered the best fit for your ABS 3D prints.
Now, you can remove the container. But ensure you don’t touch the ABS 3D print, as it can lead to the permanent destruction of your prints’ surface. Immediately after you remove the print from the steam bath, it remains deformed and only becomes solidified after a specific period. Hence, if you make contact with it during its deformed state, you will ruin the surface with your fingerprints.
While the ABS 3D print is still in its deformed state, you should keep it in a confined room for no less than one hour. During this period, all the acetone would evaporate from the surface of your print.
Note that the longer the time your print is bathed, the longer the time required for all the acetone to evaporate. For instance, if your print is placed in the steam bath for 15 minutes, you need to allow it to rest for one hour so that all the acetone is evaporated. However, if it stays longer than 15 minutes, you need to allow the print to rest for more than one hour.
That being said, this is the most exciting stage because you get to witness the transformation of your 3D prints, as it changes from a satisfactory surface to a clean and shiny one. You might be tempted to touch it, but don’t. Make sure the work of the acetone is finished before you make any attempt to touch it, so you don’t throw a spanner in the works.
At long last, you now have what you desire — an Acetone-smoothed ABS 3D print that is smooth and shiny. And the result gets even better every time you use this method because, over time, you will understand the steam bath better. No doubt, after seeing the finish, you will agree that it was worth the wait.
If you want to achieve the best results when you use vapor smoothing for your ABS 3D prints, you need to apply these effective hacks we are about to share with you. Check it out!
Here’s the thing, not all containers are suitable for the steam bath. In this case, your surest bet is a glass container. However, the problem is, it can be quite challenging to find a glass bell that has the necessary dimensions. Although you could consider an alternative like the metal box, you will still encounter the same challenge.
Nonetheless, do not settle for just any container — without the right dimensions. Ensure you find the ideal option. No doubt, it may take a while to find it, but it will be worth it in the end.
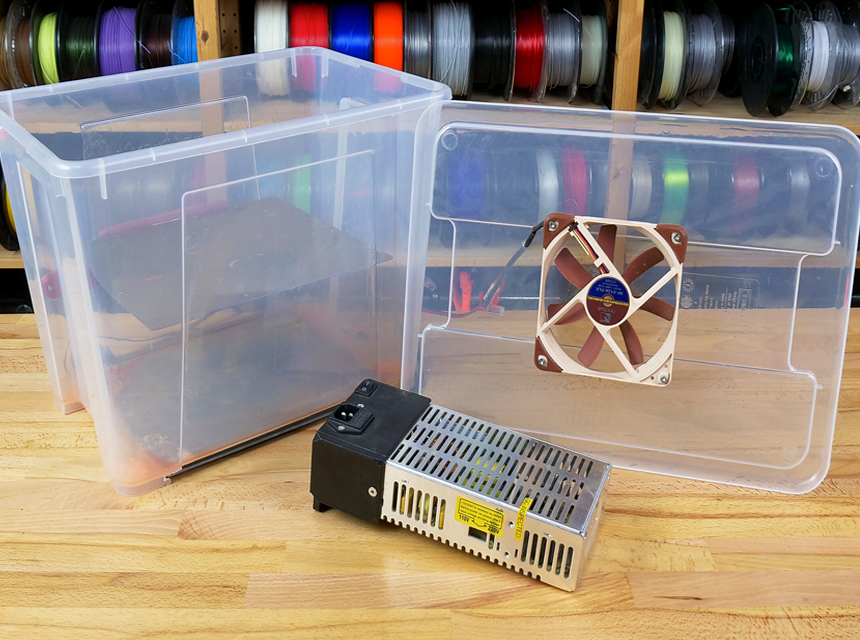
Including a fan in your container is a big boost. It isn’t a must-have. Nonetheless, it is a great addition to your container, as it helps in effective air circulation. So, if you would love to add a fan to your container, you should attach it underneath the lid. This will help in directing the flow of air towards the print.
This is another optional but helpful feature. Heating pads speed up the whole process by improving the saturation of air within the container. However, if you don’t have heating pads, you can also simply place the container on a “warm” surface.
In vapor smoothing, the base of the steam bath is highly important. Without a doubt, placing a metal plate on cardboard is the best base for any steam bath.
At this point, you now know that you can get even more from your ABS 3D print when you smoothen it with acetone. The thing is, smoothing your print will give it a much more impressive finish than you envisioned. This is because most Acetone-smoothed prints look more like injection-molded objects, which is fascinating.
As we have explained in this article, acetone is ideal for ABS smoothing, and there are 3 ways to use it. However, the best method is vapor smoothing with a steam bath. We have also shown you how to use this method to achieve optimum results.
Now, it is up to you to practice this method till you perfect it and begin to produce flawless ABS 3D prints. That being said, ensure you adhere strictly to the safety tips we have shared with you. If you do, you can rest assured that you will stay safe throughout the process of ABS smoothing. Cheers to a smooth and shiny ABS 3D print!