Learning how to change filaments on an Ender 3 may seem like child’s play, but it’s not. There are a lot of things that could go wrong during this otherwise routine procedure, including clogging the nozzle, damaging the hot end, and poor print quality after the change.
As you perform more projects and pick up some experience with your Creality Ender 3, you will learn how to predict and avoid the most common problems experienced when changing the filament on a 3D printer. Some veterans can even weld the two filaments together or change filament mid-print with no adverse effects.
We don’t want to assume that you already know how to operate your Ender 3, a machine beloved for its supreme quality and print control features. Instead, we will make this a comprehensive guide covering the preparation phase, removing the old filament, loading the new filament, and some useful tips no one else will tell you about how to do this like an expert.
If you want to learn more about the assembly and operation of your Ender 3 3D printer, this PDF user guide Trusted Source Ender 5 printer user guide Do not use the printer any way other than described herein in order to avoid personal injury or property damage. www.me.sc.edu will help you out.
 Preparation
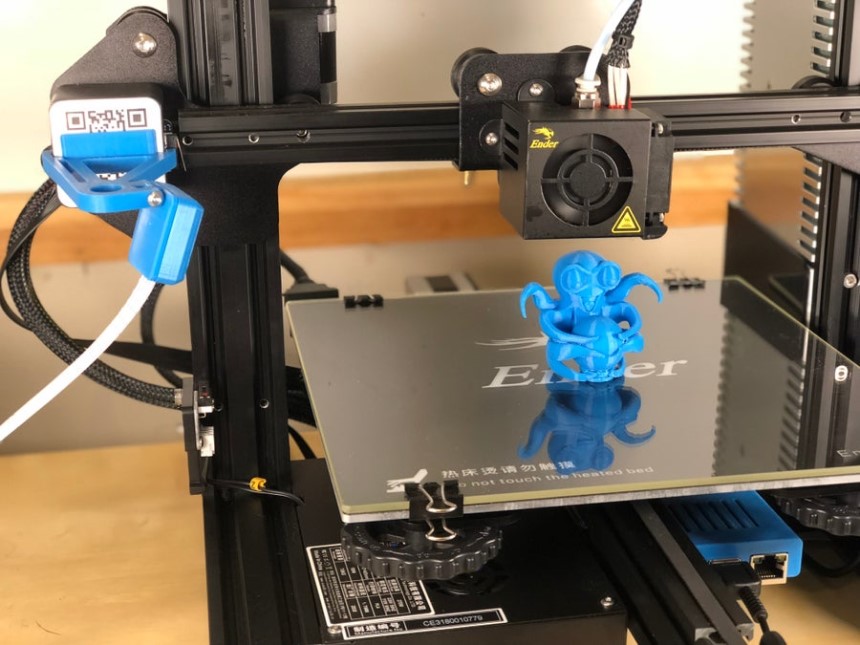
The first step is to turn the printer on and preheat it. The extruder needs to be hot for the filament already in to melt so that you can pull it out easily. To do this, open the menu by clicking on the control button and select Prepare > Preheat PLA or Preheat ABS. Your choice will depend on the existing filament in the extruder.
Next, click again on the control knob, then select Control > Temperature > Nozzle. Set the nozzle temperature to 200oC – 2200C for PLA or 2300C-2500C for ABS. Here is a guide on the recommended extrusion temperature for the other filament types.
Note that there is a specific procedure for removing filament from your 3D printer called cold-pulling. If that’s the technique you’re aiming for, you should set your extruder temperature to 900C for PLA and 1300C.
 There are several methods you can follow to remove the filament currently loaded on your Ender 3. They are all pretty straightforward, but we will go through all of them anyway. The most recommended method is manual extrusion.
This method has the big advantage of ensuring that all the remaining filament is pulled out of the nozzle, minimizing the chances of a clog. It is also gentle on the hot-end mechanism. However, you can only use it if the filament you are removing is almost finished. If you still have a lot of filament remaining in your spool, you can cut it at the point where it enters the extruder and pull the rest.
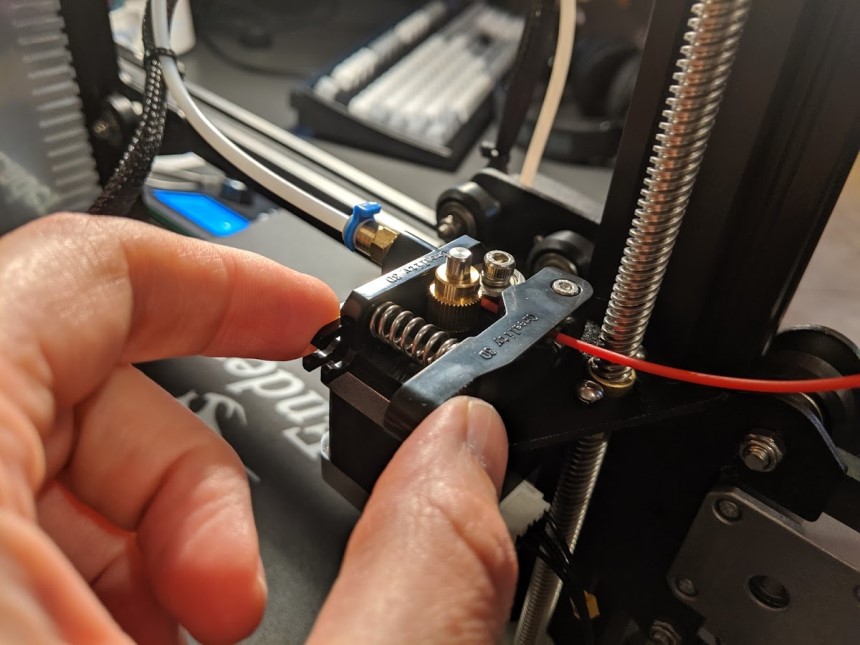
The second method involves pulling the filament backward from the extruder feeding mechanism.
This method is easier and more commonly practiced. It is especially useful when you simply want to change the filaments to a different type or color and you still have plenty of filament left in the existing spool.
However, this method is susceptible to clogs because some filament might remain in the nozzle. This is why it might be worth doing a bit of purging before loading a new filament to prevent problems with your printing.
The third method is cold pulling. As the name suggests, it involves pulling the filament out of the extruder while it is still at a lower temperature. This is typically 900C for PLA and 1300C for ABS, at which temperature the filament is still firm but malleable. By performing a firm, quick pull, you can physically remove any remaining material and clogs out of the nozzle.
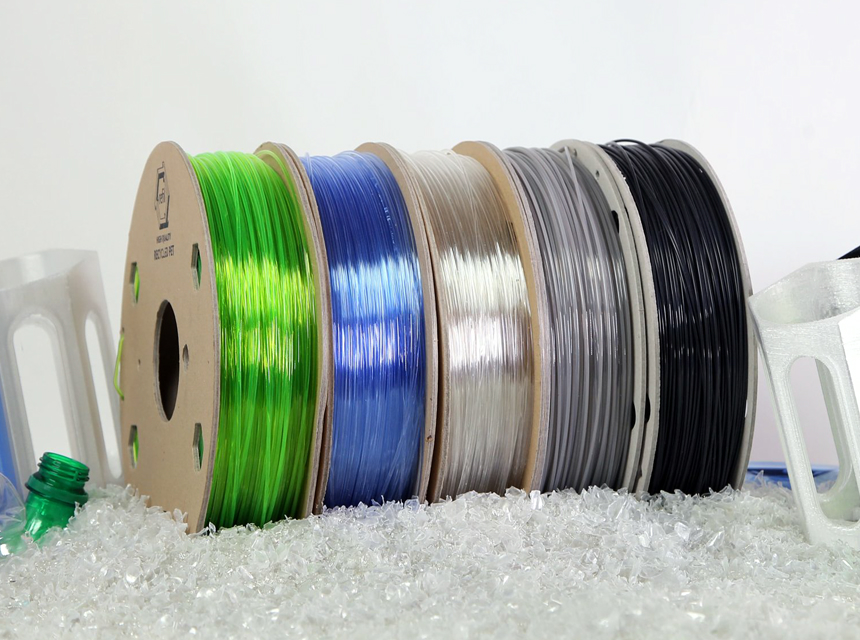
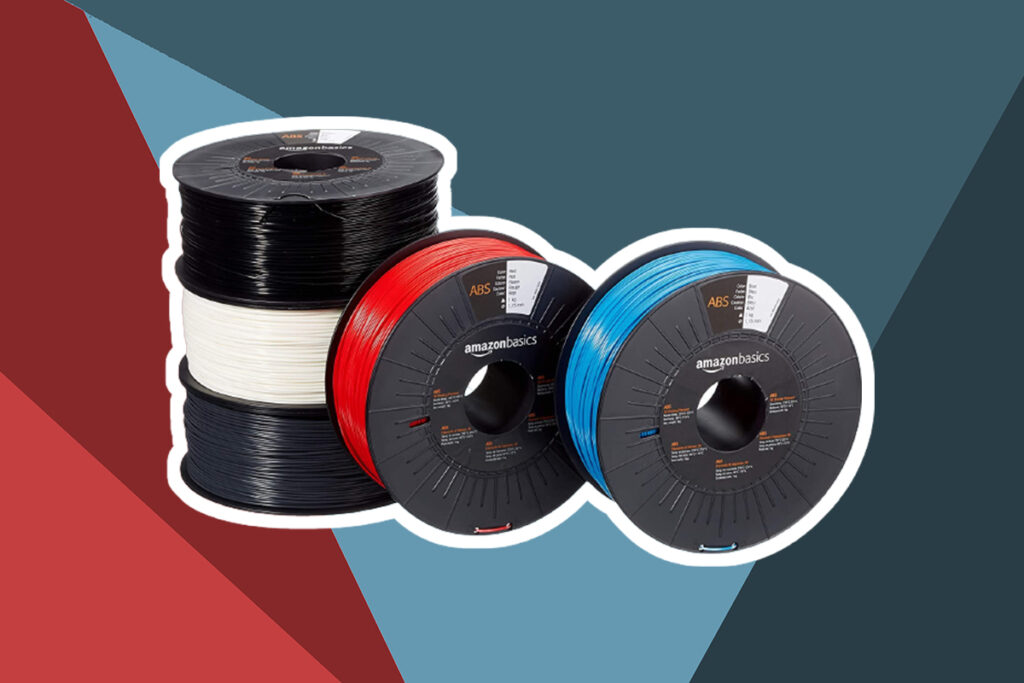
 The second step is to replace the filament in your 3D printer. This step involves feeding the new filament through the filament slot on the extruder until it reaches the nozzle. If you are using PLA filament, the TECBEARS 1.75mm filament is amazing. It is a fan favorite because of its dimensional accuracy, great adhesion, and consistent color density.
Some people do use the automatic feeding mechanism to load the new filament, but sometimes it is too slow to be effective.
To load the new filament manually into your Ender 3D printer, here’s what to do:
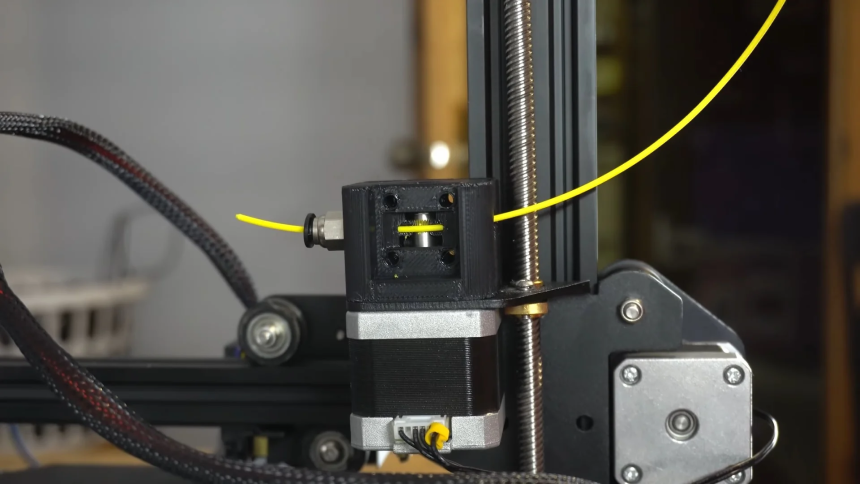
Alternatively, you can use the gear feed on your Ender 3. Insert the filament a little way into the extruder, then release the lever. Use the extruder gear to bring in the filament. This method ensures perfect alignment of the filament into the second hole.
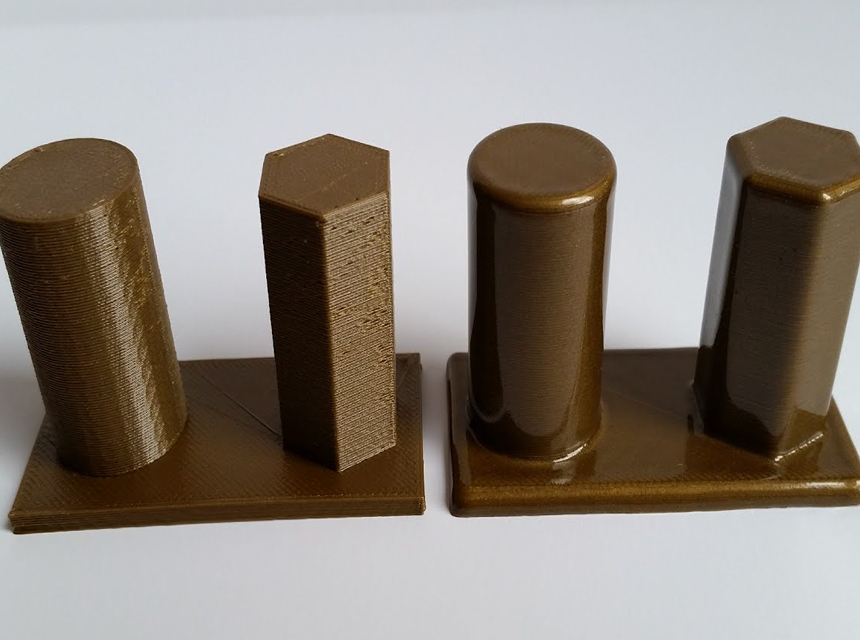
Removing the old filament from your 3D printer has likely left some residue at the hot end that can potentially cause clogging. After you load in the new filament, it is crucial to ensure that all remains of the old filament are removed and that no potential clog exists – this is called purging.
If there aren’t any signs of clogging in the nozzle, you can use the software feature built into your Ender 3 for purging the nozzle. Simply navigate to Settings > Move Axis > 1mm > Nozzle > 15 – 20. This command instructs the printer to extrude that amount of filament until the new filament you loaded comes into view.
If you are changing filament colors, it will be easy to see when the new filament is visible. Otherwise, you can use filament dye to make a short length of it before purging. These tricks could be useful in a 3D printer for cosplay printing to produce colorful pieces.
While purging, keep an eye on the edge of the filament to make sure that it comes out clean and shapely.
It is possible to stop your print mid-way to change the filament, either to change colors or to load a fresh spool of filament. There are two ways to do that:
The Ender 3 has a Pause/Resume feature that can allow you to stop the printing process temporarily to change out the filament. To do that, navigate to Control > Pause Print. Make sure to Pause the print, not Stop it.
After pausing, the head is raised on the Z-axis and goes to the home position on the X-axis. Since the hot end is already hot, you just need to pull out the old filament, load the new one, and purge the nozzle. From there, simply hit Resume Print to continue.
Ultimaker’s Cura software is very handy when it comes to controlling your 3D printing process. It allows you to pause the print at a specific height or layer and change out the filament while at it. It’s a little more technical, but the basic premise is that it codes the pause/resume instructions right into the G-code of your project file.
Cura is compatible with the Ender 3 and many other 3D printers.
Creality’s Ender 3 3D printer is usually seen as the ultimate entry-level option for most people. Some of your best memories will be created with this machine, but you will experience some frustrating moments as well. For starters, changing filaments is bound to cause you a headache or two.
For a process that is so simple, there is a lot that can go wrong when changing filaments on your Ender 3D. From a clogged nozzle to ruining your next project, you can mess it up if you’re not careful.
This guide will help any beginner and pro out there on how to change filaments on the Ender 3 without causing additional problems. The secret is simple: be gentle but thorough to ensure complete purging and meticulous enough to ensure proper settings. After that, you will feel confident enough to move on to the big league of other Creality 3D printers.