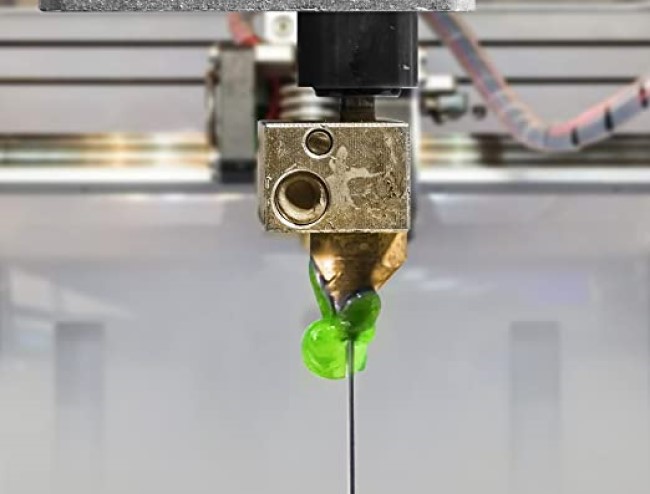
3D printing is continuously gaining popularity as a hobby. People have discovered that making figures and different kinds of art is much easier with the technology. As with any other machine, you have to care for your 3D printer for optimal performance and longevity. The procedures for caring for a 3D printer vary across different models and materials used by different artists.
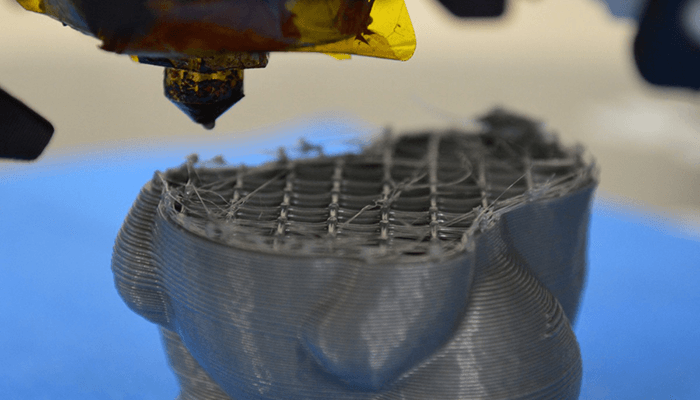
Cleaning the printer bed is one of the most essential chores of caring for your 3D printer. Most 3D printer beds tend to have filament residue left over after removing a print. The residue can be difficult to remove, especially if it is too thin and strongly stuck on the printer bed. Cleaning the printer bed is essential because any residue left on it can ruin your future prints. Read on for some great cleaning solutions for your 3D printer bed.
You should develop a habit of cleaning your 3D printer bed regularly to prevent filament residues from permanently adhering to it. After every long printing session, inspect the printer bed carefully for any streaks, and adhesive residues.
If the 3D printer is visibly dirty, you shouldn’t neglect cleaning it. In fact, you should clean it the moment you notice any contamination.
If you haven’t used the 3D printer for a long time, you should inspect it for any contamination. Dust can collect on it over time. The dust articles can make the printer bed have poor adhesion. In case of any dust, you can simply use a damp cloth to wipe it off. If you clean the print bed regularly, you save yourself the use of aggressive agents and extra efforts in cleaning the printer bed.
 The tools you need to clean a 3D printer bed vary depending on the type of printer bed you have. The most common tried and true printer beds include; glass, PEI and adhesive. They have different properties. It is important that you get familiarized with these properties so that you can be able to identify the type of floor bed you have. The information should help you choose an appropriate cleaning procedure for your 3D printer.
Some of the tools you may need to clean your printer bed include:
Cleaning a 3D printer bed requires an extra keenness and patience. You might be tempted to use too much force to remove adhesive residue which can be destructive. Be sure to read the manufacturer’s instructions on your user manual to find the DOs and DON’T’s of cleaning your 3D printer bed.
There are myriad methods of cleaning a 3D printer. You can choose one depending on the level and nature of your printer bed’s contamination.
If you are new to cleaning a 3D printer bed, familiarize yourself with one method of cleaning and follow its instructions to the latter. This will help you avoid errors that can cause damage to the printer.
Here is an overview of some of the best 3D printer bed cleaning methods:
 Glass is a common printer bed material, and it is highly preferred because it is more durable than PEI and other applied adhesives. It also provides a more even and smoother surface across a print’s bottom.
To increase adhesion, glass beds are usually used together with other applied adhesives like hairspray and glue sticks. On a non-heated bed, you cannot count on glass alone to ensure that a print sticks. Regular cleaning is therefore important to prevent build-up from these adhesives.
Here’s how to clean your 3D printer glass bed:
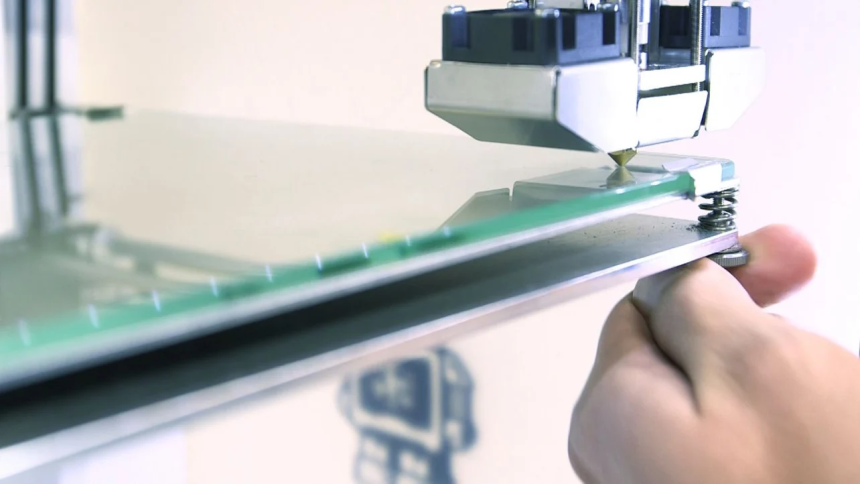
The best and easiest way of cleaning a 3D printer glass bed is by scraping. The first thing you do is heat the printer bed until the residue build-up on it is soft and easy to remove. You can then grab a scraper and gently scrape off the leftover material.
Be very gentle with the scraping so that you don’t hurt yourself or damage the printer. To apply the right amount of force, you can lace one hand on the handle of the scraper and the other in the middle. This also ensures you have total control of the scraper.
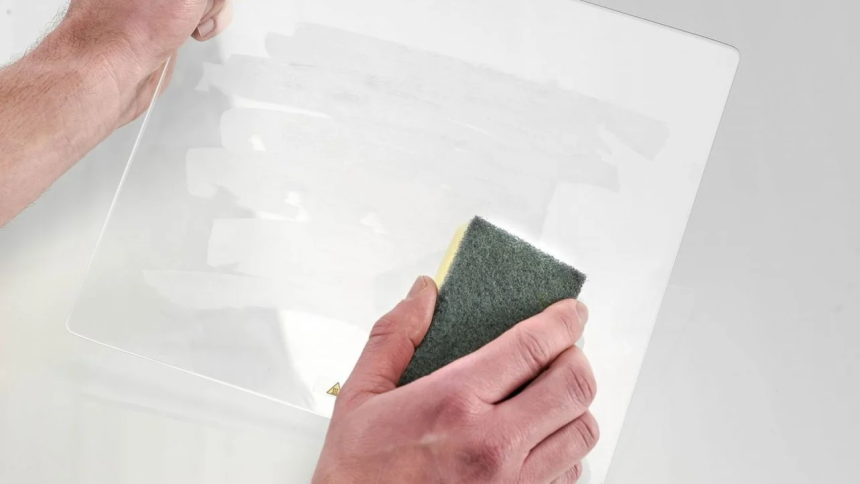
If you don’t find scraping effective, you can scrub the glass with dishwashing soap and warm water. It is the most effective technique of cleaning glue stick off a 3D printer bed. Before applying any water on the printer bed, ensure you remove the bed from the printer as a spill could easily damage the heating unit and other delicate electrical parts of the machine.
Alternatively, you could use a specialized cleaning solution for an effective deep clean. You can use high concentration of sterile alcohol pads, IPA or window cleaner to dissolve the residue and restore glass surface.
Do not use overly powerful cleaning solutions that may damage your printer bed. Use the manufacturer’s suggestions for the best cleaning materials and practices.
If you feel it’s a little too late and the residue has done your 3D printer glass bed more harm, then you can simply get a new glass bed. According to most experts, the Creality Ender 3 Glass Bed should be anyone’s prime choice as it offers solid durability and excellent adhesion. Plus, you can easily take it off the models.
PEI coating is on top of nearly every 3D printing hobbyist out there for its ability to offer excellent grip on various materials. It is much easier to use, releases prints easily when cool and never requires additional adhesives like glue sticks and hairspray.
The FYSETC 3D Printer Hot Bed Platform has the most rave reviews as the best PEI coating printer bed because it installs easily, has a high material compatibility range and you only need to bend or pop it off to remove the models.
PEI coating sounds too good to be true, but it does require regular cleaning just like the other printer beds to offer maximum adhesion. When you keep touching a sheet, you leave oil on its surface and this reduces the bed’s grip. Scraping it roughly also damages its surface and reduces adhesion. Only regular cleaning and care can prevent both possibilities.
Here’s how you should clean it:
Use a 70% Isopropyl Alcohol concentration to clean the sheet. Wait for the printer bed to cool down then apply the concentration to a paper towel or dry piece of cloth. Wipe the surface with the concentration to remove majority of the oils on the sheet.
If there is any leftover plastic on the bed, you can use Acetone to dissolve it. In a similar manner, apply the acetone to a piece of cloth then use it to wipe the surface. Ensure you are in a well-ventilated area when using acetone as its vapors are highly flammable and they may get into the printer’s electronics.
Quick tip; if you have had your EI sheet for a long time, you can use a fine grit sandpaper to remove light scratches and gouges. Rub it gently across the sheet in smooth and even circles.
For maximum adhesion, you should wipe your PEI sheet with IPA every few prints. Use acetone or a fine grit sandpaper to reinvigorate the print surface after months of printing. If you find that you cannot restore the print surface with all the suggested methods, then simply get a new replacement. The time frame for replacing your PEI sheet varies according to your printing activity or frequency and the brand of the sheet.
 This is another popular method of increasing printer bed adhesion. It is commonly used on printers with non-heated beds. Painter’s tape and masking tape are the most common tapes used. Kapton is increasingly becoming a popular choice as well.
Adhesive tapes gained popularity because using them is a no-brainer. They are easily accessible, reasonably priced and super-easy to apply. You can find them in almost all hardware stores near you. However, they do have drawbacks; they often peel away when prints are removed, thus have to be reapplied every often.
Because they are flimsy, adhesive tapes are the hardest to clean of all the printer bed materials. The most effective way of cleaning an adhesive tape would be gentle scraping. Use a spatula to remove any leftover filament of the tape’s surface. To avoid tearing the tape’s surface, scrape gently and evenly.
During cleaning, you can patch the areas with torn or peeling tape. It is normal to have holes at the center parts of the bed. Pay keen attention as you wouldn’t want to make the bed’s surface uneven by applying too many patches.
If your tape looks beat, then you might want to give up cleaning and just give the entire bed a revamp. Peel and scrape off the entire layer then use warm water and dish soap to clean the surface. Wait for the bed to dry before you lay down a new layer of tape. Use as few pieces as possible while focusing on stretching the tape across the entire bed carefully.
Get rid of any air bubbles underneath by pressing the tape gently to achieve an evenly leveled surface.
Because adhesive tape is fragile, it needs frequent changing. Make a habit of scraping the bed lightly after every print to get rid of any filament stuck on it. You may need to resurface the bed on a weekly, monthly or even daily basis depending on how frequent you use the printer.
Cleaning the printer bed is one essential way of ensuring your Creality 3D printer or 3D printer for cosplay offers maximum adhesion and lasts longs. Once you have equipped yourself with skills on how to clean a 3D printer bed, you should aim to give yours a regular and thorough clean. Choose a cleaning procedure that would work with your printer bed material and the amount of residue deposited on it.
You must also be careful not to hurt yourself with all the cleaning procedures. For instance, when you are attempting or learning how to clean a heated bed plate on a 3D printer for the first time you must be careful not to get burnt. The top 3Dprinter bed cleaning hack is regular cleaning. Cleaning after every print will save you so much time, energy and the amount of materials used in cleaning a contaminated bed. If you wait too long to clean, you might be forced to replace the printer bed surface.