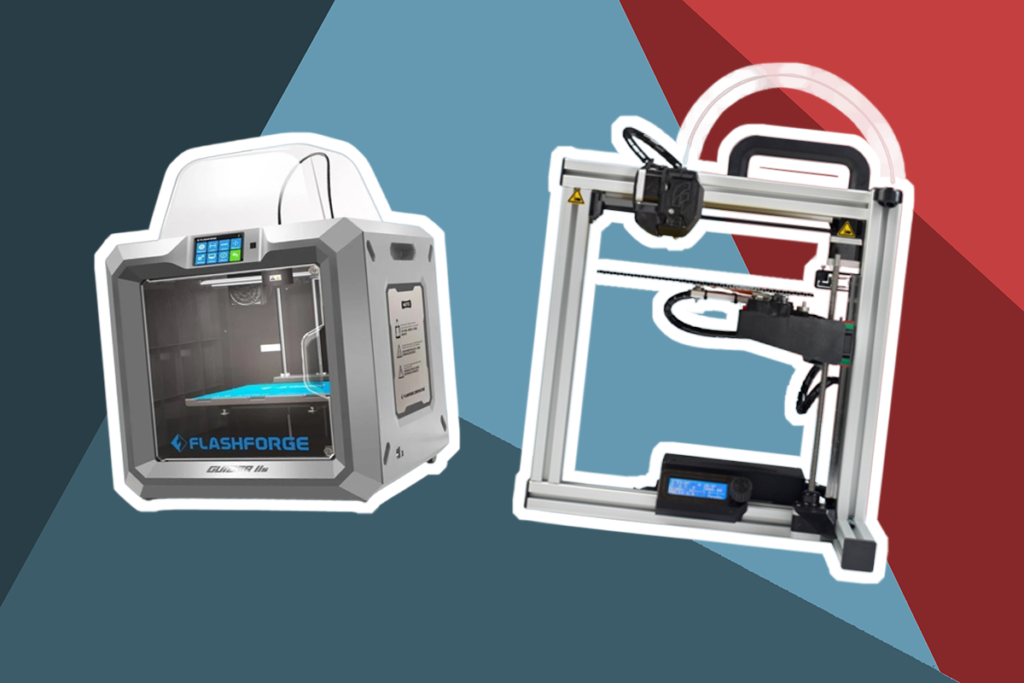
3D printing has slowly become one of the most well-respected platforms for crafting and innovation Trusted Source 3D Printing - CNN.com Would you like to print out the weekly shopping in the comfort of your own home? Perhaps you’re in the market for a new body part printed from your own cells? Click to discover how 3D printing will change your life. edition.cnn.com . It’s a simple solution from the long process of molding or cutting pieces of plaster in order to create something. The previous artforms haven’t become obsolete, but people still crowd around the 3D printing craze because of how simple the process is. All that someone needs is a WiFi connection, a collection of handy tools, really precise craft knives, protective gloves to go with those knives, and a good set of pliers.
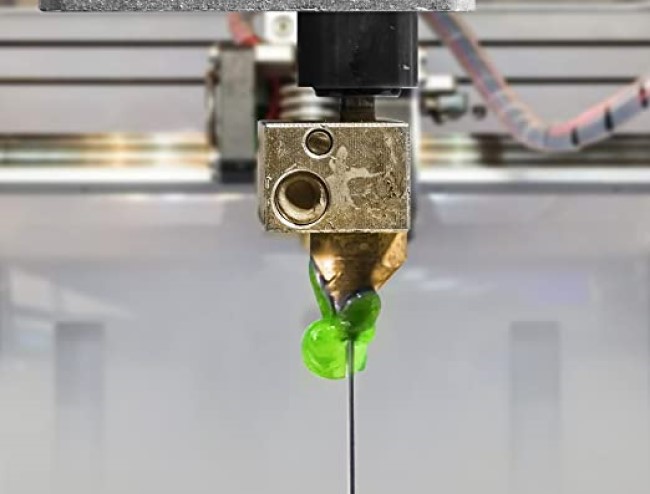
However, there may be a lot of confusion around how to remove supports from 3D Prints. The 3D print looks like the structure is all in one piece. There are support beams that are hashed out around the structure to make the output more durable while still “cooking”. As your print has probably dried out by now, you need to remove the support away from the main piece safely.
There are two types of supports that your 3D Printer might use. PVA or Polyvinyl Alcohol Trusted Source polyvinyl alcohol | chemical compound | Britannica polyvinyl alcohol (PVA), a colourless, water-soluble synthetic resin employed principally in the treating of textiles and paper. PVA is unique among polymers (chemical compounds made up of large, multiple-unit molecules) in that it is not built up in polymerization reactions from single-unit www.britannica.com is an expensive material used in creating 3D prints. Once your build is complete, you can begin carefully removing the fixture from your actual piece.
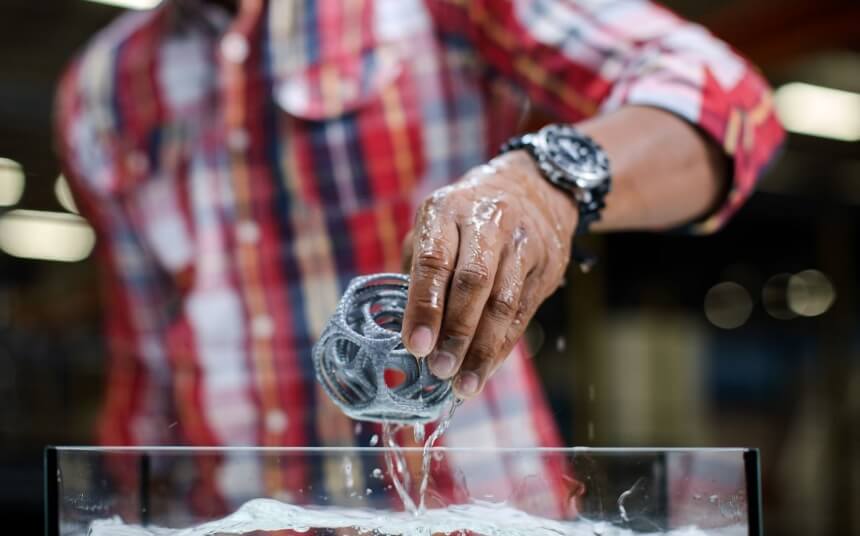 Don’t be scared, it won’t break anything. The reason why PVA is so expensive in the first place is that it completely dissolves when underwater. Though, it is advisable to use warm water, nothing hotter than 35 degrees celsius.
Once it is submerged, you can stir the water using a small pick to make the dissolving process faster. Otherwise, you might end up having to wait for a long while hours at most. You can make the process even quicker by taking a handy pair of pliers and begin plucking areas with softened PVA, then putting it back in the warm water. Routinely do this with 10 minutes every submergence until all PVA areas are gone.
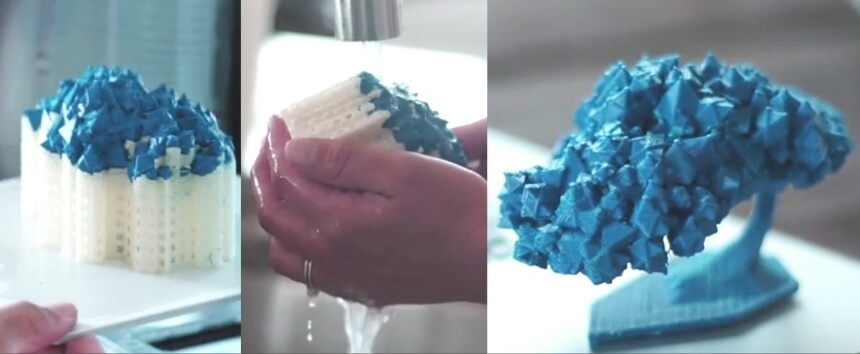 After removing all of the PVA, you can now rinse your print using lukewarm water. This final rinse is to make sure that no leftover PVA is on sight. After that, you can leave it to dry and decorate.
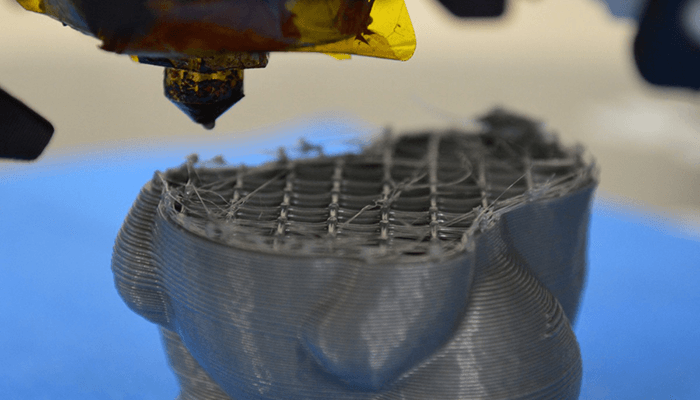
Breakaway Supports are slightly harder to remove. Now is the time to grab the tools we mentioned earlier. You’ll need them in order to remove all the support attached to your 3D Print carefully.
You don’t want to remove a part of your piece by accident. In order to avoid this, get a reference sheet of your 3D Print, better yet, take a look again at the dimensions you inputted to your printer. This way, you’re less likely to cause any accidents.
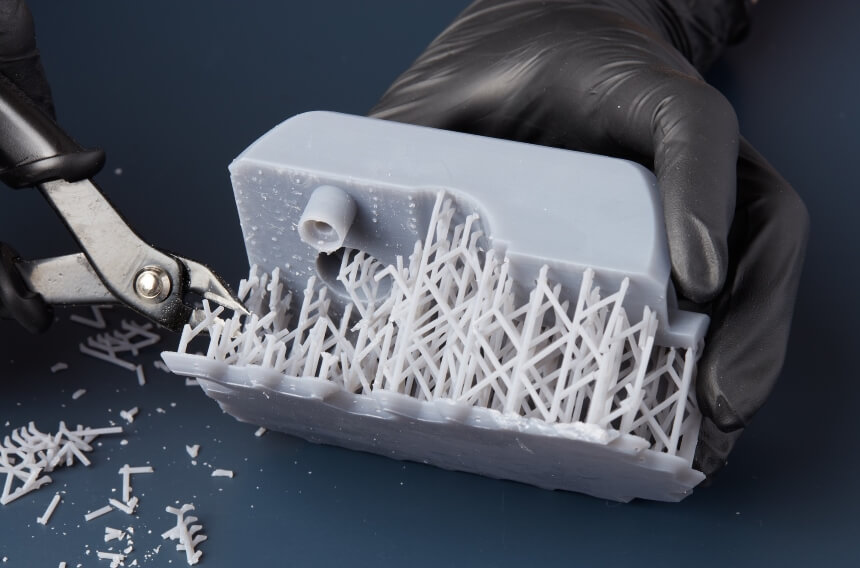 Carefully remove the support with the use of pliers. Be sure to have a good grip on both parts as you slowly tug it out, so it doesn’t break apart. Make sure to get through every rough edge before fully unsheathing it away. This makes the removal process easier. Once the support is completely loose, you can tug the support away from the 3D Print.
Sometimes, a thin layer of support is attached to the 3D piece. Unlike the breakaway support, this is easier to remove. Simply peel off the material using your pliers or even a set of tweezers.
 After removing all of the support structure, there may be some stubborn leftovers all around the fixture. This isn’t necessarily the support structure itself, but it can also be pieces of 3D print material that leaked off during printing.
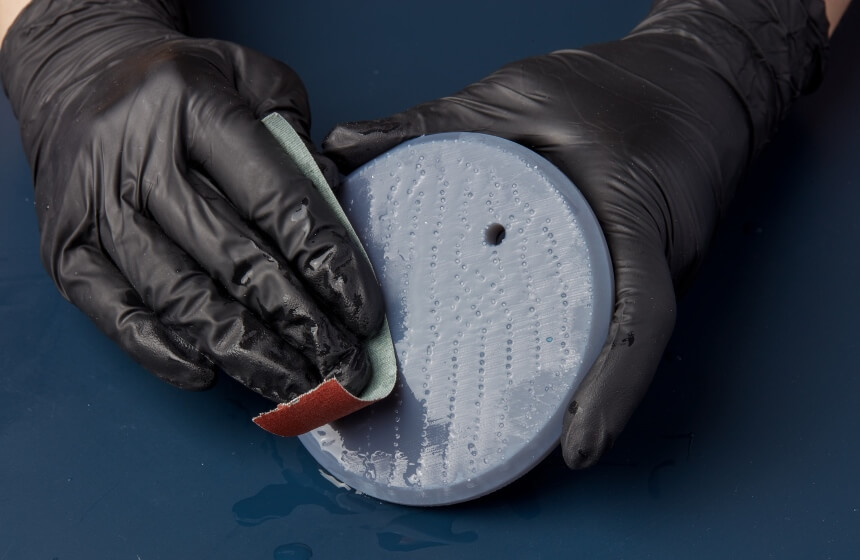
Now, don’t be annoyed if the piece feels rough to the touch. You can quickly remedy this with some grit or sandpaper. Before starting, make sure that your PVA is completely dry and that your Breakaway is completely taken away.
Sanding down your piece Trusted Source 3D printing processes - Wikipedia A variety of processes, equipment, and materials are used in the production of a three-dimensional object via additive manufacturing. 3D printing is also known as additive manufacturing, therefore the numerous available 3D printing process tends to be additive in nature with a few key differences in the technologies and the materials used in this process. Some of the different types of physical transformations which are used in 3D printing include melt extrusion, light polymerization, continuous liquid interface production, and sintering. en.wikipedia.org will give it a smoother and more professional-looking final output. In fact, it’s a common practice to sand the surface out using 220-12000 grit sandpaper. It’s a necessary step to make the decorating process easier. Keep in mind that you want to pick the right sanding paper depending on how brittle or durable your 3D print ink is.
Having a drill to do the work for you while sanding makes the process faster. It can take a while before the material is completely smoothed out, but you can shed a few minutes or hours if you use a drill.
Keep a picture of what your final output looks like with you. This can be from the site where you took your dimensions or a simple reference photo you got online. The process of removing supports from 3D Prints can rely heavily on the photo in the end.
Yes, all you need is to put it on the water for some time.
Yes, you will need at least some pliers to remove the support entirely. Though, it is often recommended that the process is more straightforward if you use some tweezers.
It’s not necessary, but it is advisable.
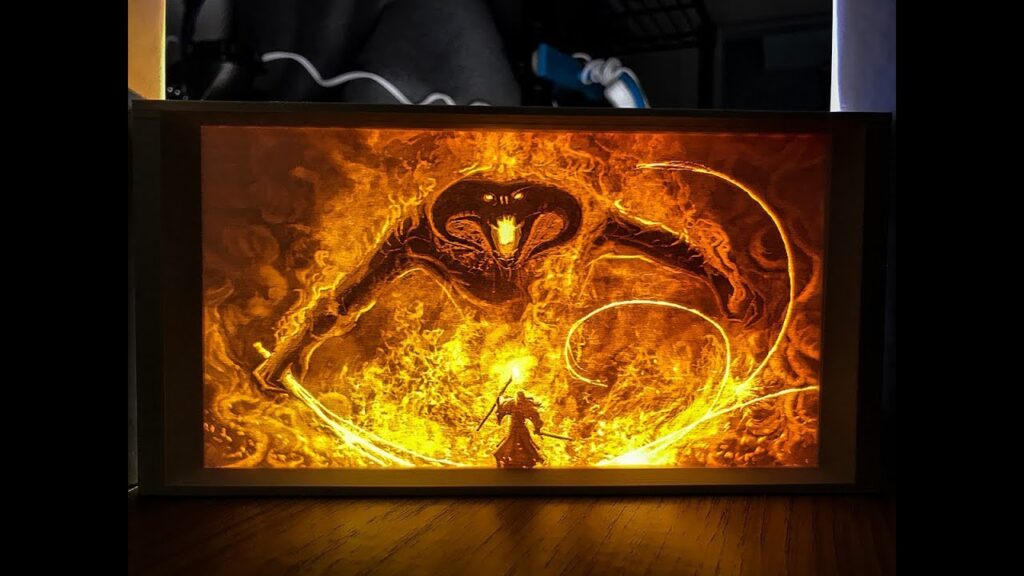
3D Prints will look even better if you decide to decorate them with some paint or an oil finish. Whether you are using PVA or Breakaway Supports, hopefully, we were able to guide you in the process of how to remove them. Regardless if it’s your hobby or not, creating 3D prints is a great investment if you like having customizable figurines with you. You can even use them when creating your own set of tools.
Happy Printing!