What is the most challenging aspect of setting up a 3D printer? For many people, the most challenging step in installing and using a printer is calibration. You have to take care to calibrate all the motors of the printer accurately. If you don’t, you shouldn’t expect to get good quality prints from the machine. This guide focuses on how to calibrate a 3D printer. Here we will show you why it is so important to have your printer calibrated and how you can do it successfully.
We will also show you how to use certain software to set up the calibration of your machine. There is a lot to learn, so relax and read on to find out all you need to know.
3D printers are some of the dumbest electronics that you can use because if you don’t follow almost every step of the printing process, the machine might assume incorrectly.
The first thing to know when it comes to calibrating your 3D printer is to know what calibration means. There is no concrete definition of this term, at least not as far as we know. However, suppose we were to place a definition on this term. In that case, we will say 3D printer calibration is the adjustment of the physical characteristics of the printer and software slicing parameters to give you models that reliably meet the desired level of accuracy from the operator.
Therefore, calibrating the 3D printer is dependent on what you want to produce with the machine. As we said earlier, the calibration of the printer is somewhat difficult due to the several parameters that have to be met.
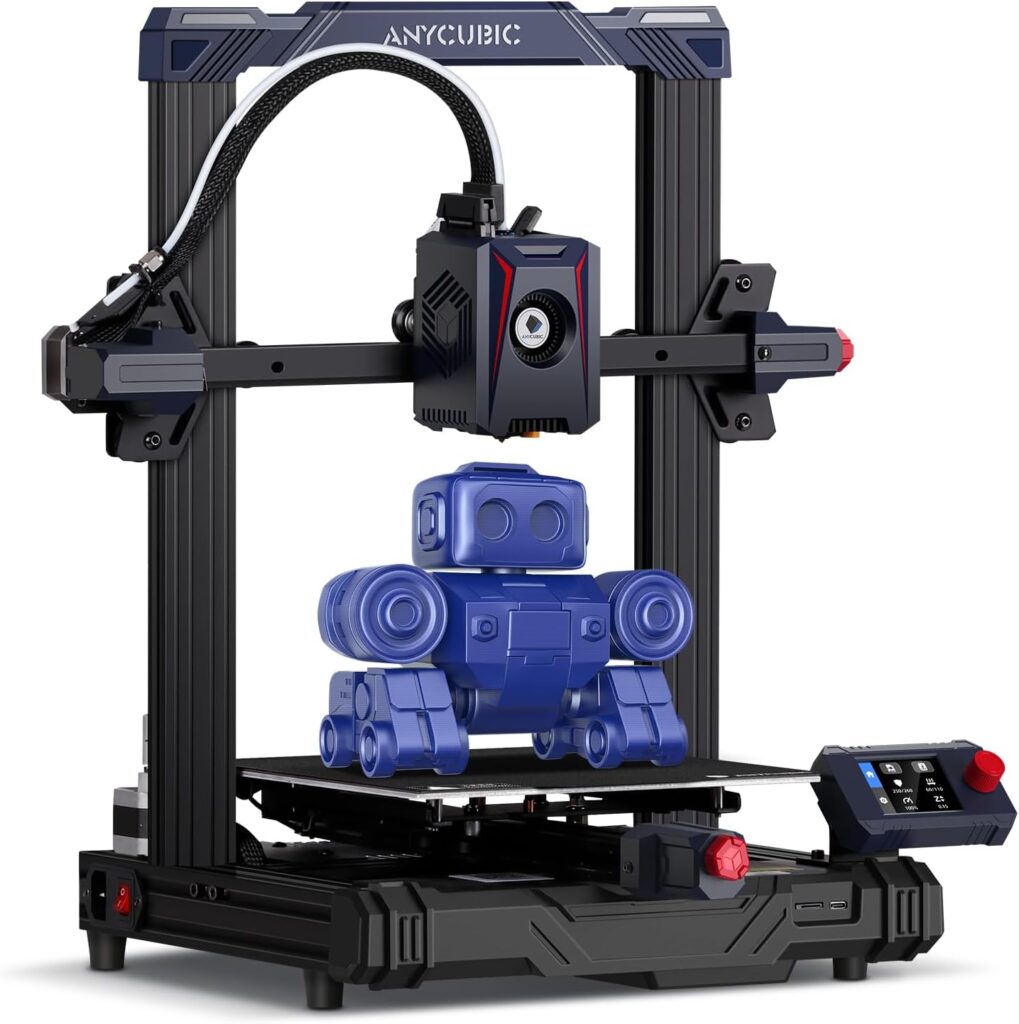
Before calibrating the printer, you need to get a good, high-quality model. Creality makes some of the best models on the market. Check out some of the best models from the brand here. Reviews have listed the Creality Ender 3 as one of the best types of 3D printers on the market.
Now that we know what calibration means, is it important to calibrate your printer? Yes, it is. This section will consider some of the reasons why it is so important to calibrate your printer.
As with other mechanical products with moving parts, calibration plays a large role in determining your work’s consistency and accuracy. 3D Printers are no different. They are traditionally highly accurate equipment, but that is only if they have been calibrated during the installation and after you move them someplace else.
This adjustment is used to match the readings of the equipment with a standard, with the goal of ensuring accuracy.
In summary, calibration is essential to the printer the way a uniform pan is important to the baker. With calibration, you ensure that all the prints from your printer come out the same, no matter the equipment you use in making it. With proper calibration, your prints will always come out the same.
Knowing the advantages of calibration, we bet you are looking to have your machine calibrated as soon as possible. Before you get started, you need to have the right tools, equipment, and software. Here is a list of the things you need for proper calibration:
As we have pointed out earlier, calibrating your 3D printer is not a piece of cake, especially if this is your first time doing so. These machines are rather complex, so you need to follow instructions and be patient as you calibrate it carefully.
The first thing to do is to prepare your mind and yourself. Thus, set aside time to calibrate the machine. It requires your complete attention, so you might have to set every other thing aside to get the calibration process right.
Another thing to keep in mind is that printers come with different calibrations. The way you calibrate certain models will be different from how you’d calibrate others. For instance, some models on the market come with physical adjustment levers, while others are controlled with software.
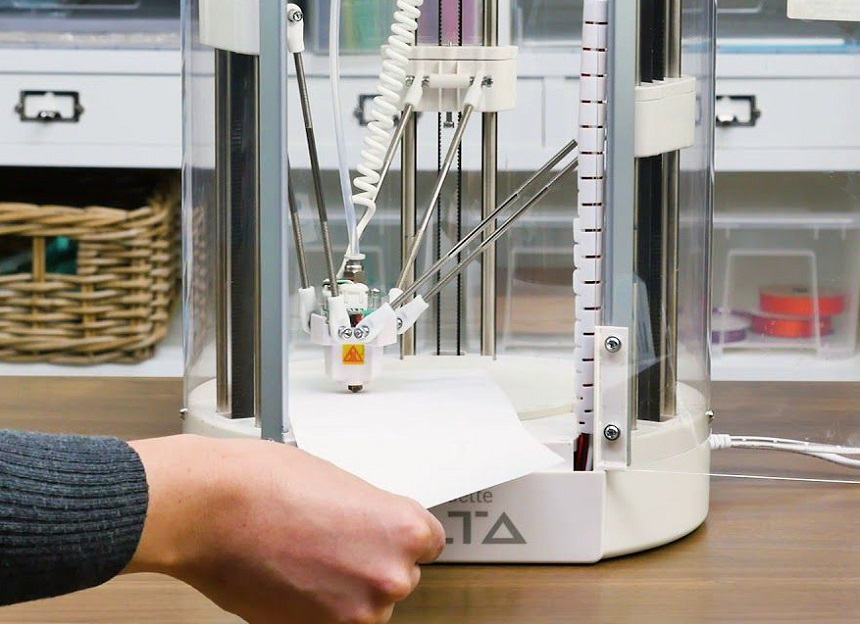
The first step in calibration is the first layer. Why is this so important? It is because the first layer is what will determine whether you’ll have a good final print or not.
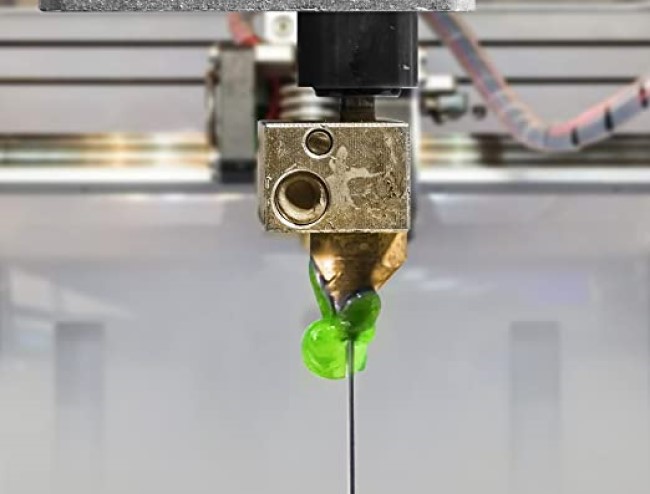
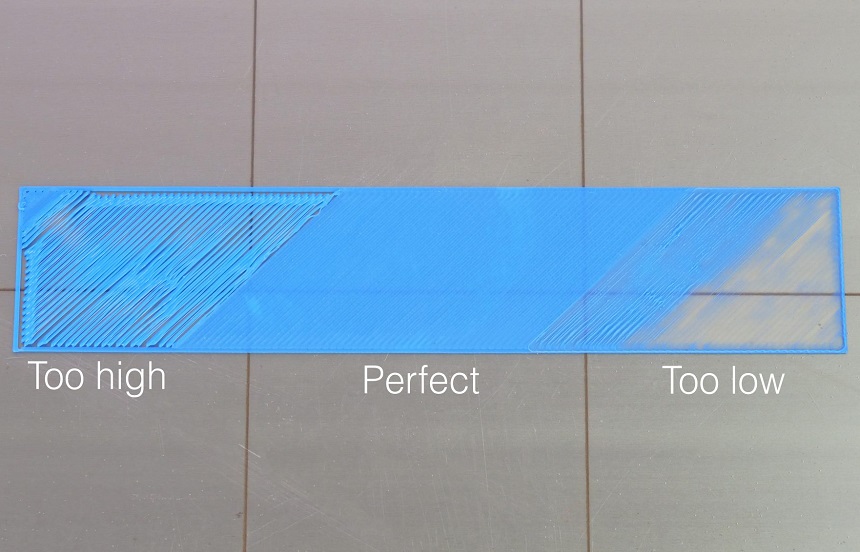
Therefore, you must have the parts properly aligned and calibrated to reduce the risk of damage. One of the parts to look out for in this regard is the nozzle. If the nozzle of your machine lies too close to the bed of the printer, the first layer you print will likely be squished – which will render it useless. On the other hand, if it is too far from the bed, the parts of your print will not adhere to each other and might crumble.
So, how can you get past this issue?
The best way to get past this is by tuning the Z offset. The X offset indicates the distance the printer should move the Z-axis from the bed.
With this in place, you will have the first layer perfect on the Z endstops. If you try out the print and discover issues with the first layer, perhaps the nozzle digs into the layer Then, you need to increase the Z offset value.
If the first layer peels off the bed in a similar vein, you need to lower the value of the Z offset.
After calibrating the first layer, the next thing to calibrate is the motors. These motors are vital to the movement of the extruder or axes. It is the stepper motor that moves the axes or extruder. You can find the best stepper motors here.
For instance, if a rotation is 50 steps, the stepper motors must move 25 steps to turn half of a rotation. If this doesn’t happen, then the control will be inaccurate.
Many of the reviews we have considered have listed the Nema 17 as one of the best stepper motors you can buy.
To successfully set up the motors, you must know the relationship between the stepper motors and the distance. Here are the steps required to calibrate the stepper motors correctly:
To calibrate the motors, you need to either calibrate the extruder or the axes. To do the extruder, you must ensure that the printer extrudes at the correct value. Therefore, send G-code commands to your printer. Access the settings of the machine by sending the M503 command.
When you input that command, it is expected that you get five output values. Record these in your jotter. The first three values indicate the number of steps the stepper motors require to move a millimeter X, Y, and Z directions. While these values are vital, they are not needed right now. Instead, the last of the five output values is what matters at the moment. The last output value refers to the number of steps taken by the extruder motor for every millimeter of extruded filament.
Take careful note of this value as we will refer to it as Z.
The next thing is to measure the exact value of the 50mm mark above the extruder’s top with the calipers and notes this down as well- we will call it Y. After taking that measurement, extrude 10 millimeters of filament and measure the distance to the marked point. Record this value as well – we record it as X. To know the amount of filament extruded, simply calculate Y – X. If this value falls in the 10 mm range, then you don’t need to adjust anything in the extruder. If it lies beyond or below that value, then the extruder needs to be updated.
Input the new value that you obtained from the first step into the printer by sending the M92E[D] command. Send the M500 command to save the new value.
Once done, the extruder should have the correct calibration.
Calibrating the axes is not too difficult. Keep in mind that you might not get the ideal calibration the first time you try.
To calibrate the X-axis, use a piece of tape to mark a pair of areas 100 mm apart on the base plate. With the nozzle over one of the points, use the printer software to move 100 mm in the X-axis. If it moves exactly 100 mm, then it is calibrated correctly.
The same steps used in calibrating the X-axis are applicable for the Y-axis. After using a piece of tape to mark two areas 100 mm apart on the Y-axis, use the printer software to move 100 mm in the Y-axis. If your printer moves to that exact location you have marked, then the Y-Axis is correctly calibrated.
For the X-axis and Y-axis, if the results are not exactly 100 mm, you will need to adjust the M92 values for both axes until you get the perfect calibration.
The Z-Axis is different as you will have to use a ruler instead of the tape measure. Stand the ruler vertically on the print bed and mark 100 mm. Move the Z-Axis with the printer software 100mm. Measure the point the nozzle is. If it is 100 mm, then the Z-Axis is perfectly calibrated. If it deviates from that value, you will simply change the M92 value until you get the perfect calibration.
Check out the video below to see the stepper motors calibration process.
Each roll of filament is different based on the manufacturer, the material, and the properties. That is why you must adjust the filament settings. Here is how to do it.
Your calipers come in handy here as they are used to measure the diameter of the filament. Measure the filament on a few places along with the spool. You can take as many as four measurements. After taking these measurements, find the average. This answer is the filament diameter.
It is vital to know this number because it will ensure your printer extrudes the correct amount of filament required for the print.
The next step in adjusting the filament settings is to print a temperature tower. These are blocks printed at different temperatures. An analysis of each of the blocks will help you to know the best printing temperature.
You can print up to five blocks, and as you print at different temperatures, ensure that you record each block’s temperatures.
After printing a temperature tower, check out the blocks and choose that which looks most appealing to you. Set the temperature as the printing temperature and get to work.
The instructions above for calibrating your printer are for when you use a tape. Another way you can calibrate the printer is by using a laser pointer. You will need similar materials that you used when using the tape. Some of what you will need include:
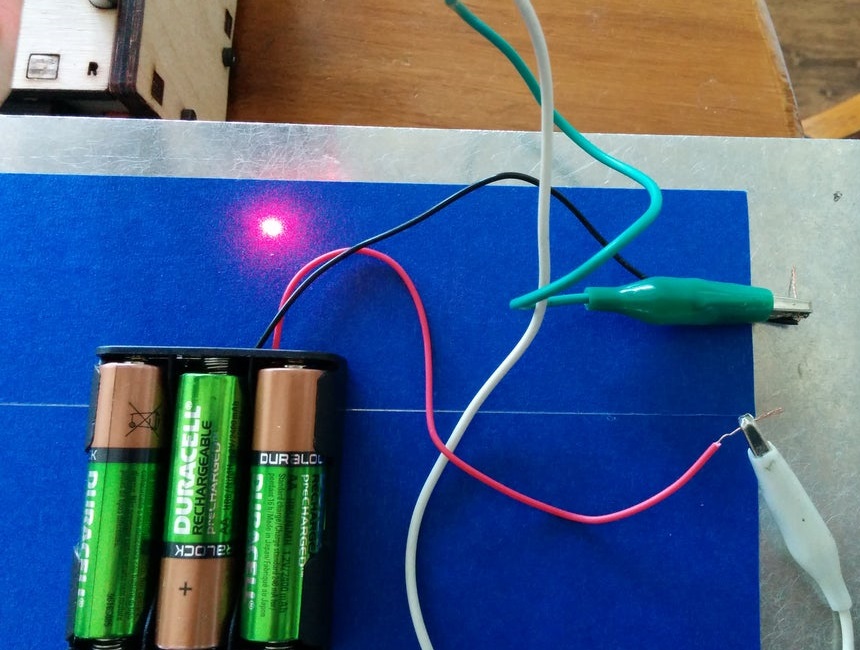
The first thing is to place the magnets on the printer. Attach them somewhere that will not be too close to any ferromagnetic parts of the printer. Use the glue gun to attach the magnets to this part.
The next thing is to attach one of the magnets you have to the laser pointer. The purpose is to attach the laser pointer to the printer.
The model of the laser pointer that you use will determine how you will switch it on. Some models are powered by batteries and have button cell batteries. These are preferred because they are easier to switch on.
This step might be necessary if the laser pointer makes a larger dot than is required. To create the smaller laser point, tape over the laser point and create a small hole in the tape with a thumbtack.
Use a marker or pencil to mark where the laser points to. With the printer software, move the printer a specific distance and mark this point. Then, use the calipers to measure the distance between the points that you have marked.
If the measurement falls within the range you have moved the printer using the software, you have correctly calibrated the X-Axis.
With the laser pointer attached to the parts, you used for the X-Axis, mark your start point and move the Y-Axis using the printer software. Measure the distance moved with the calipers. If it falls within the distance you moved with the software; then you are good to go.
Next, transfer the laser pointer to the second magnet on the printer. Mark the laser point. Then move the laser point using your software. Measure between the two points. If it falls in the range of the distance you moved the laser pointer with your software; then your Y-axis is correctly calibrated.
3DBenchy Trusted Source 3DBenchy - Wikipedia The 3DBenchy is a 3D computer model specifically designed for testing the accuracy and capabilities of 3D printers. The 3DBenchy is described by its creator, Creative Tools, as “the jolly 3D printing torture-test” and was released in April 2015, with a multi-part, multi-color model released in July 2015. en.wikipedia.org is a tool that is designed to help in benchmarking and testing your printer.
Use the software to adjust your hardware and software settings. It contains a 3D model that will challenge your printer.
To use it, you will need to download the .stl file and run it on your printer. It contains instructions on printing and measuring the results and comparing it with your printer’s calibration.
We hope that this article on how to calibrate a 3D printer helps you to set up your machine correctly. As we have seen, it is very important to have the device correctly calibrated if you want accurate and reliable prints.