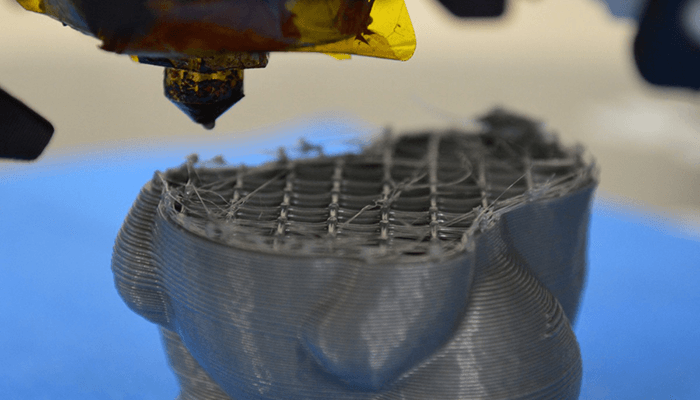
One of its biggest limitations is that 3D printing results in unsightly and distinct level-by-level layer lines. This is referred to as the staircase effect and is most common in FDM 3D printing. These layer lines occur because 3D printing methods have more of a 2.5D effect instead of 3D one. This means that during printing, it’s only the X and Y axis that move at the same time. The Z-axis only moves when the other 2 axes pause to allow the printhead to move up and print the following layer. This is where non-Planar 3D Printing comes into play.
It’s the most effective way of dealing with the staircase effect without impacting the printing process. The other option is using very small layer heights. This, however, significantly slows down the printing process. In this guide, we’ll cover everything you need to know about non-planar 3d printing, including how to set it up.
 The scope of 3D printing is expanding, and according to the
South Warwickshire NHS Foundation Trust
Trusted Source
Warwick Hospital successful in first implantation of a 3D printed patient specific jig assisted total ankle replacement
On Monday 9 August 2021, Warwick Hospital was successful in their first implantation of a 3D printed patient specific jig assisted total ankle replacement on an 82 year old patient.
www.swft.nhs.uk
, it’s now being used for medical procedures. For instance, medical professionals recently used 3D printing to perform ankle replacement surgery. While recreational 3D printing is relatively limited, it doesn’t draw away from the fact that it’s an exciting hobby and a great way to use our free time.
The scope of 3D printing is expanding, and according to the
South Warwickshire NHS Foundation Trust
Trusted Source
Warwick Hospital successful in first implantation of a 3D printed patient specific jig assisted total ankle replacement
On Monday 9 August 2021, Warwick Hospital was successful in their first implantation of a 3D printed patient specific jig assisted total ankle replacement on an 82 year old patient.
www.swft.nhs.uk
, it’s now being used for medical procedures. For instance, medical professionals recently used 3D printing to perform ankle replacement surgery. While recreational 3D printing is relatively limited, it doesn’t draw away from the fact that it’s an exciting hobby and a great way to use our free time.
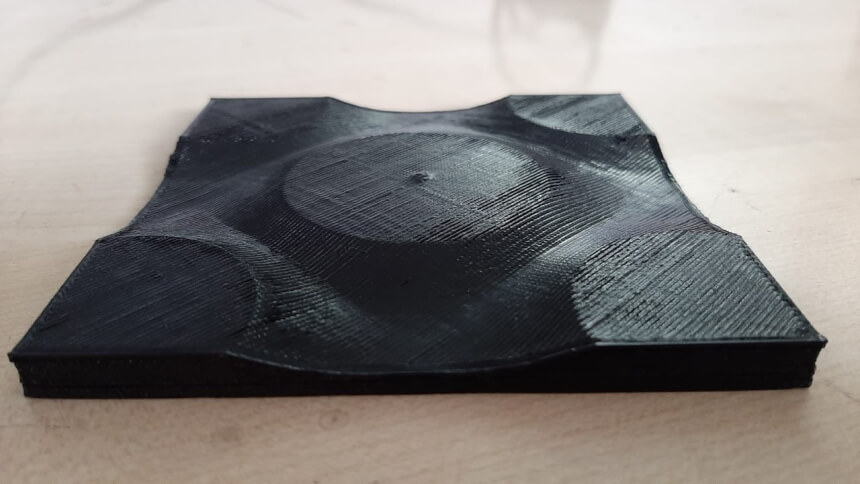
The Non-Planar 3D Printing technique instructs your printer to move the X, Y, and Z axes at the same time. This then allows it to make true 3D prints instead of 2.5 D prints. When your printer is able to also move the Z-axis as it prints, it results in objects with a curved top surface that’s smooth as opposed to a stair-stepped curve. This is because the printer moves in both directions on the Y axis when it gets to the concave area. It also moves the X-axis to create a curved surface instead of distinct layers.
The end result not only looks unique and cool but also comes with several mechanical benefits.
Simply put, with Non-planar 3D printing, when the slicer gets to the top layers of the print, it creates a skeleton of the object while still considering the final layer. This skeleton is beneficial in 2 ways;
Slicers are programs that transform your 3D prints into instructions for your printer to build the final print. When it comes to Non-planar 3D printing, the only slicer that can help you achieve the desired result is the Slic3r. It’s a modified version of the Slicer, is open source, and allows for non-planar slicing. One of the reasons why it’s highly popular is because it allows you to generate g-codes on all printers.
Here’s a quick background of Slic3r; it was launched in the RepRap community in 2011, and it became an instant hit among 3D printing enthusiasts. This is because it removes the stair-stepping effect that’s common in traditional 3D printing techniques. It automatically detects all the printable areas and checks them for any possibilities of collision during printing. This then ensures that the areas located underneath the non-planar surfaces are printed using the regular planar structure.
With the modified Slic3r, you’re also able to create smoother surfaces because it creates non-planar toolpaths above the normal printing layers.
Before you get started, it’s important to note that the setup process of non-planar 3D printing is usually complex. So in this section, we’ll only walk you through the basics and the main steps.
First things first, for your printer to be non-planar 3D compatible, you need to extend your nozzle so that you have sufficient clearance. Ideally, the extension should be around 7 to 8 mm more than the printhead. This is fairly simple, and you can achieve it by removing some additional print head features such as the fans & heat sink or using a longer hotbed.
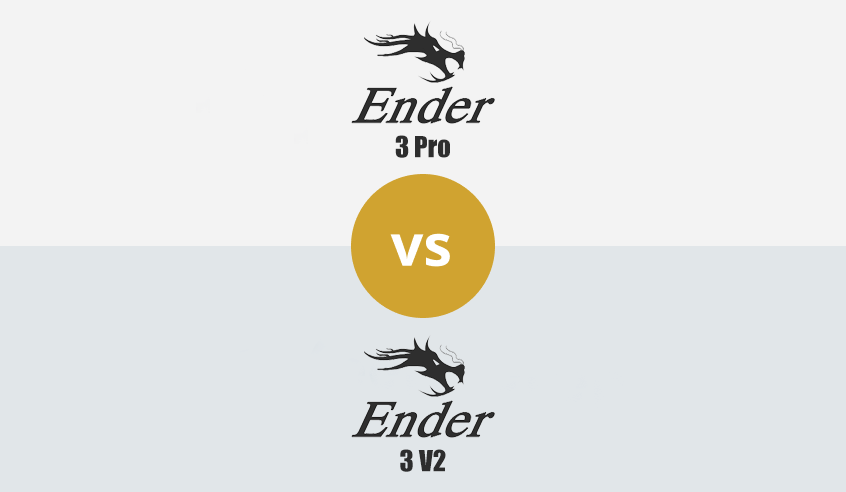
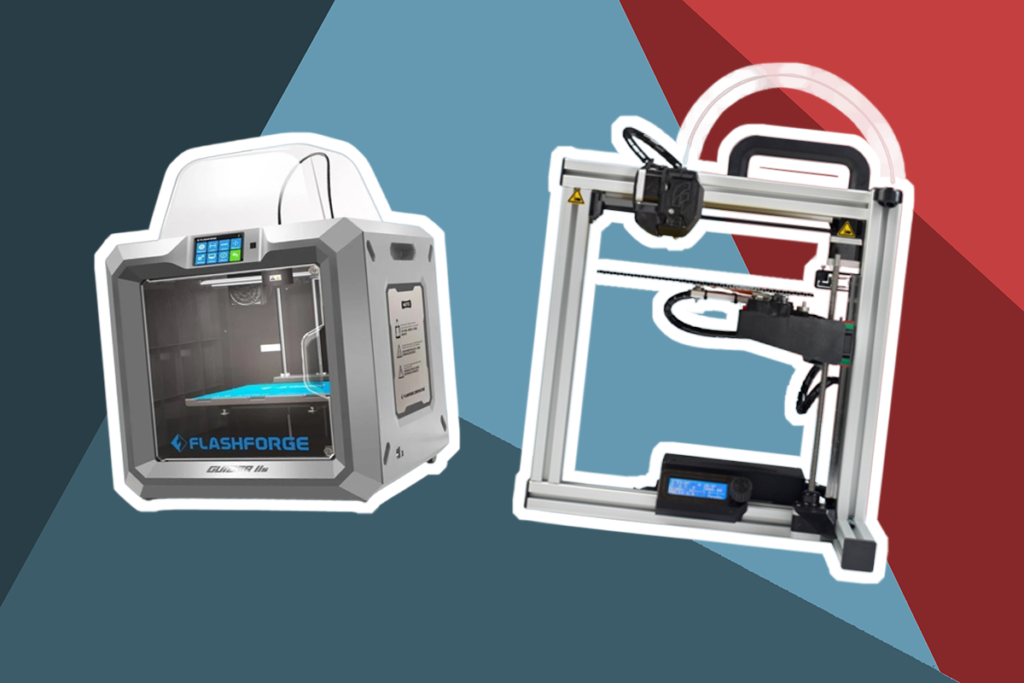
If you’re in the market for a high-quality and reliable printer, experts recommend the Creality Ender 3 V2. It gives you the flexibility to work on any type of project because it’s compatible with most filaments. It also comes with an upgraded power supply that enhances its performance by delivering consistent and stable power. Most importantly, it’s easier to use, is more reliable, and comes with an all-metal frame that enhances its durability.
For a high-quality filament, the Dikale PLA 3D Printer Filament Pack comes highly recommended. It has a 1.75 mm diameter, so it’s compatible with most printers and is available in 12 assorted colors, including turquoise, orange, yellow, silver, red, and a glow-in-the-dark. All spools are 500g. This filament is made of PLA and has been designed to reduce jamming.
PS. don’t forget that this process is only compatible with Linux. So if you already have this operating system, you’re ready to go. If you, however, use Windows, we recommend that you use a virtual machine because the process is complicated and is too long.
If you don’t have the latest version of Virtualbox, visit the official website, download it and then install it on your device. You should then download the latest Ubuntu version before proceeding. Once you have both VirtualBox and Ubuntu, you should launch VirtualBox and then navigate to the new button so that you can refine the settings. For starters, you have to name your machine and the machine folder. You should, however, pay close attention to the type (preferably Linux) and the version ( Ubuntu 64-bit).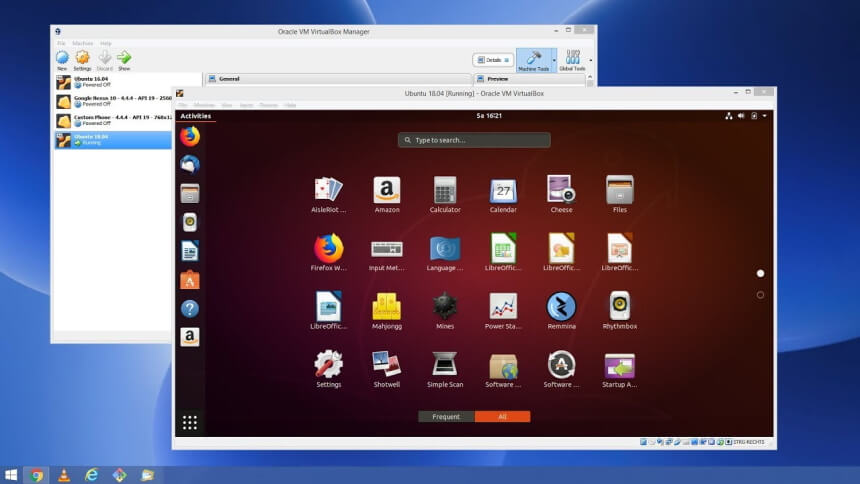
Once this part is complete, leave everything else as it is and then navigate to the next button and finally the create button. You’ll have created a virtual machine.
Select your virtual machine, and then navigate to the settings button when you are able to set up features that allow you to drag and drop files to your virtual machine from the virtual machine. For this process;
General settings> advanced settings > drag and drop, shared clipboard> set value as bidirectional.
It’s important to note that Slic3r requires more power to function effectively, so it’s important that you also increase the resources on the display and system settings.
The next step is providing the software with the Ubuntu .iso file. For this process;
Strage settings> under Controller: IDE> empty > Choose disk file ( there’s a CD icon) > download folder> Ubuntu .iso file> OK.
You can now start the virtual machine and begin the installation process. It’s a pretty straightforward process since you don’t have to change anything.
Creating a virtual machine is the most complex part, so the script files should be relatively easy. First, look for Slic3r’s customized non-planar files Trusted Source GitHub - DrEricEbert/Slic3r_NonPlanar_Slicing: Slic3r with integrated electronics and Nonplanar slicer (see branches) Slic3r with integrated electronics and Nonplanar slicer GitHub solutions page Trusted Source Builds for Windows github.com Is there anywhere where I can download a build of this for Windows? github.com . The next step is opening Slic3r and then editing various elements, including the nozzle angle, print bed sizes, offers, and other necessary machine settings. Measure the distance from the nozzle to the rest of the printhead (nozzle offset) and then input this value in the Slic3r. Finally, you should open the file that you’d like to print using non-planar technology, slice it and then print it.
For Non-Planar Slicing, there are 2 main elements that you should pay close attention to.
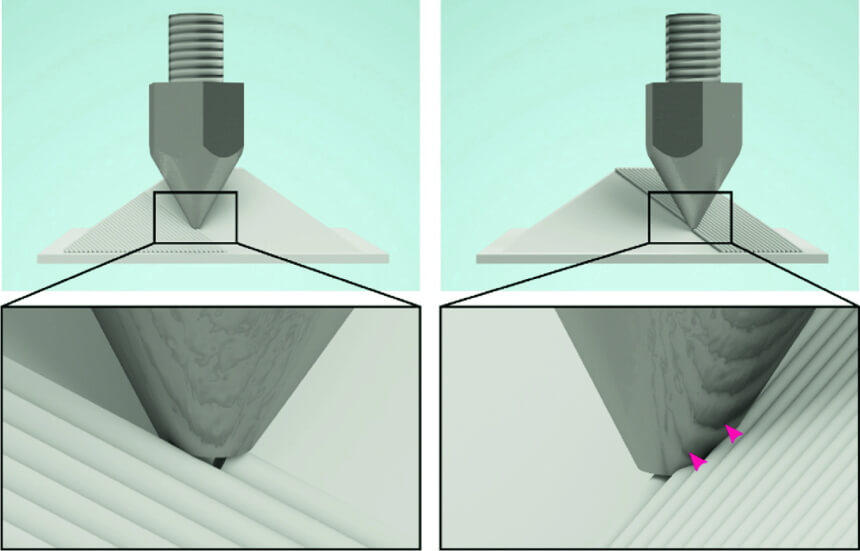 Both parameters work simultaneously because the slicer has to determine the amount of available maneuvering space around the nozzle. This is important as it ensures that the nozzle doesn’t collide with the hotend parts or fans. So, the slicer has to calculate the height at which the nozzle should protrude and at what angle in relation to the closest colliding point. In previous printers, you would be required to maintain a cleaner area around the nozzle or eliminate the fans. The good news is that currently, there are several nozzle types that specifically help with this type of problem.
Once you have the right measurements for the angle and height, you can now tune the settings based on the machine requirements. We, however, recommend that you conduct various test prints to see where the printing standards are satisfactory.
First, make sure you have configured Slic3r properly before opening the test model. You may experience some challenges, such as the lack of non-planar layers. If this happens, you should exit the program and restart it again. In some instances, this doesn’t work, so we recommend that you delete the model you’re trying to print and then re-import it.
There’s a slight chance the final model will be flawed, but you can easily solve this by tweaking the settings and changing the calibrations. The good news is that once you’ve got it covered, the non-planar layer will be smooth, and you won’t have to deal with the stair-stepped curves.
We’ve tried to break down the process as much as we can, and even though it doesn’t seem complex, it’s not as straightforward as you may think. You’ll likely face error messages and program issues, and when this happens, you should use the GitHub problems page, specifically the one dedicated to the Slic3r version.
3D printing is rapidly gaining popularity, and according to CNN Trusted Source First 3-D printed Habitat home in US arrives One Virginia family received the keys to their new 3D-printed home in time for Christmas. www.cnn.com , the first 3d printed house finally arrived in the US. Non-Planar 3D Printing is relatively complex, but that’s only because it hasn’t gained popularity yet. Once there are more slicers in the market with non-planar models, it will be easier. We would also like to mention that the above process is not fully refined, and there is a lot of work that goes into configuring Slic3r. We have, however, tried to break it down as much as we can to simplify it.