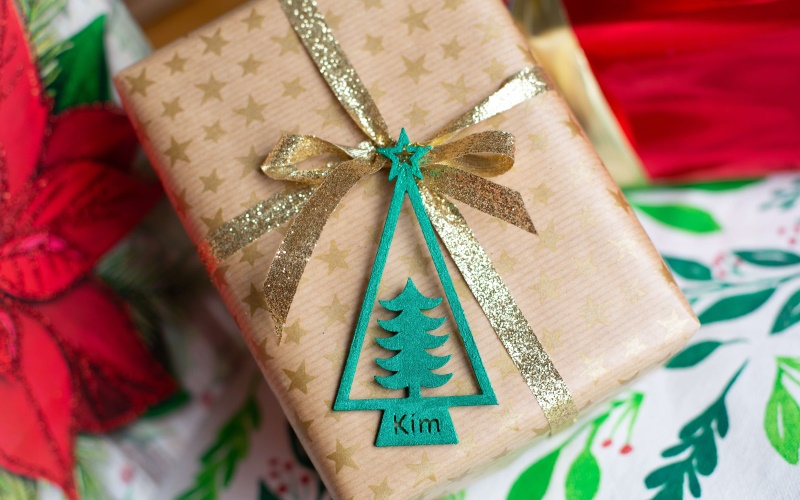
Everyone in the 3D printing industry desires to nail their first layer 3D print when beginning their print. With 3D printing, the general rule of thumb is to begin well so that you are halfway through the whole job. If you don’t get your first layer right, your 3D print is destined for failure. Getting the perfect first layer 3D print requires paying keen attention to extra detail and being fully aware of what needs to be done. A bad first layer can cause more problems, like an elephant foot, bad layer consistency, and bad bed adhesion.
Getting a great first layer should be a breeze with a few sequential steps. We have outlined all of the steps in this 3D printing first layer guide. At the end of the guide, you will know why you have had trouble getting a perfect first layer in the past and what to do to improve.
Here are some quick tips for avoiding 3D printing first layer problems.
Optimizing the first layer settings in the slicer guarantees first layer success without needing to change the rest of the print. The settings you should tune include;
First layer helpers: These improve adhesion by priming the nozzle to allow a smooth flow of plastic. First layer helpers include skirts, rafts, and brims. Skirts surround the 3D print model and should be printed around it. Their primary purpose is to prepare the nozzle to deliver the best results when working on your print. Your nozzle may have small temporary blockages that get dislodged after extrusion. The skirt prevents this from happening to your actual 3D model, thus increasing your chances of getting a perfect first layer.
Brims are similar to skirts, except they touch your 3D model’s walls. Their main purpose is to give your 3D prints a solid foundation underneath. Although they use more filament than skirts, they improve the first layer tremendously.
Rafts are the solid base on which your 3D model is printed. With rafts, you don’t have to worry about flawless bed leveling as they cover all errors. The first layer adheres better to a raft, and you can easily remove it from the print when you are done. You will need extra printing material with rafts, and depending on your printer’s settings, detaching them from the print may not be a breeze-through task. You can adjust the raft settings to manage the amount of filament needed and allow easy detaching.
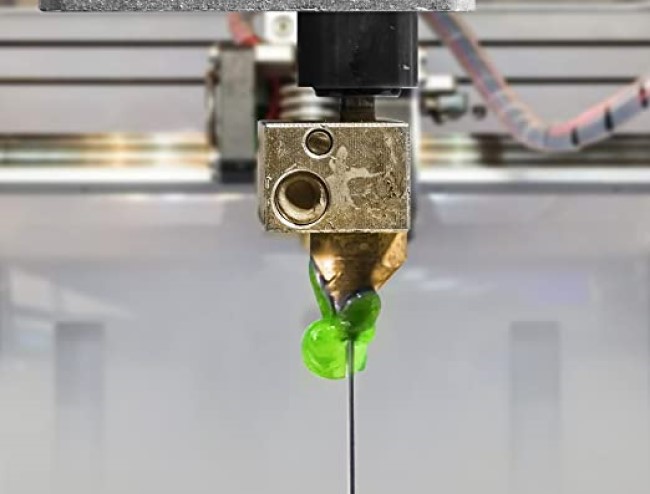
Print and bed temperature: The first layer print and bed temperature settings change the temperature at which your 3D print’s first layer is printed. A higher temperature will give you better results as the plastic will melt better and adhere to the bed. You can increase the bed and nozzle temperatures by 5 °C. H3
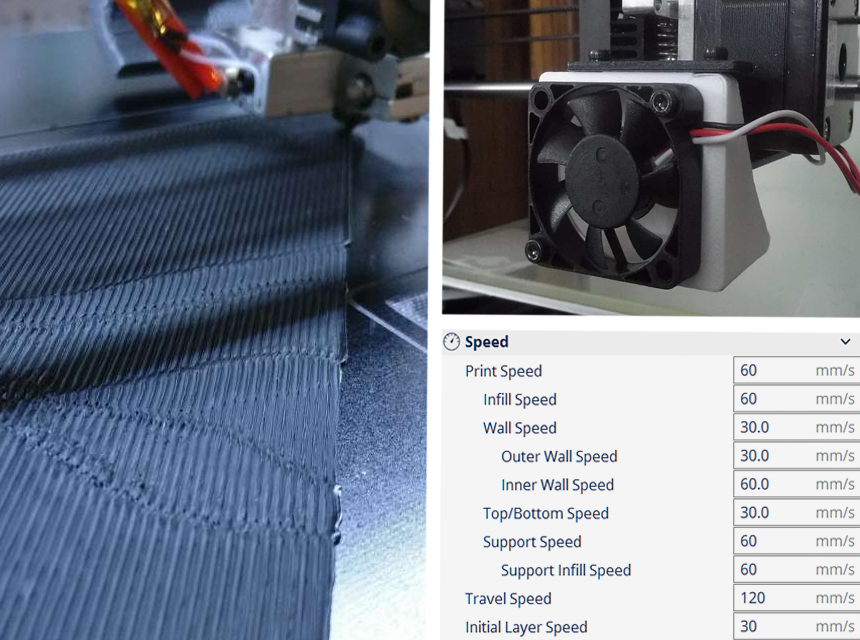
First layer printing speed: Adjusting this setting will change the extrusion speed of the first layer. Like raising print bed temperature, a slower printing speed gives the plastic more time to melt. If your first layer printing speed is 100%, set it as low as 50% for better results. You also need to change the fan speed settings. Although the cooling process is crucial for 3D printing success, you must lay off the fan for the first layers. Turning off the fan will let the print settle nicely and adhere to the warm print surface. You can use the fan from the second layer onwards.
First layer line width and height: Adjusting to higher line width settings increases your odds for first layer success because the layers squish to the bed and get a good hold. You can adjust the line width settings to twice your 3D printer nozzle bore size, which according to Bondtech, is usually 0.4 mm.
As for first layer height, go with a higher height value to mitigate the effects of leveling errors and increase reliability. With a standard 0.4 mm nozzle, you can go up to 0.3 mm.
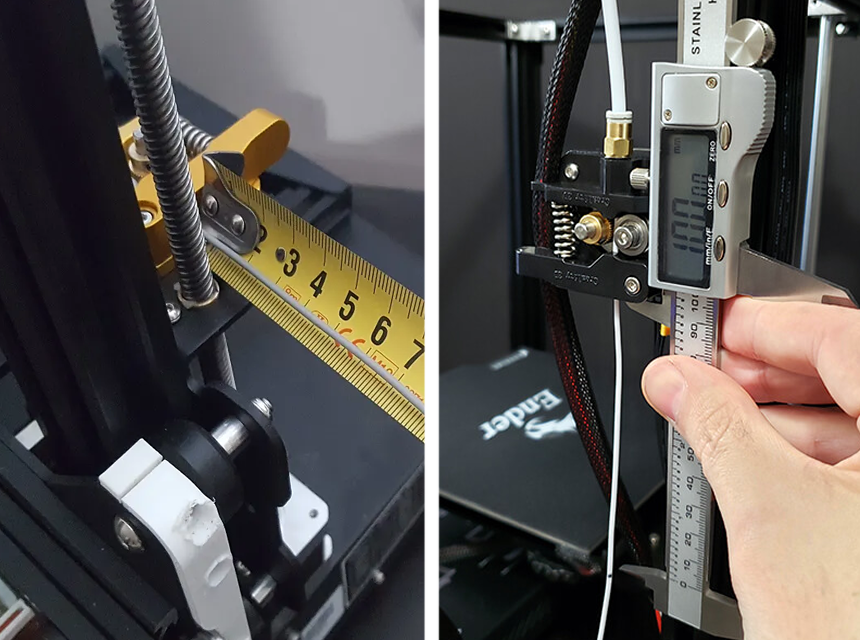
Accurate bed leveling is a crucial step in 3D printing. Luckily, most modern 3D printers come with automatic bed-leveling wizards. It automatically moves the nozzle to the machine’s four corners and the bed’s center. It also raises the Z-axis between moves, so you avoid scratching your bed. Although it is incredibly helpful, an automatic bed leveling wizard is unnecessary. You can level the bed manually. For first layer success, manual bed leveling is highly recommended even for printers that have automatic bed leveling wizards for reliability and efficiency. It may take some time to get used to leveling the bed accurately, but it gets easier with enough practice.
To level the bed manually;
If you are in the market for a 3D printer with automatic bed leveling and have no idea what to look for, check out our article on the best auto-leveling 3D printers for top-rated options.
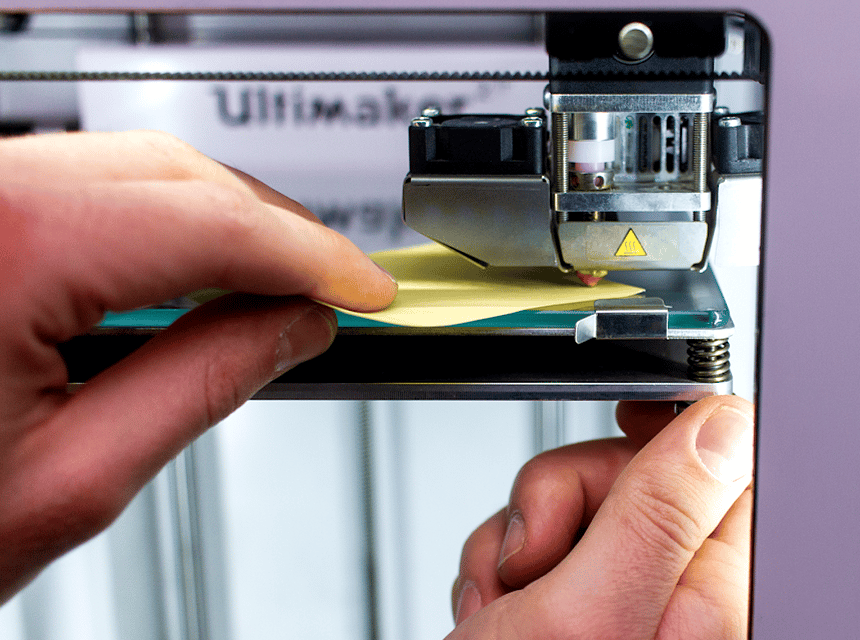
Optimizing your printer’s settings is useless if the nozzle is clogged and the printing surface is dirty. Before you get on with anything, inspect the build platform and the extruder for dirt, dust or anything repulsive. A dirty print surface is usually the primary cause of 3D printing first layer not sticking.
You can use isopropyl alcohol to clean the print surface and make a habit of wiping it frequently with a dry cloth. Isopropyl alcohol will rid your print surface of any grease, filament residue, dust, or dirt.
Check our article on how to clean a 3D printer bed for a more detailed step-by-step guide.
The materials you use for printing largely impact the first layer quality. Consider both the printer’s print surface and filament. Here are things you can do to avoid 3D printing first layer problems caused by some printing materials;
If using TPE or PTEG, do not print directly onto the bed. According to an article by CNET, TPE and PTEG tend to stick too well to surfaces and can tear out pieces of any surface you have. Therefore, you must use a release agent with these materials.
Use an adhesion helper on the bed to enhance the adhesion of stubborn materials. Adhesion helpers also act as release agents for materials like TPE and PTEG that stick too well. Hairspray, standard household glue stick or blue painter’s tape would do the trick.
Many 3D printer users miss out on this crucial step that has a huge impact on the first layer results. A well calibrated extruder results in great first layers and better overall print quality.
Ensure your build surface is not worn out. Most 3D printing enthusiasts swear by the impact a changed bed surface has on their first layers and overall print quality. PEI coated beds are the most acclaimed build surfaces by 3D printer users. You can opt for other premium options but PEI coated beds seem to work better.
PEI coated beds prevent warping and curling and allow for good adhesion for the whole printing process. Most Prusa printers come with PEI coated beds and the manufacturers recommend using acetone on the print surface after printing for hundreds of hours. The acetone will help improve its adhesive capabilities that tend to wear down after several printing sessions.
Several factors determine the quality of the first layer. Some top reasons why you never seem to get a perfect 3D printing first layer include: unleveled print bed, clogged nozzle or extruder, unclean print surface, incorrect temperature settings, and bad printing speed. If the nozzle is too close to the print bed, you will also get bad first layer results.
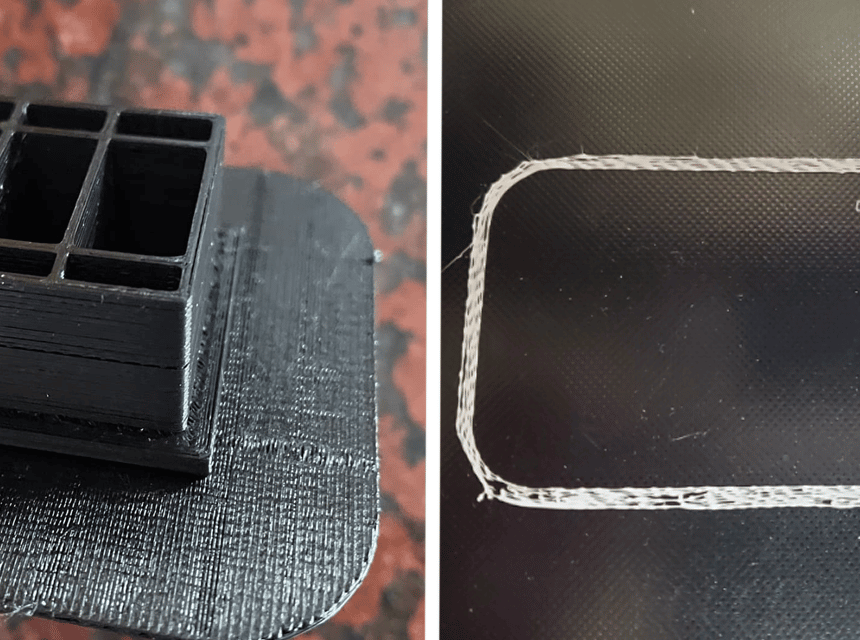
Gaps in the first layer are not a pretty sight. The most common solution to fixing gaps in 3D printing first layer is flawless leveling of the print bed. Replacing a warped bed also works because it is usually a primary cause of gaps. Another solid solution to filling the first layer gaps would be increasing the first layer line width to 120% of the nozzle diameter.
Ripples like other 3D printing first layer problems are caused by unleveled print bed, high printing speeds, improper first layer height or flow, the nozzle being too close to the print bed and leaving the fan on for the first layer.
First layer quality is super-critical in 3D printing as it determines the overall print quality. If you master how to do your first layers properly, you will always breeze through most of your projects. To become a pro, you must first learn all the factors that influence a good or bad first layer. Afterwards, you can get into the specific techniques and methods of creating perfect first layers.
We have covered 3D printing troubleshooting first layer extensively in this guide. With the pro tips and step by step guides, you will realize getting a perfect first layer 3D print is not rocket science. A little knowledge and a few tweaks on your 3D printer go a long way. Plus, practice makes perfect.