One of the most crucial first steps in 3D printing is 3D printer bed leveling. While making sure the first layer of your print is the proper distance away from your bed is crucial, you also have to pay attention to the back end of your print. While an unleveled bed may not result in hilarious 3D printing disasters Trusted Source 3D printing failures shared online 3D printing is the art of turning a 3D design on your computer into a solid object. However, this does not always run smoothly. www.bbc.com , it could affect the overall durability, structure, and quality of the print.
Leveling the bed when 3D printing can be a pretty tough task, especially for beginners. But to make things easier for you, we’ve compiled a guide with everything you need to know about 3D printer bed leveling. We teach you how to do it manually, use 3D printer auto bed leveling features, and more to help you get the highest quality prints possible!
A level bed is one that is equidistant from the nozzle of your printer across the entire plate and build surface. So, you don’t level your bed relative to the floor; instead, it’s relative to the nozzle.
You can also level your bed by placing it perfectly parallel to the printhead. At times, when you use a bubble to measure whether or not the bed is level, it might show that it is uneven. However, you’ll find that even if the bubble is skewed, if your bed is level and parallel to the printhead or nozzles, the first layer of your print will be entirely flat.
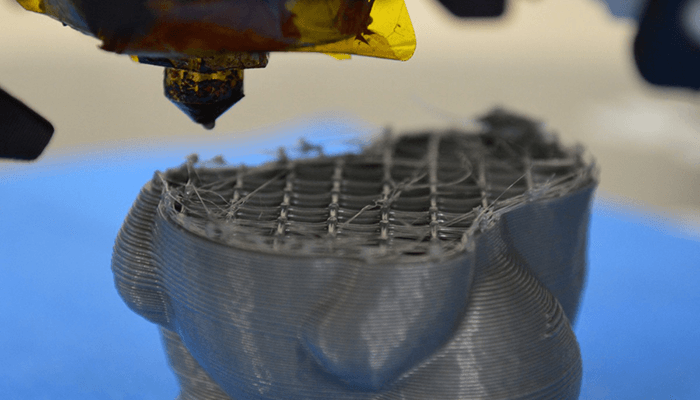
If you don’t level your bed properly when 3D printing, you might end up with a skewed print that isn’t structurally sound or doesn’t do the job properly. Since 3D printing is slowly growing and people are starting to use the technology for a variety of applications like prosthetics and even building a neighborhood Trusted Source The world's first 3D-printed neighborhood is being built in Mexico for families living on $3 a day - CNN A giant 3D printer built two houses in an impoverished, rural part of Mexico last week, breaking ground on what will be the first 3D-printed neighborhood in the world. edition.cnn.com , everyone needs to understand how to build a structurally sound and even print every time. And to do that, you need to start with a perfectly level bed.
Typically, you will only have to level the bed of your 3D printer every 5-10 prints. The number of times you have to level a bed depends on a range of factors, such as how stable the print is and how careful you are when you remove the prints. However, if you’re doing a large print that will take longer than 15 hours, it’s always advisable to level a bed.
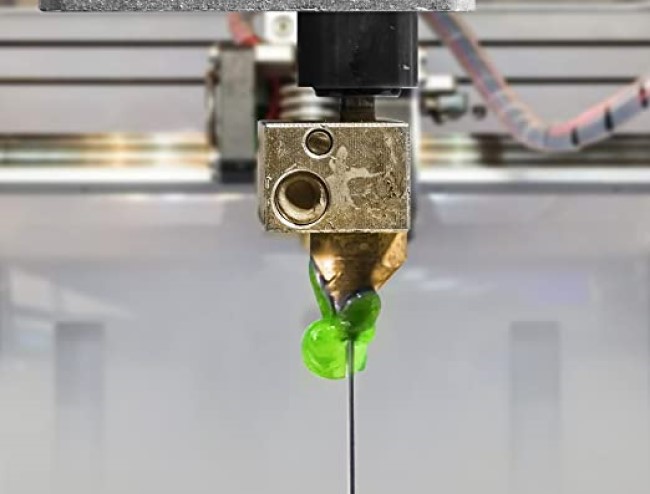
If you notice that your filament doesn’t stick to the build surface in all the places or the nozzle doesn’t excrete filament in certain places, then that’s an indicator that you need to level your bed.
Here are the essential 3D printing bed leveling tools you will need to have in your 3D printer bed leveling kit. It’s crucial to stock up on the proper tools to maintain your 3D printer and ensure that it will consistently produce high-quality and balanced prints.
If your 3D printer doesn’t have knobs, you will likely need one of these tools to adjust the screws that you will find on the bed.
Safety should always be a top priority when dealing with any piece of equipment. Whenever you work near a nozzle, it’s always important to protect your hands. We recommend using the Aillary Heat Resistant Gloves for the job as they can withstand very high temperatures and keep your hands safe at all times.
The paper will be used to hold the slide between the tip of the nozzle and the build plate. You can use regular office paper and cut it down to size, or any similar thin object can do the trick as well.

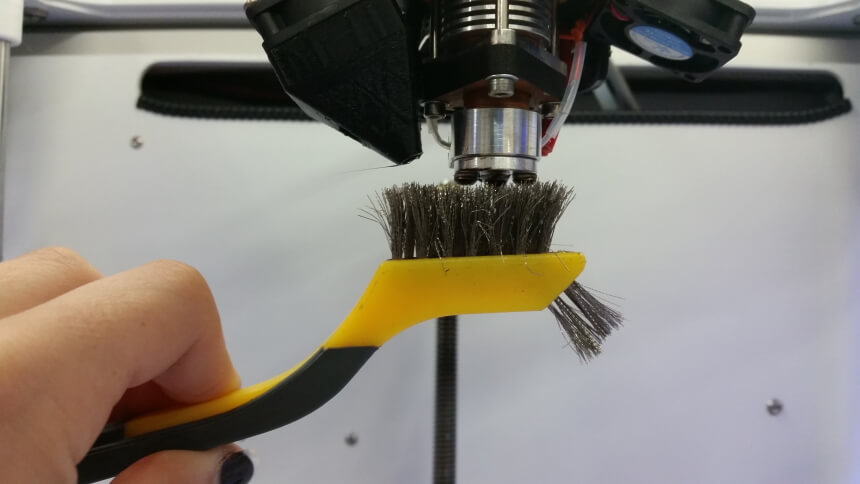
When leveling the bed, it’s important to clean the nozzle as well. Remember, the cleaner the nozzle, the better it works. You can do this with either a clean cotton cloth or brass brushes. There are many reasons filament can stick to your nozzle, and keeping your machine clean is one of the best ways to avoid this.
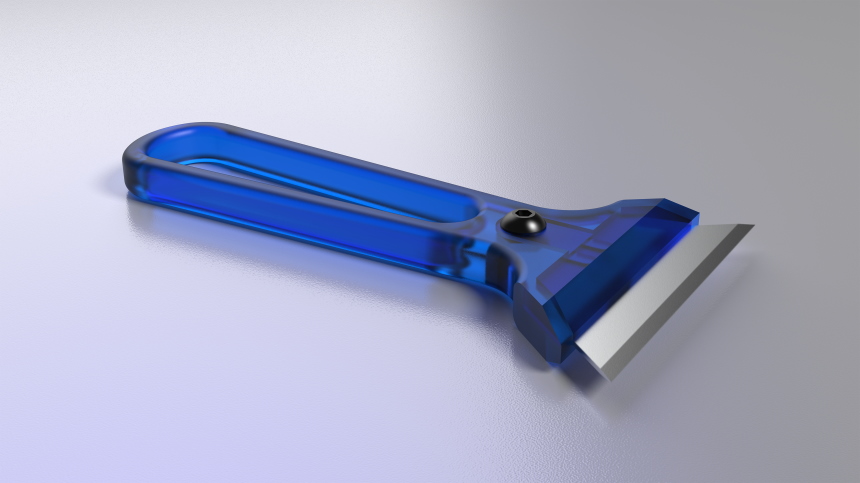
These tools will be used to clean the build plate. Use either of these options to scrape residue from the build plate to give you a clean and even surface to work with.
This will be used to help remove any dust or grime that may be on your machine.
Any 3D printer bed leveling kit needs to have isopropyl alcohol. This helps you thoroughly clean the build plate that is permanently mounted on the printer. Cleaning your printer regularly is crucial for maintenance. To learn more, we’ve made a comprehensive guide to cleaning your 3D printer bed that you can use to help keep your tools in tip-top shape!
If you’re looking to level the bed of your 3D printer manually, here are the steps to accomplish that.
To level your 3D printer bed, you need to clear out your workspace and keep it as neat as possible. It’s crucial to have enough space to work comfortably and also a proper space for leaving your tools when not in use.
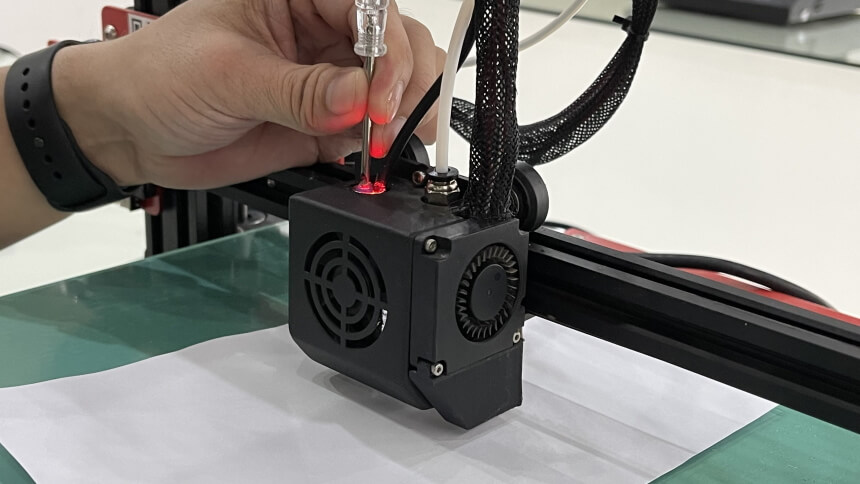
If there’s any residue left in the nozzle, your calculations will be off, and you’ll need to start the process all over again. So, make sure to remove the excess plastic by heating the nozzle up to the last temperature that was used. Remember, always prioritize safety when working with 3D printers and wear heat-resistant gloves when working near the nozzle.
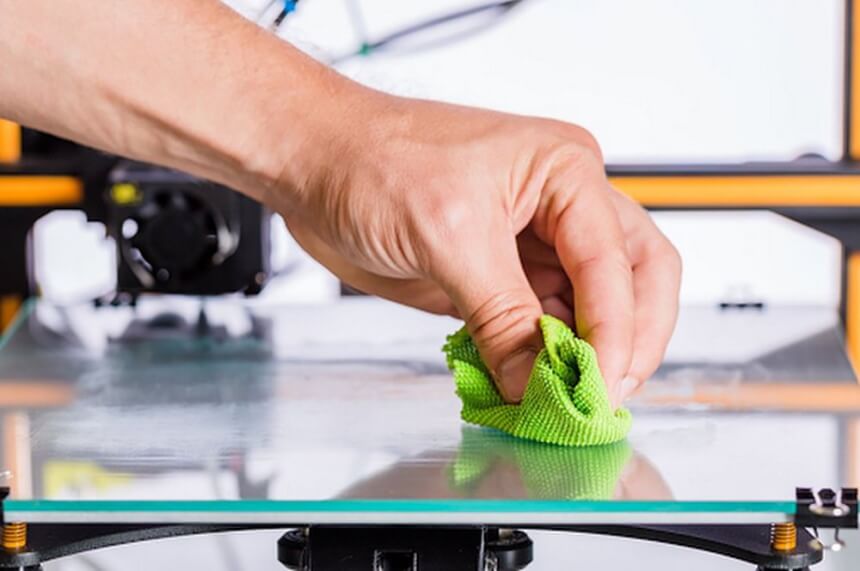
For this, you need to use a razor blade or a spatula to remove any of the excess residues that may be on the build surface. After removing the large debris, you can then clean the build plate by cleaning it with isopropyl alcohol and a paper towel. Or, if you can remove the plate, you can wash it in the sink with regular dish soap.
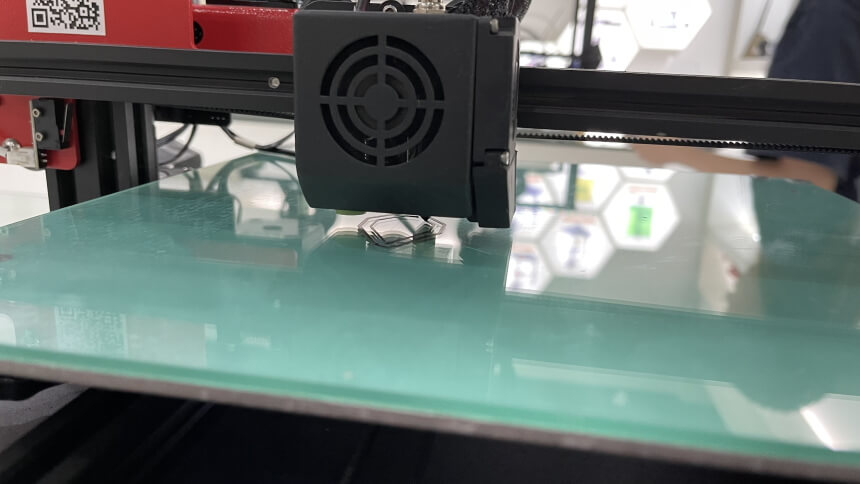
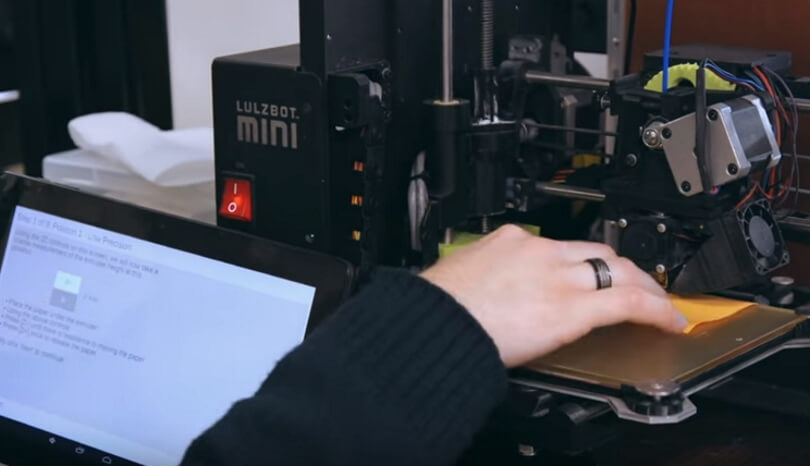
For this step, it’s important to get the nozzle as close to the build plate as possible. It doesn’t have to be too close, but make sure that they are near each other. From there, you can position your printhead using the software you use for printing. After that, the nozzle will automatically adjust to what is believed to be the right position. Once it’s in the proper position, unlock the motors to place the printhead on the right spot in the x and y plane.
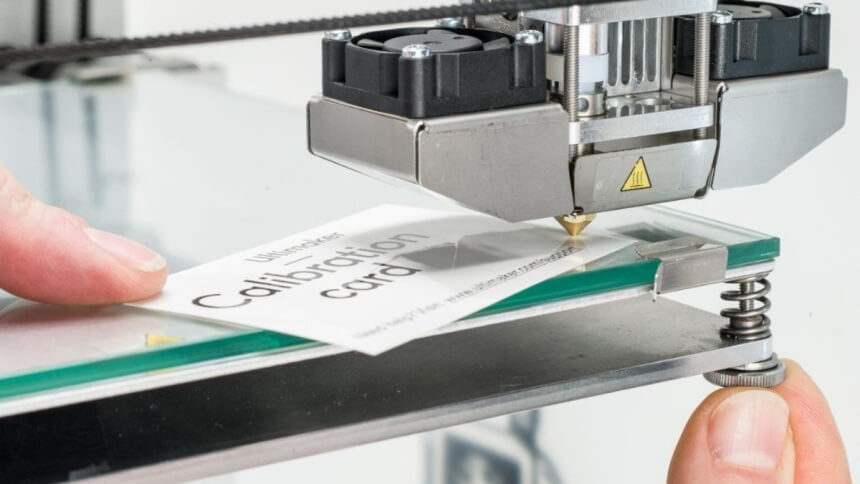
You want the nozzle to only touch the build plate at these locations, which is why people use paper to test the distance. Any thin object like a regular piece of paper will be a great indicator of the distance.
Slide your paper between the build plate and the printhead until you only feel a slight drag on the paper. If you don’t feel any drag at all, you need to move it down closer until you feel it. When doing this, don’t put pressure on the build plate itself as that will lower the plate and cause inaccurate measurements. Repeat this for all five points that need to be in contact with the nozzle (four corners and the center).
Once you’ve adjusted everything, you can tighten all the screws. If your printer has knobs, then you won’t need any tools for this. However, it’s normal for you to have to use either a screwdriver or hex key for this step.
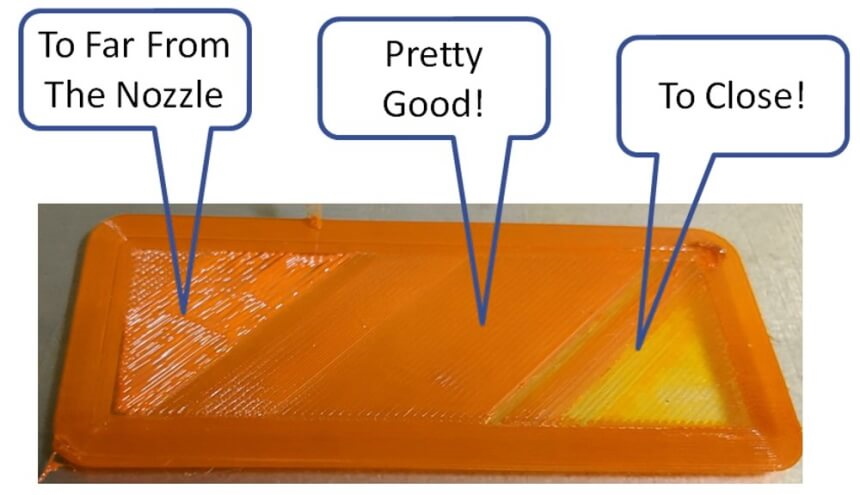
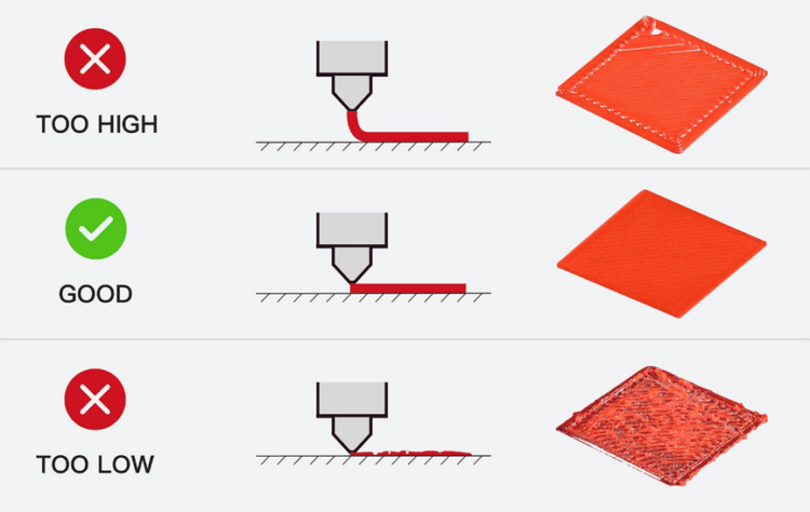
Once everything is locked in place, you can further test if the bed is leveled by printing the first layer. After it finished printing, conduct a careful inspection of the layer. If your bed is level, the thin layer should be more or less the same all throughout the build plate. If it isn’t even, then you might need to go back and adjust the bed level further.
Once everything is level, you can start your print. For large prints, it’s best to level the bed before printing to ensure that everything is flat and your print won’t fall or topple over in the middle of the entire process.
Usually, manual bed leveling is enough. To start the process, you will need to download software such as MatterControl. From there, these are the steps to using it to fix your 3D printer bed leveling issues;
These machines have a 3D printer auto bed leveling sensor that automatically detects the bed’s level and makes adjustments. Not all printers have this setting, but if your printer does, here is what happens when you use a 3D printer self-leveling bed firmware;
There are two different ways to adjust it, through the firmware or through your slicer. Slicer software is where you can make different adjustments, such as determining shell thickness.
Adjusting through the firmware is usually only done during printing calibration. Adjusting using the slicer is typically done before print jobs depending on the material, height, and other project parameters.
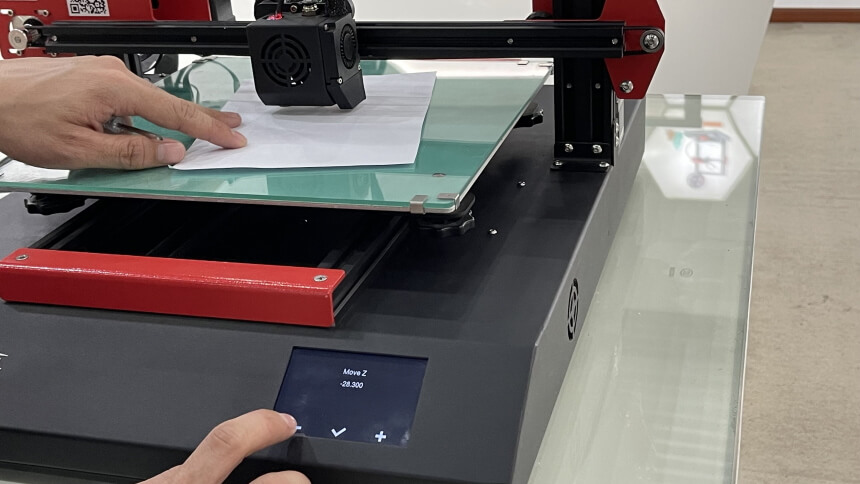
Remember, you should not adjust Z-height to compensate for poor leveling. It’s always best to start with a proper level bed when using a 3D printer. The Z-height of the machine is typically set before bed leveling and isn’t touched after that. Here are some of the different ways to tell if your nozzle gap is off;
That ends our quick and comprehensive guide to 3D printer bed leveling. There are many 3D printer bed leveling springs and 3D printer auto bed leveling kits out there that can make your life much easier. And if you don’t have time to level the bed manually, they are great options.
But when using a 3D printer, it’s always best to know how to level the bed manually to use as a backup plan when you have no other options. And with all this knowledge, you are more than ready to start leveling your 3D printer bed and creating unique and balanced prints.