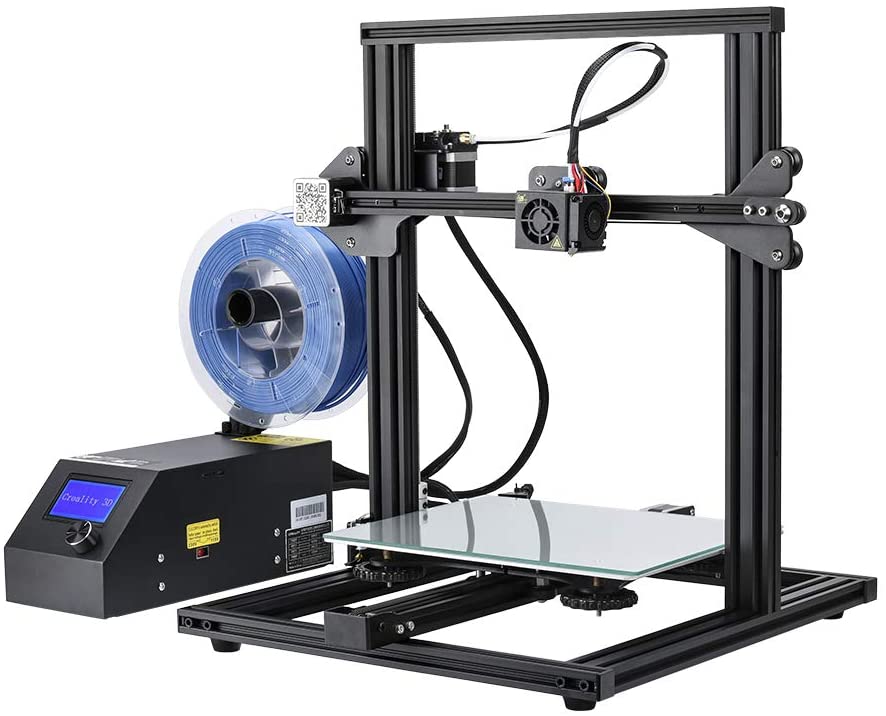
Lithophanes offer a three-dimensional look with a fancier look, and they do help you bring out the beauty of your 3D printer. One of the beautiful things about lithophanes is that you don’t need to find the most expensive 3D printer before they come out well. Although, a high-resolution stereolithographic printer is best recommended for lithophane 3D print, given its demanded level of detail, which is necessary for realization.
Lithophane helps you achieve a very showy and original result as it protects the light on the image and varies the opacity of each of its parts with thicknesses as a three-dimensional image. This three-dimensional image called lithophane Trusted Source What Is a Lithophane A lithophane is a very special piece of art from the past. It has a rich history and has evolved over many years. itslitho.com , used to be baked in porcelain, molded in plaster, and traditionally carved from wax back then in the nineteenth century where it originated from. But in this present age, lithophane can be created in a very simple way, and it’s becoming more accessible, all thanks to 3D printing.
As lithophane 3D printing is becoming more popular day by day, this article exposes you to how you can create your lithophane, the different methods available, the materials you should use, the best way to print, and other essentials that you must be aware of.
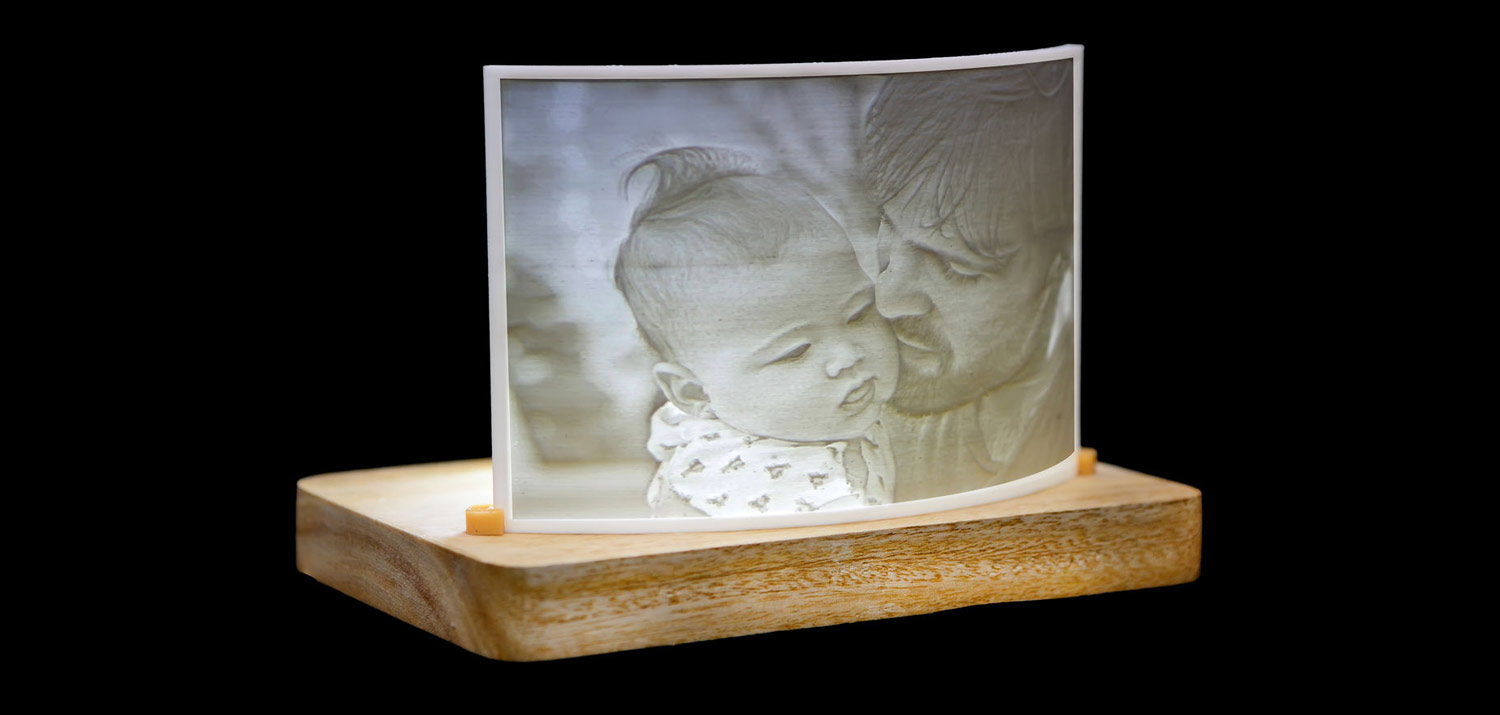
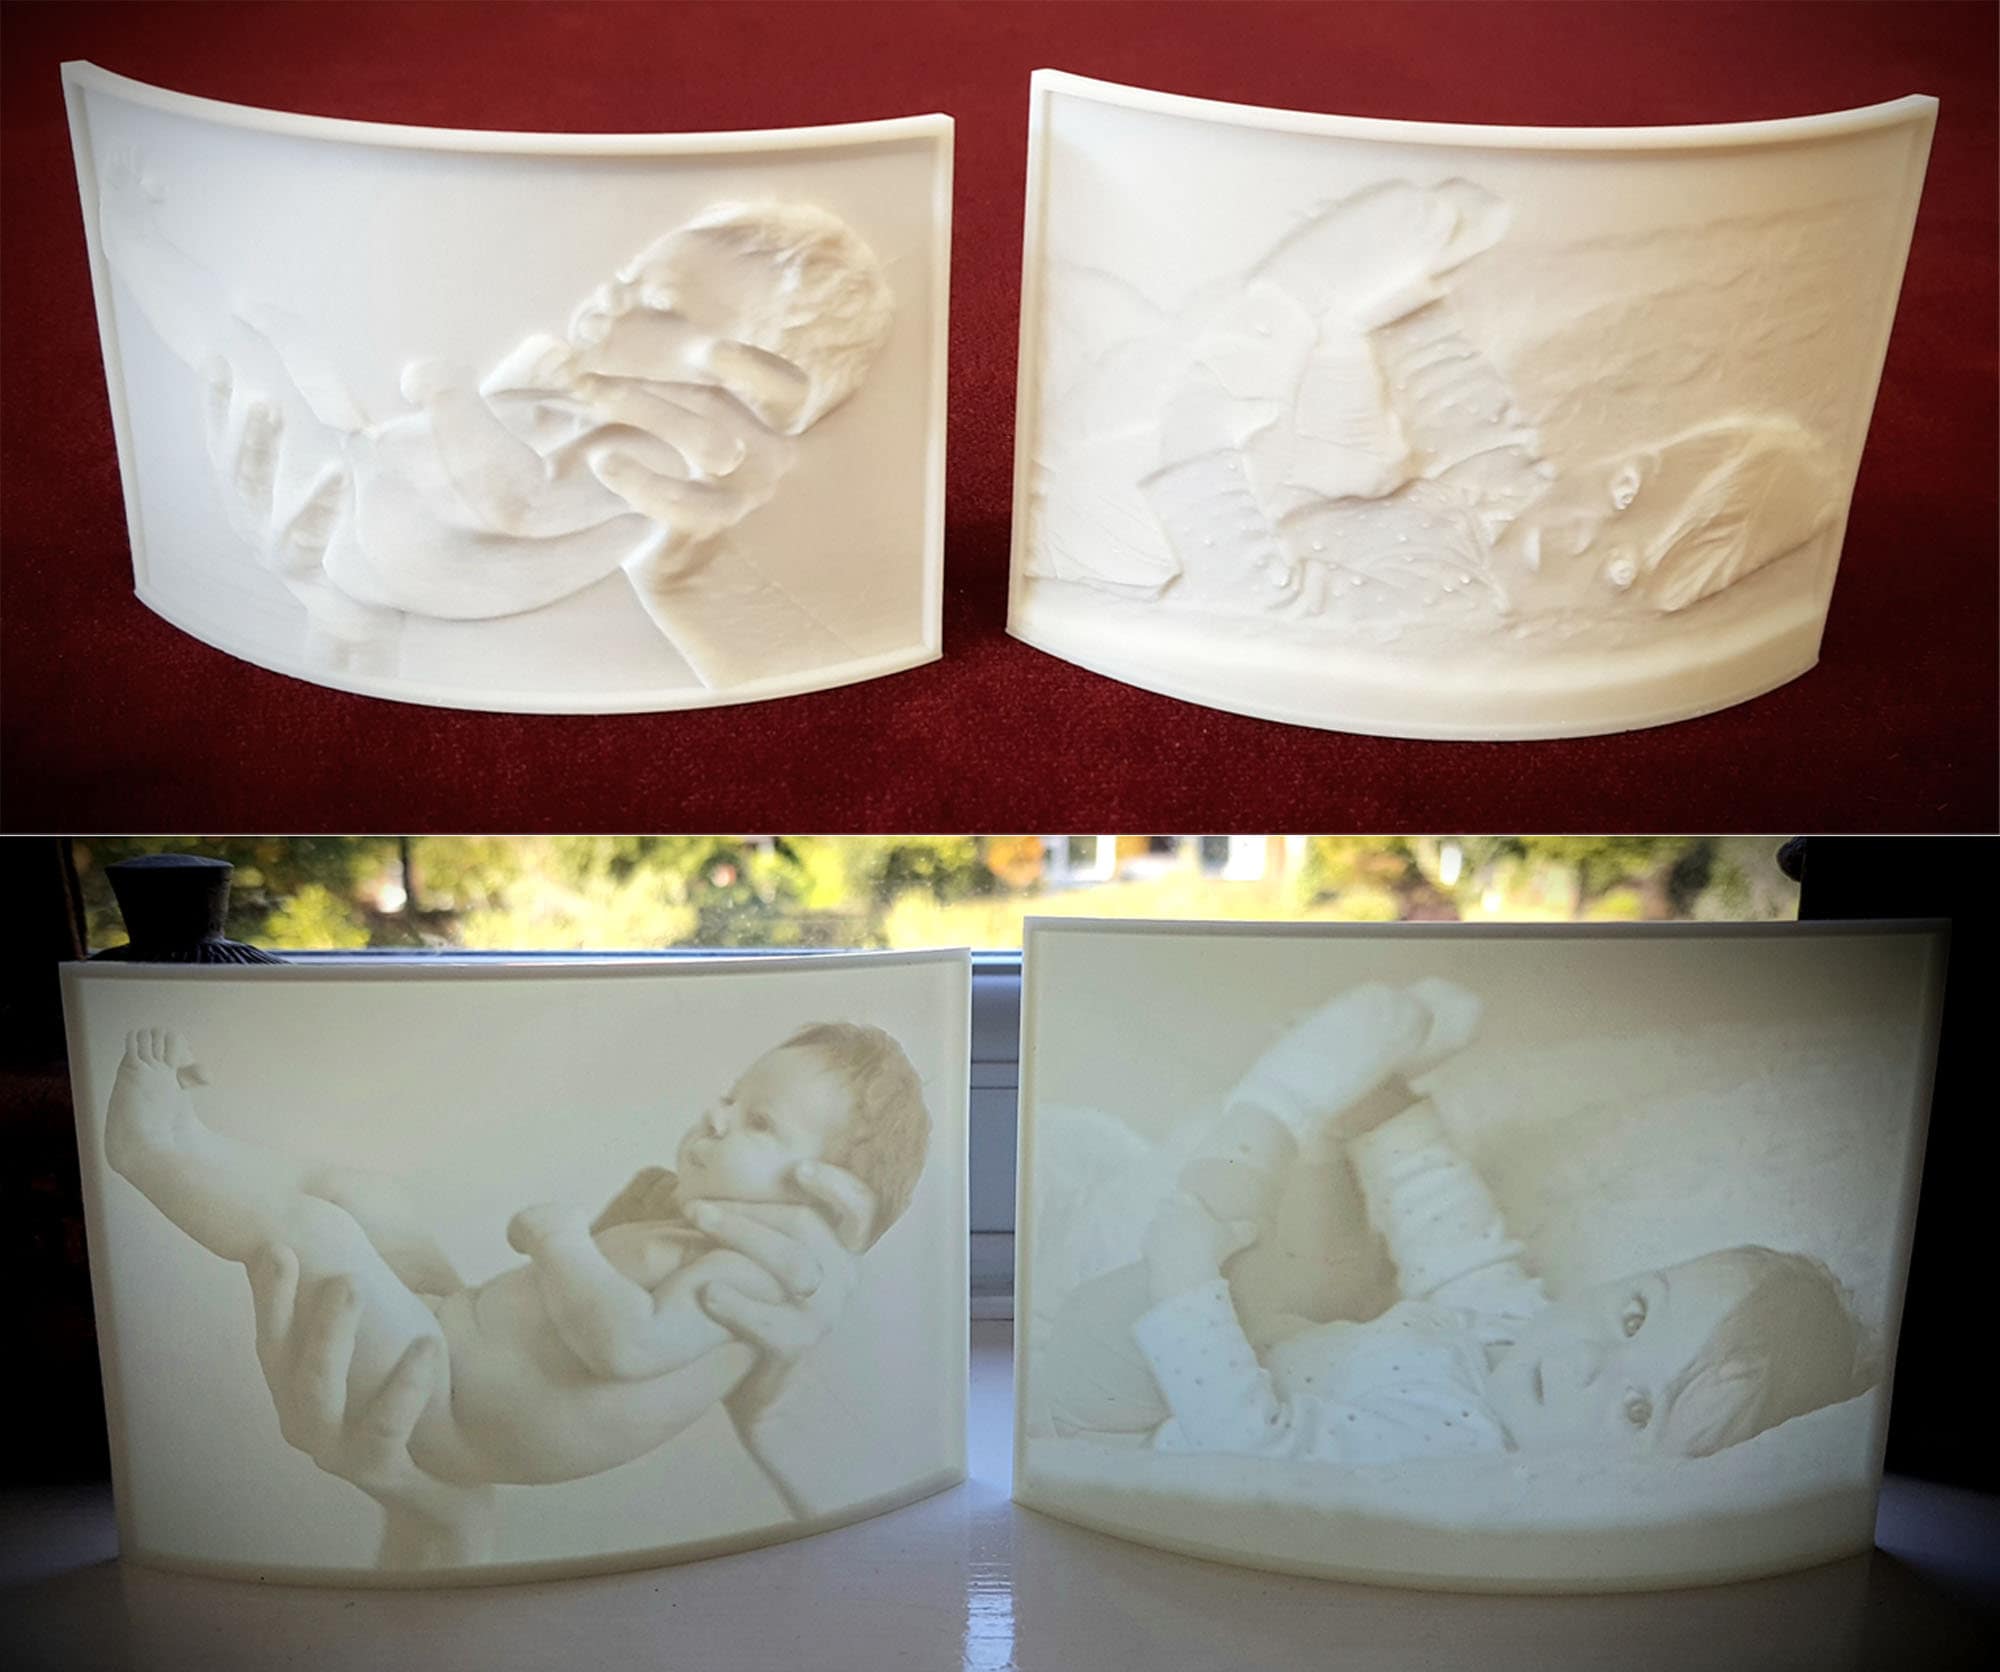
For some people, lithophane is a mystery, and to others, it’s just a photo. Most people don’t have a clear understanding of what lithophane is, and this explains why it’s vital to define what lithophane is. In simple words, lithophane is a special image where the lighter areas of the picture are thinner and the darker areas are thicker. This does help to create a charming and fantastic result with the way it matches the thickness to the image’s brightness as a 3D model.
Lithophane emulates the color gradient of the original photo, it gets darker in the thicker areas, and the light passes through the piece. For this image to look incredible, it requires only good lighting when printed. If you’re looking for the most personalized item you can 3D print, you should look no further than lithophane, and it’s one of the best gifts you can give your family members at Christmas or your friends on their birthday or any other special occasion. And you can be confident that the receiver of lithophane will find it worthwhile. Lithophanes are unique. When illuminated from behind, they show varied shades of grey with the thickness of the print as a 3D print of a photo.
It’s essential that you don’t compromise on choosing the best filament for your lithophane because using the right kind of filament is very vital to get a good lithophane. Understanding that your filament plays a significant role in the quality and output of your lithophane, getting precise print settings and a host of other notable things must also be put into account.
It’s some of these necessary demands that make many see lithophanes to be somewhat challenging to make.
Nevertheless, without digressing from the matter, which is on choosing the best brand that produces white PLA filament, we foremost advise you that you don’t quickly get drowned out there but take your time to make proper inquiries. Secondly, look for a brand that is recognized and reputed for its high quality. And a quality filament like the Anycubic PETG Filament would work perfectly fine for your lithophanes because user reviews confirm its authenticity and uniqueness.
However, you may want to go for a premium brand if the premium option is what your heart thirsts for. And on the other hand, a budget white PLA should do the trick if you are not particular about getting the absolute best quality. When it comes to the easiest filament to print with, PLA is the best, but other materials such as PETG can also be used for 3D print photo lithophane. Finding the best filament for lithophanes isn’t much of a fuss; the important thing is that you should get a white PLA with at least a decent dimensional accuracy.
Knowing how to make a lithophane 3D print often gives a good feeling because of how nice lithophanes are, and of course, you’ll be thrilled to make your lithophane. All you have to do is to follow some simple steps but take note that you will need a few things before you can start making your lithophane, and here are they:
Now that you are aware of the tools you’ll need to create your lithophane, you can now proceed to get into action. And, here are the four steps:

You’ll have a clear lithophane with impressive details if you choose an image with good definition and good contrast, plus you can always trust the SLA 3D printing to do justice. Nevertheless, if you need to achieve a better result because of the low contrast of your photography, you can use a photo editing tool to delete the background, raise the contrast, or get it converted to black and white.
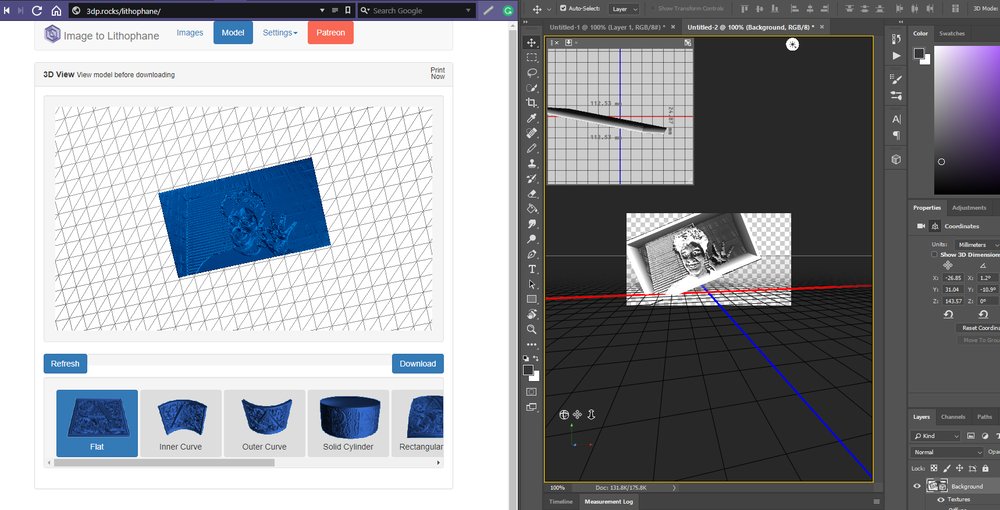
You can use any image editor or specific lithophane generation software to edit your image. And when it comes to this, you have two options to go for. The first option is to use a free lithophane generator, and the second one is to use image-editing software. The first option is a quick and easy one. You should be able to find a lithophane image converter to use because of the plenty of diverse lithophane generation tools available online. Speaking of the second option, you should manage the user-friendly settings provided by Blender or Adobe Photoshop, which are nice image editing software.
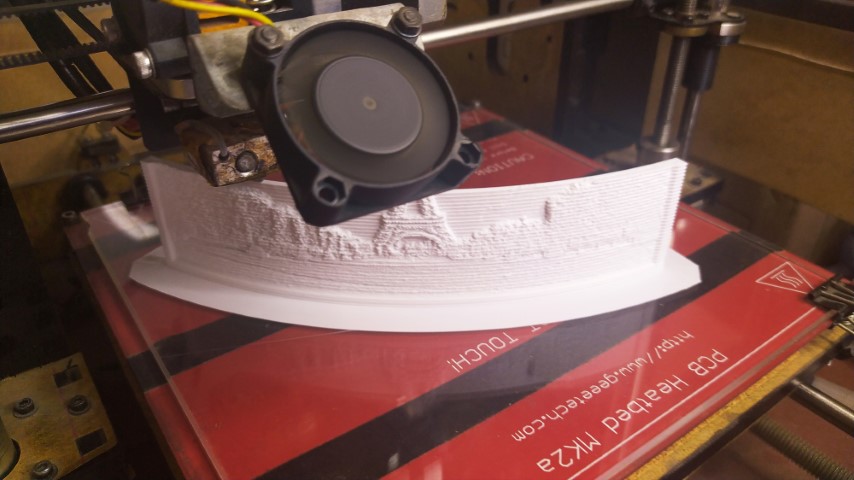
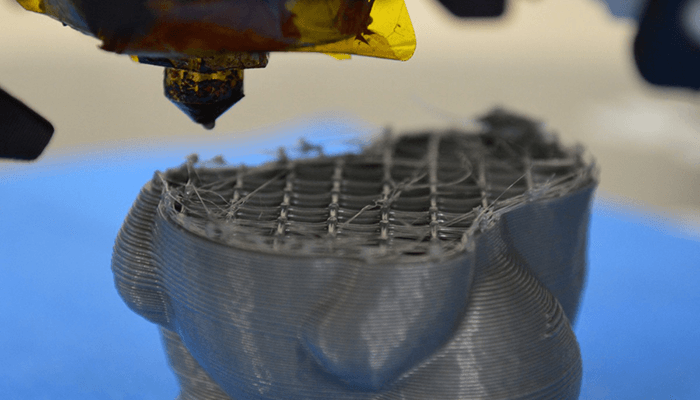
After you’ve selected the photography and designed the lithophane, what’s next to do is to print your lithophane. You have to get your file-oriented on the software you want to use and to get better results and detail, ensure the file is printed to 50 microns layer height.
Using appropriate curing devices is advisable because achieving a perfect finish requires extra care of the post-processing stage of the lithophane, owing to the fact that some parts of the lithophane are often extremely thin and delicate.
When it comes to printing your lithophanes, the easy and best material you can use is PLA. Once you’ve printed the very tiny parts, the increment in thickness makes it darker as it appears translucent. Now, when you use a white PLA, the effect will be more effective. Take note that dark colors aren’t suitable because they won’t allow the light to pass through the lithophane. But even with low-power lamps, you can achieve the best results when choosing white, which is considered the best option. And, of course, you don’t necessarily have to choose white if you don’t want to, you may choose to use any light color. However, the limited thermal resistance of PLA is one of the downsides of using it for your lithophanes 3D printing.
Regarded to be more translucent than PLA, PETG is as well a good option for printing lithophanes. But because it can cause delamination, low adherence between layers, and more warping, it’s not considered a material that is easy to print. Although, it also has its good sides of not breaking easily because it can withstand higher temperatures. Nylon lithophane is another option you can opt-in for, but this option isn’t fit for you if you are not very familiar with 3D printing. You should also take note that it needs a special hot end, and it will start clogging if it’s not dry enough. Nylon can be pretty tricky to print, and the material is often very costly.
Though ABS could have been an easy alternative, the opacity of its material is too high, and this is very worrisome. The bottom line of all of this is that the best option you have is the PLA. According to most reviews, ANYCUBIC PLA Filament is considered to be one of the best materials you’ll find around because of its great stability, high precision, and bright colors, among others. And, you may want to consider going for it if you seek the best PLA for your lithophane.
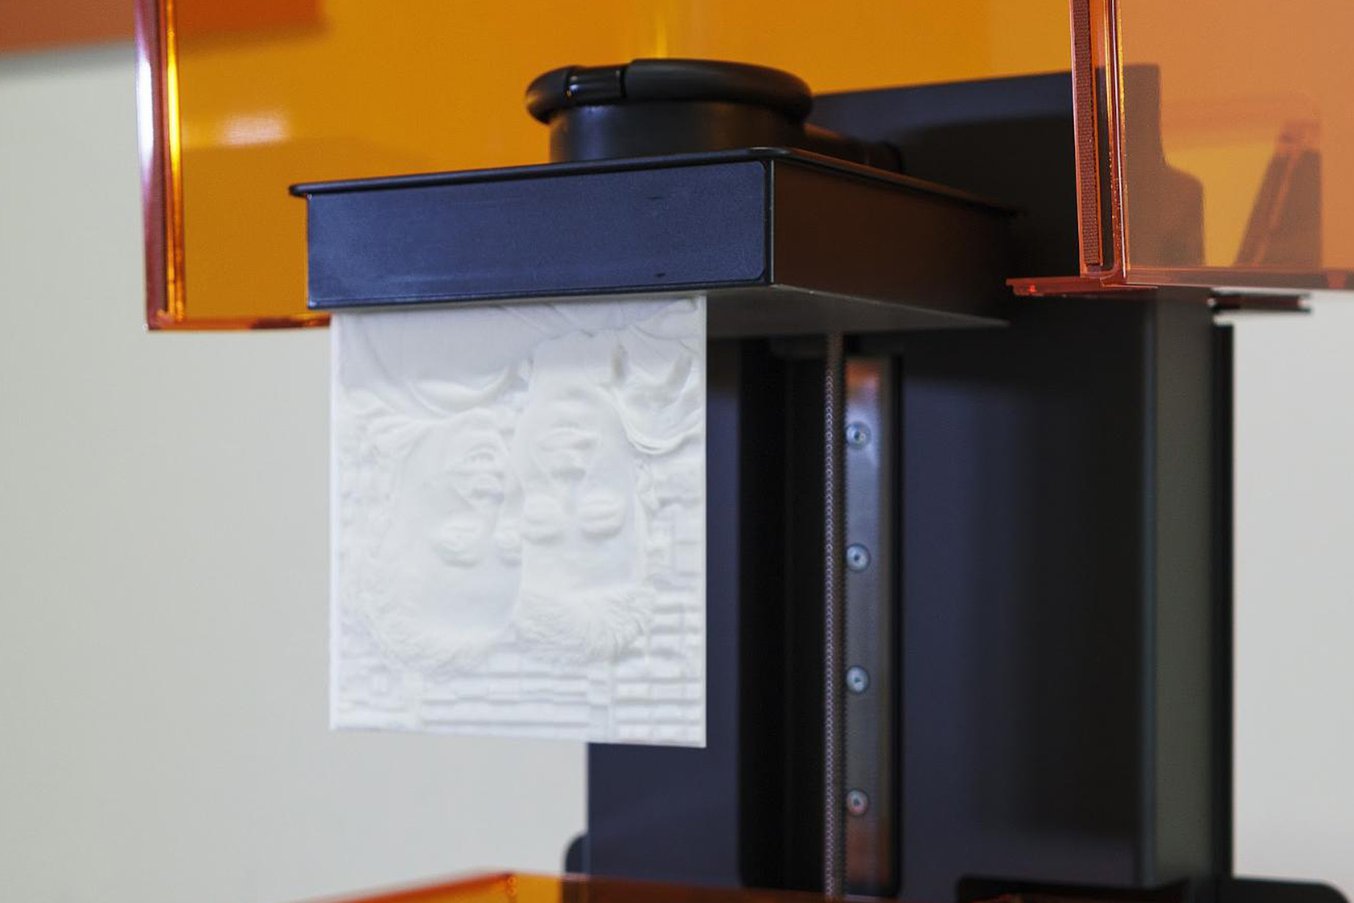
Several people who desire to know how to 3D print lithophane tend to have several questions. Knowing if printing a lithophane with an SLA printer is advisable is one of the commonly asked questions. Now, the simple response to this question is that, because this kind of printer does have a small build surface, SLA technology isn’t considered the best option for printing lithophanes. And secondly, yes, you can use a resin-based SLA printer to print a lithophane because it’s possible.
The simple truth is your knowledge of knowing how to make a lithophane can never be a waste. The beauty of lithophanes is one-of-a-kind, and it’s till you experience it that you can truly attest to its awesomeness. As mentioned earlier, lithophane is one of the best gifts you can give your family members, friends, colleagues, or other people you appreciate during a momentous occasion. And include, you can also be creative with your lithophane by using it as a business card or join the likes of those who are now using a 3D printed lithophane in place of a traditional lampshade.
With the lithophane 3D print, your photos have never been made more elegant and heartwarming, and do well not to be hesitant to follow the steps that have been outlined in this article to create your lithophane and experience its uniqueness.