When it comes to troubleshooting 3D printers, 3D print layer separation is a common problem – and it’s also one of the most problematic. As well as looking awful, this phenomenon renders the print weak mechanically speaking. Essentially, layers of your print don’t adhere to one another properly. As we know, 3D printing works by building up layers, with each layer being printed on top of the previous layer. For your 3D print to be strong, every layer needs to be adequately bonded.
Other names for this include delamination and layer splitting. Unfortunately, layer separation can’t be reversed; so, when you see it happening, you’re going to have to start the project again. In this article, we’ll examine the phenomenon of 3D print layer separation, how to figure out the cause of the problem, and how to stop layer separation from happening.
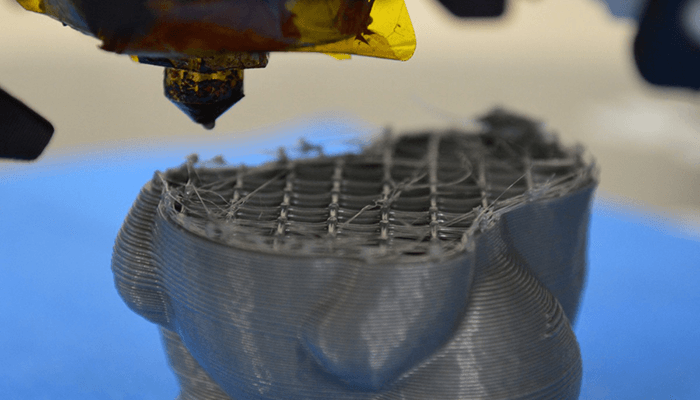
Also called layer delamination or layer splitting, this phenomenon happens because the layers don’t bond together adequately. When the 3D print Trusted Source 3D printing gets bigger, faster and stronger Research advances are changing the image of a once-niche technology. www.nature.com starts to cool, the material will expand, causing the layers to separate and warp upwards as they are not latched on to anything.
With poor layer adhesion, prints will be drastically flawed, and there will be visible separations between different print layers.
There are many different reasons why 3D print layers might separate. It could be down to settings, the printing preparation, temperatures, layer height, or the filament type. The good news is, it does not have to do with your printer’s hardware, so you don’t need to upgrade anything.
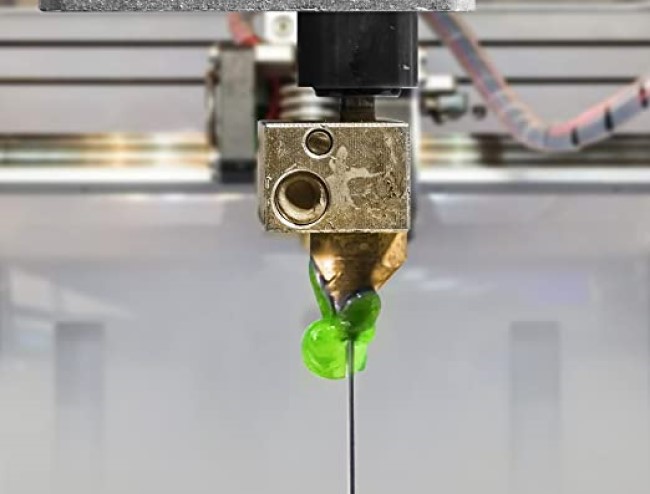
Filaments made of nylon or ABS Trusted Source Acrylonitrile butadiene styrene - Wikipedia ABS is a terpolymer made by polymerizing styrene and acrylonitrile in the presence of polybutadiene. The proportions can vary from 15% to 35% acrylonitrile, 5% to 30% butadiene and 40% to 60% styrene. The result is a long chain of polybutadiene crisscrossed with shorter chains of polystyrene-co-acrylonitrile. en.wikipedia.org are the best types of filaments for good layer adhesion. If you’re already using ABS or other filaments requiring a high temperature, the easiest solution might be to switch to a PETG or PLA filament.
If the nozzle contains dirt, dust, or residual filaments, it can get clogged. This clogging can cause extrusion problems. With inconsistent extrusion, there is often poor adhesion between layers, which is the cause of layer separation. This is especially pertinent if your 3D printer has had a period of extended use.
When it comes to setting up filaments, 3D printers are often unforgiving. If your settings aren’t spot on, you could end up with layer separation. Settings that can affect this include the printing temperature, the thickness of the layers, and the speed of the cooling fan.
While it’s impossible to fix a layer separation that has already occurred, you can try lots of different things to address the issue and resolve the problem. It’s simply a process of trial and error, and you should try to look at each of these things to see what helps to resolve your delamination issue.
With a 3D printer, you should set the height of the layers at around 80% of your printer’s nozzle diameter. If you have it higher than this, you can experience layer separation.
If you reduce the height of the layers, then there will be a squashing effect as the material extrudes.
When the filament extrudes at a higher temperature, the bonds will always be better. Increasing the nozzle temperature is another troubleshooting trick to try if you’re experiencing layer delamination with your 3D prints.
As a trial, begin by increasing the temperature of the nozzle by 5° C. Continue raising in increments of 5°C. You can keep increasing the temperature so long as you don’t exceed your filament’s workable temperature range.
Be careful with this, though. If you see blobs or stringing of your filament, your temperature could already be too high. If this happens, turn the temperature down slightly and look for other reasons why you’re getting layer separation.
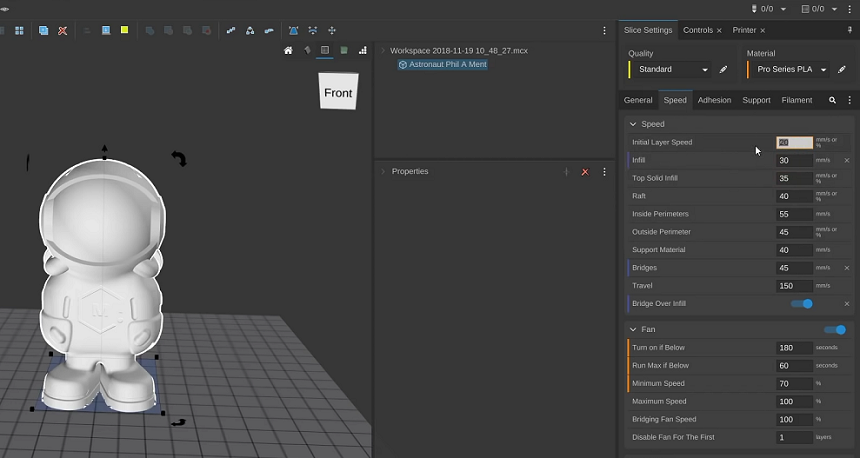
Another thing to try is reducing the print head movement speed. Reducing this by 10 mm per second increments will help you see if there’s an improvement in the delamination. Reducing the speed on the print head ensures that there is an adequate amount of filament extruding as the nozzle moves. The slower speed also gives it enough time to cool and create a strong bond with the layer below.
Lowering the speed often solves many 3D printer issues besides layer separation. If you typically like printing quickly and have increased your printer’s speed above the recommendations for the filament, you might see problems.
A higher speed will mean that the filament flows through your printer nozzle at a quicker pace. You have to ensure that the temperature is hot enough to keep up with speed. Slowing the speed will mean there is more time for the filament to become molten and fuse with the previous layer.
As you adjust the speed, do so in increments no greater than 10 mm per second until you get to around 50% of the speed you started at. If you’ve gone down this far and you’re still having problems with layer separation, speed probably isn’t causing it.
If you’re frequently experiencing 3D print layer separation issues, there is a reliable way to avoid this. Using an enclosure means you can slow down the speed of the cooling of the filament, and because the material will maintain its temperature for longer, it will bond better between layers. This is an advantage for 3D printers that are in a cool room or where there are open windows and ventilation.
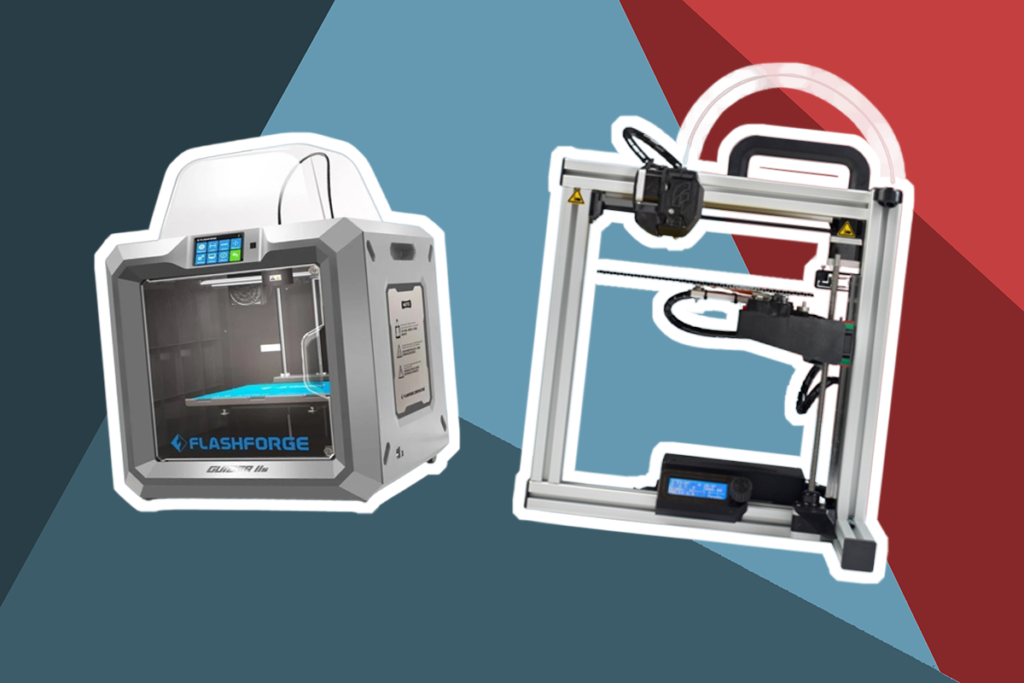
Enclosures also mean that thermal stress is redistributed in the material, which avoids typical issues with warping. The Any Cubic 4Max Pro 2.0 is an excellent enclosed 3D printer for home and work use alike, while the X-max by R QIDI Technology is an industrial-grade model.
If the 3D printer didn’t come with an enclosure, it’s possible to source a generic, third-party product. It’s even possible to make your own with inexpensive materials, but you need to ensure that you don’t choose any materials that will catch fire or melt easily.
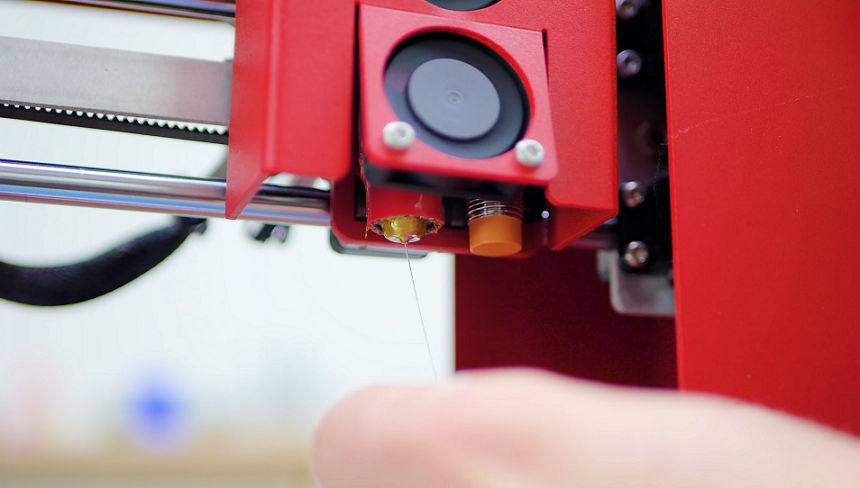
The printed layer will contain gaps or holes which will compromise the adhesion. And, because there will be less material, there won’t be enough to bond the layers. Causes of clogging could be dirt, dust, or residual filament.
If this is causing your 3D print layer separation problem, it’s a pretty easy fix. All you need to do is clean your 3D printer’s nozzle and hot end to ensure it is free of jams, clogs, and debris. For best results, you should heat it to its usual temperature for printing and then remove any debris or build-up. For this, you should use a metal pick like a needle. You can also use a steel or brass bristle brush to clean the nozzle interior.
If on inspection, you think that things aren’t in great shape, it’s not expensive to replace these parts, and they’re pretty easy to install.
Since the process of cleaning the nozzle and hot end is fairly straightforward, it’s a good idea to do this every so often to prevent layer separation from happening. This will also reduce the chances of other issues with printing happening too.
Another cleaning method to try is the “cold pull.” For this, you should put some nylon filament in the nozzle and heat it. Once it’s cooled, pull it out. If these methods haven’t worked, you should disassemble the nozzle and place it in a bowl of acetone. While it’s soaking, clean all of the extruder parts.
3D printers have cooling fans for a reason, but you don’t need to use them all of the time. If your printer is struggling with layer separation, try turning off the cooling fan. Just as an enclosure works by slowing the heat loss, so too does turning off the cooling fan. This gives the extruded filament more time to bond to its previous layer before it cools.
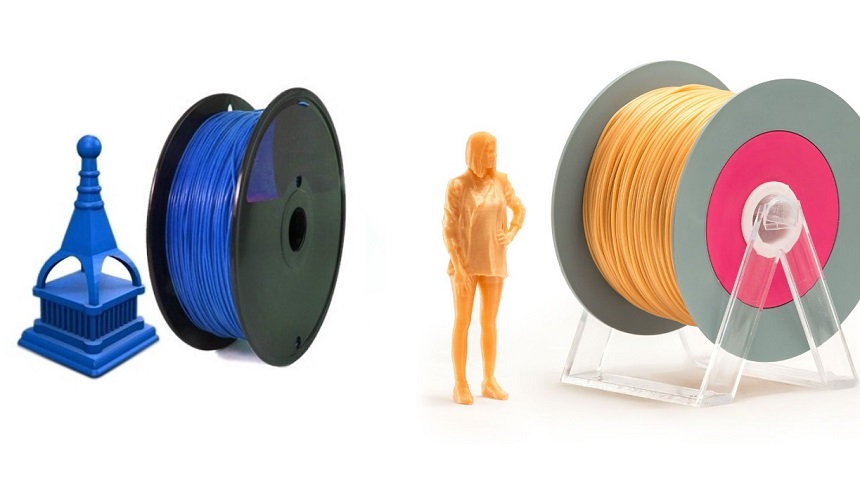
There’s a great saying in France about bad grain not being able to make good bread, and the same goes for poor filament. If you buy poor-quality, cheap filament, there’s no way it can replicate the quality of reputable brands. Cheap filament tends to be inconsistent in its diameter, which can lead to problems with extrusion and layer inconsistencies. If you’re unable to get layers to come out perfect, you’ll definitely end up with delamination problems.
You’ve probably heard this before, and you’ll probably hear it again – humidity and filament don’t mix. 3D printing filaments are hygroscopic by their nature. This means that they will absorb moisture in their environment – a bit like a dehumidifier does.
When a filament has absorbed moisture, there will certainly be extrusion problems. When the filament passes through the hot end, the water expands and evaporates. This means that the layer will end up with gaps or holes. As such, the layers won’t be as bonded, and the gaps will weaken the adhesion. Eventually, this will cause the layers to split.
For the best filament condition, it should be kept sealed inside an airtight tub that contains a small amount of desiccant. See if you can source some silica gel to keep with your filament. This is readily available and inexpensive. You might even have some lying around from purchases of other products – it’s usually stored in a little square bag with “do not eat” written on the packaging. If your filament has been stored incorrectly, it is possible to dry it in an oven before using it.
Whenever you notice your 3D printer producing products with layer separation, you need to stop it right away. You can’t salvage a product that already has separation, so you need to figure out what’s causing the issue. Following the steps in this article will help you find out what’s going wrong with your 3D printer, and you should be able to solve the issue.
It’s important to use a high-quality filament and store it correctly. If you think there’s any chance your filament has got damp, replace it, and try with a new filament. Your other filament might be salvageable, but it will take some time for all of the moisture to leave.
Finally, 3D print layer separation is a really annoying problem that can take a while to get to the bottom of. Remember, then, to carry out maintenance checks of your printer regularly, including cleaning the nozzle so that you can try to prevent the issue from arising in the first place.