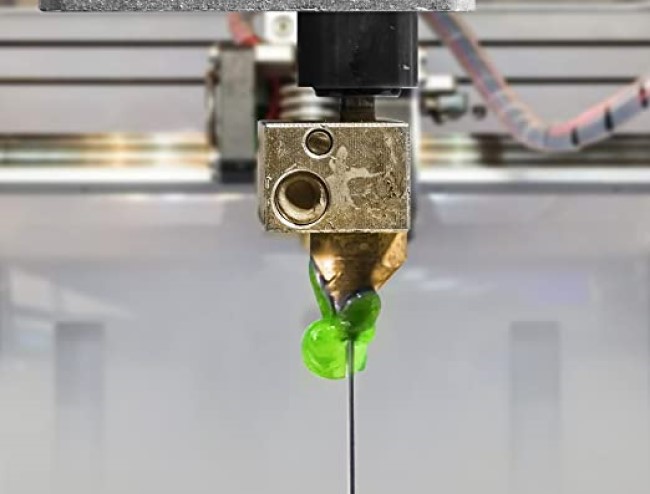
3D printing is a relatively new manufacturing process. A 3D printer creates three-dimensional solid objects from a 2D digital file. The 3D printer can print 3D objects through an additive process. It prints layer upon layer of material until a 3D object appears.
The first layer of any 3D print is one of the most crucial steps in 3D printing. Preparing the 3D printer bed is extremely important in creating that perfect first layer. The first layer is the foundation for each subsequent layer. If the first layer is defected, each following layer will have the same defect. A 3D printing elephant foot is one of the most common defects that can pose significant problems.
3D printing technology is used to create 3D architectural scale models. It is truly a remarkable step in the construction industry. Engineers can take their designs and print a 3D model for proposals. They also can use this to test and dictate the accuracy of the design before it is manufactured on a significant and expensive scale. If there is a defect in the print, it skews the results of the product it represents. For example, if a civil engineer designs a building and the print is defective, it will not properly represent the building structure.
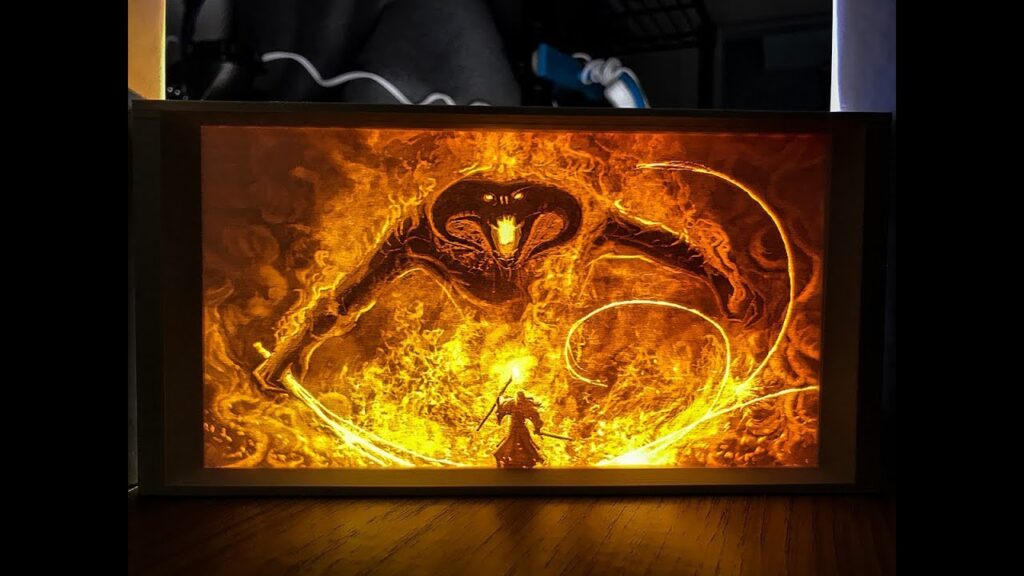
3D printing has grown increasingly popular in the arts and for jewelers. Jewelers use 3D printing to make unique and customized pieces of jewelry that are not possible with common jewelry production methods. Printing 3D jewelry is more cost-effective. All over the world, artists create intricate designs that can now be printed in a 3D object. Old famous 2D works of art have been printed. 3D print exhibits attract many art go-ers and fans.
In 2018, BBC featured the first French family that moved into a 3D printed home Trusted Source The world's first family to live in a 3D-printed home The four-bedroom property is a prototype for bigger projects aiming to make housebuilding quicker and cheaper. Could it cause a shift in the building industry? www.bbc.com . More recently, in the United States, CNN published an article Trusted Source 3D printed house: Builders say the method will reduce new home construction costs - CNN You’ve probably heard of 3D printed face masks and even 3D printed hands, as 3D printing technology has expanded over the past few decades. www.cnn.com featuring a 3D-printed house. While construction companies used 3D printing to create models of the house, one engineer made a house that is now on the market. In February 2021, the 3D debut of the 3D printed home cut construction costs by over 50% and at an alarmingly fast rate. If the printer had constructed an elephant foot, this design would have been flawed and not useable. While 3D printing is a cutting-edge technology that is growing increasingly useful, it is equally important to understand how to prevent this detrimental outcome.
If you are printing for fun or for a new piece of jewelry, a slightly larger first layer may not feel significant. You may think that the defect is unimportant or even adds character. However, a 3D printing elephant foot is a significant problem if the 3D print is being used to represent practical applications. For example, a civil engineer who designed a building and needs two 3D prints to fit together will become increasingly frustrated when the items do not adjoin.
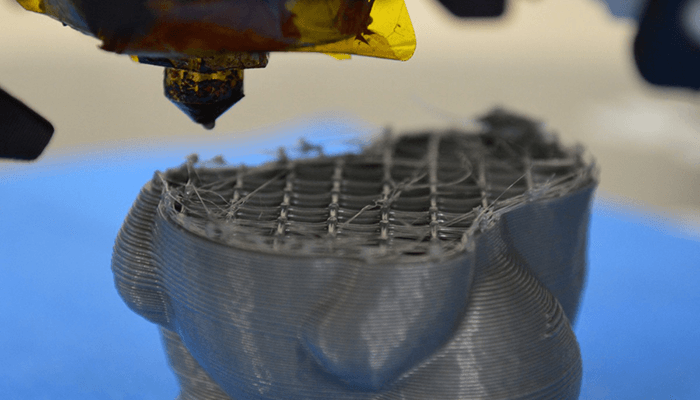
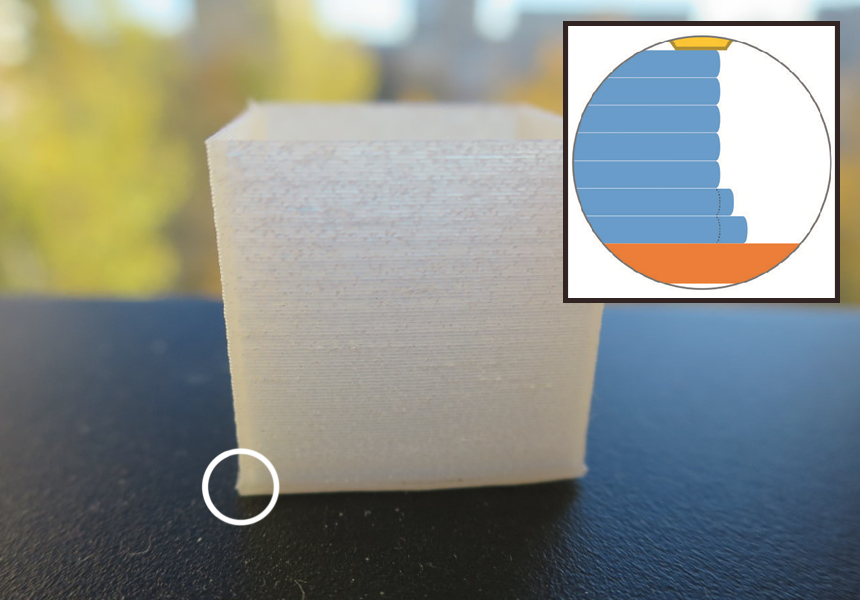
A 3D printing elephant foot is unnoticeable and unimportant most of the time. In real applications, it poses a significant issue. The defect will continue to arise in larger prints. Sometimes, you will not notice the print is bad until it is finished. You will observe the bottom of the print looking larger or disfigured. This is the issue is referred to as the elephant foot.
An elephant foot is undesirable in most practical uses of a 3D printer. This article will look at what causes a 3D elephant foot and how to prevent an elephant foot 3D from printing. We will not only discuss how to stop elephant foot 3D printing but also provide suggestions on how to clean your 3D printer bed and what to do if the filament is sticking to the nozzle.
A 3D printing elephant foot poses a significant challenge when objects are used for practical applications. To prevent a 3D printing elephant foot, you must first understand the causes.
If the nozzle is too close or far from the print bed, then the bottom of your 3D print may not be smooth. It may also not cool, resulting in an elephant foot. To overcome these issues, you will need to level the bed and ensure the bed surface is smooth.
As discussed previously, the first layer must be perfect in 3D printing. This is easier said than done. The first layer will enlarge as the weight of the printing object pushes down. 3D printing is layers upon layers. If the first layer does not have time to cool properly, the weight of the subsequent layers causes a bulge. The filament will widen to the sides of the extruder. The bottom layers will produce a much wider 3D object. To prevent printing an elephant foot, it is imperative that there is adequate cooling time. If the 3D printing bed is hot, the first layer will remain elastic and not cool well.
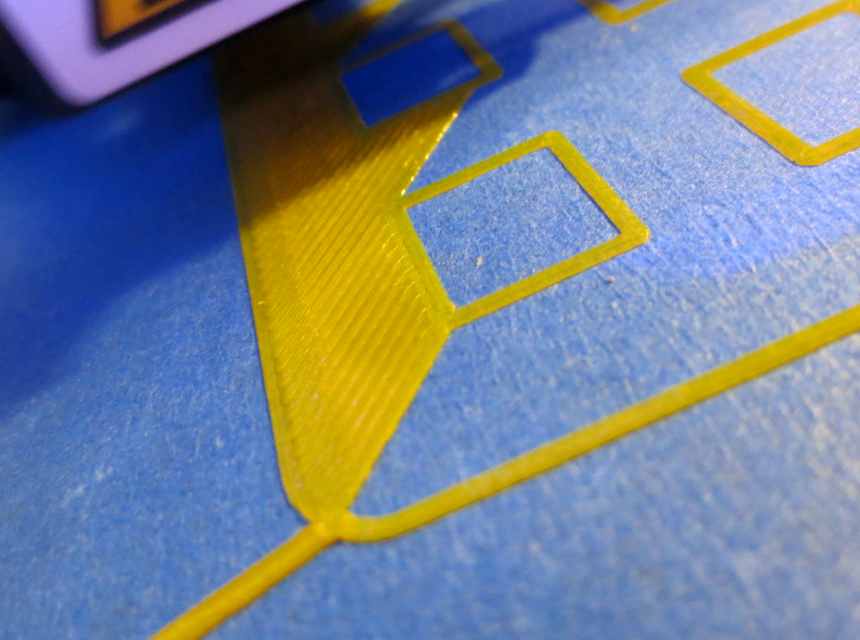
The first filament layer is essential for every 3D print. It is the foundation. The print may dislodge if the first layer does not adhere to the surface. This results in the complete failure of the 3D print.
On the other hand, if the first layer is stuck to the print surface, removing the 3D print without damaging it will be extremely difficult. Balance is key to successful 3D printing. The first layer must provide strong foundational support and be easy to remove. There are great products, like Layerneer, on the market that will help you achieve this goal.
Now that you understand the causes of an elephant foot, you can work to eliminate printing a 3D elephant foot. Part of 3D printing is having a small understanding of how the 3D printing machine operates. You should have a basic understanding of calibrating the machine for success.
The first layer must be an ideal distance from the nozzle, and the bed layer must be flat. You must consider how the first layer is sticking to the bed in both the front and back. Leveling a 3D bed is one of the most crucial steps to successful 3D printing. Most people find once the bed is leveled, the issues are resolved.
Leveling your printing bed or also known as tramming your bed, is relatively easy. The importance of leveling your bed to ensure the nozzle has the same distance to the plate at each section of the 3D print. If the nozzle is closer to one area, it will result in a deformed 3D print. Therefore, when you are leveling the bed, it should be level to the distance to the nozzle, not the floor.
Adjusting your printer’s bed by hand is the simplest kind of bed leveling. Cheaper 3D printers require manual bed leveling as they do not have the technology or hardware to perform software leveling. The bedplate will be secured to the bed carriage with screws, thumbscrews, and springs. This bed plate is not permanently mounted. You can pivot the bedplate by adjusting the attachments without the bedplate bouncing or shaking during the printing process. The bedplate will easily pivot.
There are many free and readily available step-by-step guides Trusted Source 3D Printer Bed Leveling: Manual, Software and Firmware Guide Tools required to 3d printer bed leveling along with a step-by-step analysis of the entire procedure, manually and with firmware and software. improvecraft.com on how to level your print bed.
Reducing the print bed temperature is an important factor when it comes to 3D printing. If the bed is too hot, the filament with each subsequent layer. Every 3D printer is unique. Determining the best temperature is dependent on what type of 3D printer and material you will be using. You should check the 3D printer manual to see what temperature is best for your printer. You should also research the best temperature for the material you will be printing. For example, Acrylonitrile Butadiene Styrene (ABS) is a commonly used filament with 210-260 degrees Celsius recommended printing range. 3D ABS printing causes elephant foot if the printing temperature is too high.
A raft is an added layer of filament. It is printed below the base layer of your 3D model. Adding a raft to the base layer of your 3D model is typically the last resort. It uses a lot of filaments and is not cost-effective. If you are attempting to print a large amount of 3D models, a new raft will have to be produced for each design. Adding a raft is like treating the symptom, not the disease. It will temporarily prevent you from printing an elephant foot with the one design but will not fix the cause of 3D elephant footprinting. It is not a sustainable option. Instead, it is a quick fix if you do not have time to fix your printing settings.
A chamfer is a 45-degree slope that is used to adjust the model’s first crucial layers. It reduces the swelling and, therefore, prevents an elephant foot. Unlike a raft, it does not use filament materials. Using a chamfer is proven to be somewhat difficult if you do not know how to anticipate how much the base layers will enlarge precisely. It is ideal to use this technique if you do not have time to adjust your printing settings but have enough allotted time for experiencing slight trial and error.
If the nozzle is too close to the printing surface, you may need to add a Z-axis offset. Today, many printers include a Z-axis offset setting. If you increase the offset to a positive range, the nozzle lifts further from the bed. The opposite action results in the nozzle nearing the bed. It is important to have the print bed and nozzle properly calibrated. If the calibration is off, you will find an elephant foot is common in your 3D prints.
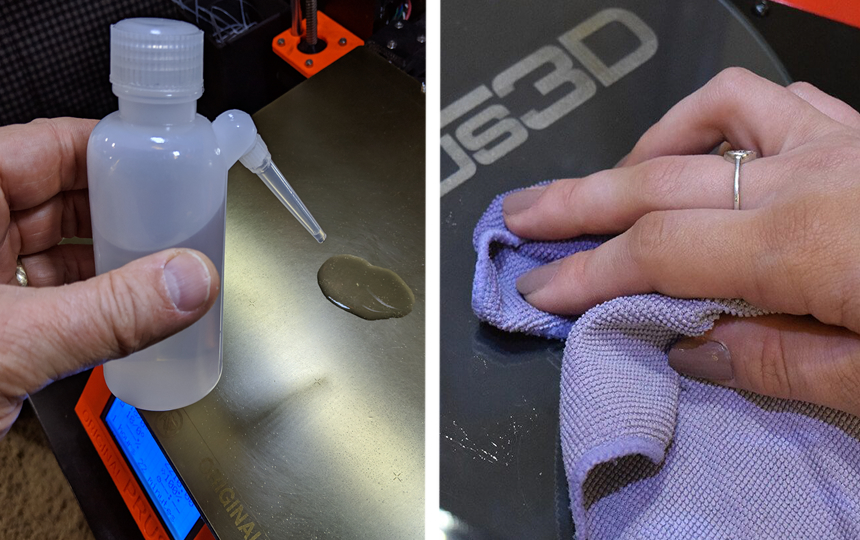
A 3D print can fail because the surface of your bed plate is not clean. You can use acetone and a cloth to clean the surface. Rustark has a great toolkit for cleaning your 3D printer. Your printer’s manual should tell you what cleaner they recommend with their product.
Z compensation settings can be adjusted by clicking printer tools and settings. Compensation settings change the distance between the nozzle and material based on the number of layers. Z compensation settings work great for most filaments. If parts of your 3D print are less than 0.1mm thick, it is recommended to use 0 Z compensation.
In summary, preventing printing, an elephant foot comes down to the four following factors:
If you find your 3D prints have an elephant foot after addressing these four areas, you should consider having a professional technician assist you. In the interim, you can use a raft or a chamfer to assist you in printing the perfect 3D models.
3D printing is an art. There is not any quick trick that will remedy the problem. There are, however, precautionary measures you can take to execute flawless printing.
A 3D printing elephant foot is a common error that can easily be remedied. Before using a 3D printer, you should always read the model’s instructions. It will include the ins and outs on how to print 3D models to perfection. Each 3D printer model is different.
Equally, different 3D printing materials expand at different temperatures. A 3D printing elephant foot may result because you did not allow adequate cooling time. Depending on the use of your product, you will need to use different filaments. You should research the popular materials used for your industry and read how people have printed successfully with them.