3D printers have come a long way from the first one that was built back in the 1980s. While they have fortunately become more affordable and more widely available, some 3D printing enthusiasts are interested in learning how to make a 3D printer all on their own.
To build a 3D printer from scratch, you will need to collect several materials and be prepared for a time-consuming task. You will need to have plenty of patience and take the time to research exactly how to assemble a 3D printer. The good news is there are several online tutorials and videos available to help you make a homemade 3D printer in a fun and affordable manner.
The 3D printer craze Trusted Source 3D printing: 'You can make any product in any location' 3D printing in metal has been happening for years. But now a company in the US is pioneering techniques to mass produce essential parts for machines more quickly and cheaply. www.bbc.com has been a great advancement for many industries, including architecture and medicine. It has helped with making high-quality casts and molds used by doctors as well as allowing those involved in architecture and construction to configure their next building projects with highly detailed 3D models.
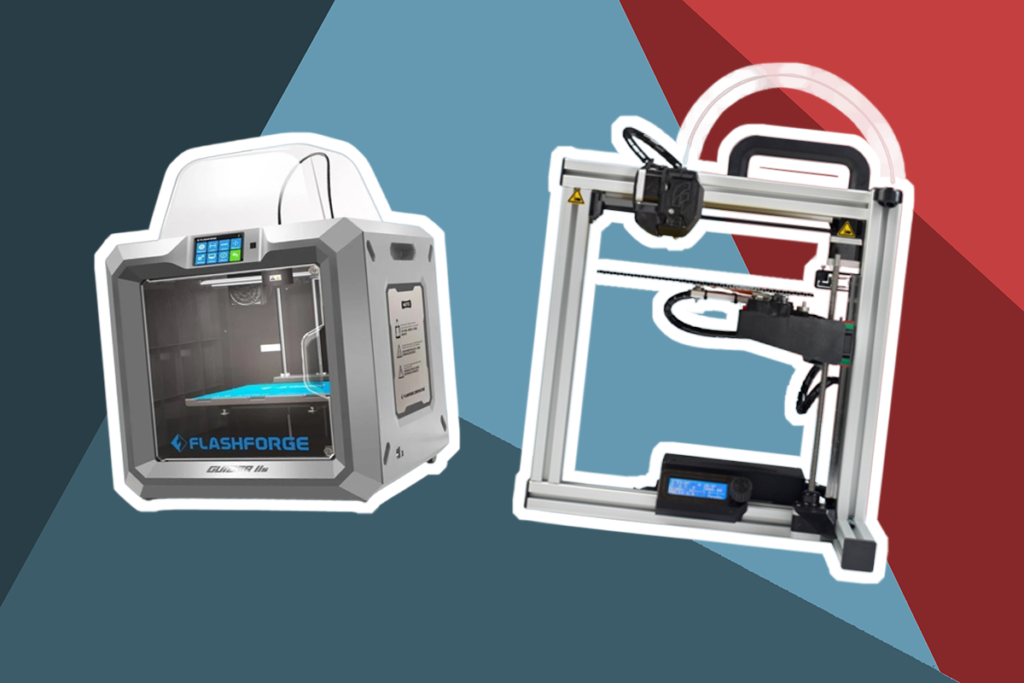
If you are interested in 3D printing to create molds, models, and lithophanes, you are probably aware that the higher-end printers can cost upwards of $5,000. But what you may not already know is how simple and easy it can be to make a 3D printer at home cheap. Building your own 3D printer from scratch will require some time and effort, but it can also be much more affordable than purchasing a fully assembled machine. Also, whenever you build a 3D printer, the process will allow you to learn more about how the printer functions and the many different options available to you for customization.
There are two ways you can build a 3D printer at home. You can build one from scratch or by using an Arduino KIT.
To build a 3D printer using an Arduino KIT, the first thing you will need to do is order your kit. There are several kits available, so you will need to do your research and read up on reviews to determine which kit will provide you with the best results. These kits contain all the parts you will need to complete your project, so you do not need to purchase any additional tools or supplies.
Another benefit of using a kit is that you don’t have to worry about matching voltage requirements or making sure all the components will work. After the printer is assembled, you will need to level the bed to ensure you get a successful print. Then find the best software to use for your 3D printing needs.
Keep in mind that it can still be a very time-consuming process building a 3D printer, even with a kit. And if you are not an expert in building technological products, you will likely make some mistakes along the way. Be patient with the process and with yourself.
To build a 3D printer from scratch, you will need the following supplies.
Many 3D printer enthusiasts Trusted Source 3D printing enthusiasts are making ventilator supplies at home - CNN For weeks, Christian Parker has been working to save lives across the United States from his home in Washington state using a 3D printer and a blueprint for a small, Y-shaped piece of plastic. www.cnn.com claim that building their own printer from scratch is more fun than building one from a KIT. But if you are new to this type of technology project, using a KIT may make the task less stressful.
When getting ready to start working on building your 3D printer from scratch, you will need to determine a few important factors
Once you have decided on all the specifications for your 3D printer, you will need to gather all the parts needed. The basic parts you will need include the Controller, Stepper Motors, Print Head, End Stops, Print Bed, Power Supply, and Printer Frame. We will discuss more details about the specifications and the parts needed below.
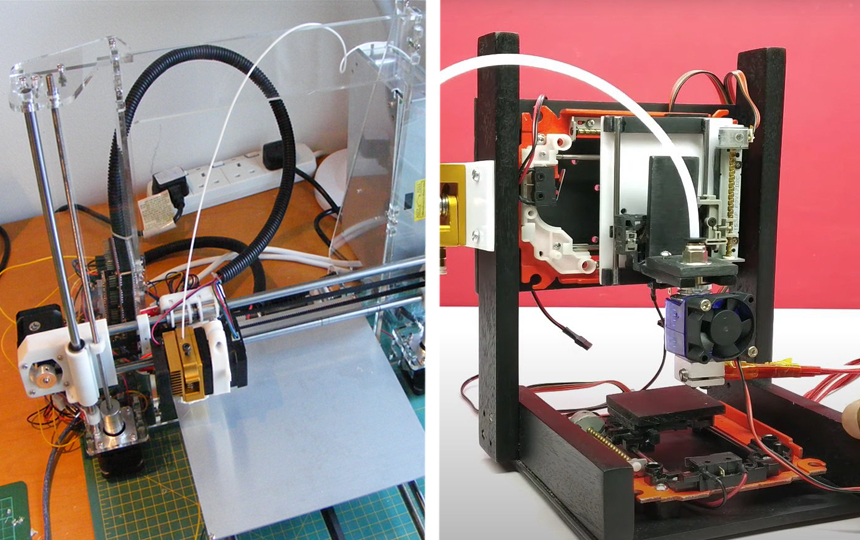
If you have decided to build your 3D printer from scratch, you have come to the right place. Here we have put together a step-by-step guide filled with details on how to build a 3D printer of your very own.
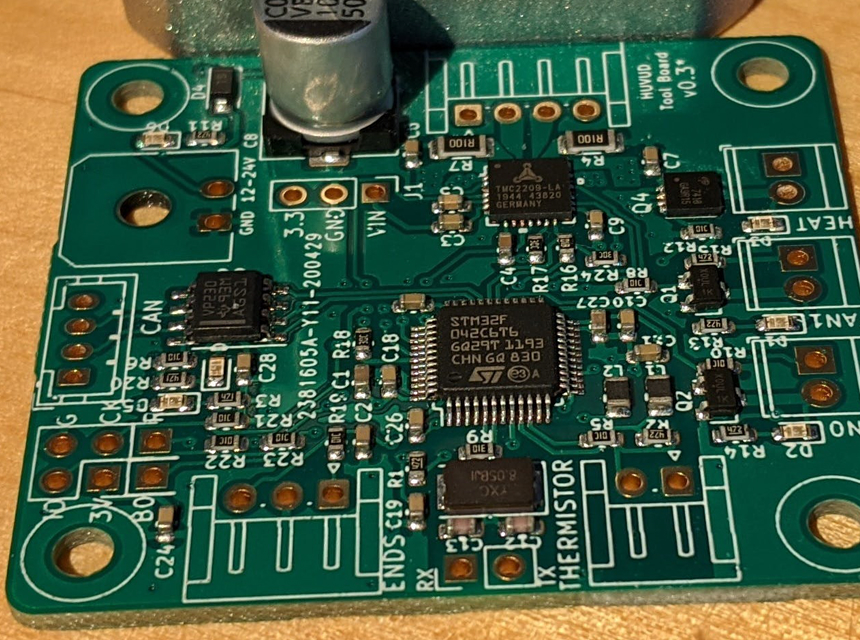
A control board is made up of two main components, a circuit board and a microcontroller. These components can be used as separate units, or they can be combined as one board. Both will work to control and distribute power to all other components within the printer.
The control board is often referred to as the brains of the printer since, without it, nothing else would be able to function. Although there are several control boards out there for you to purchase, they all perform the same way. The primary difference between them would include their cost, reliability, features, and capabilities.
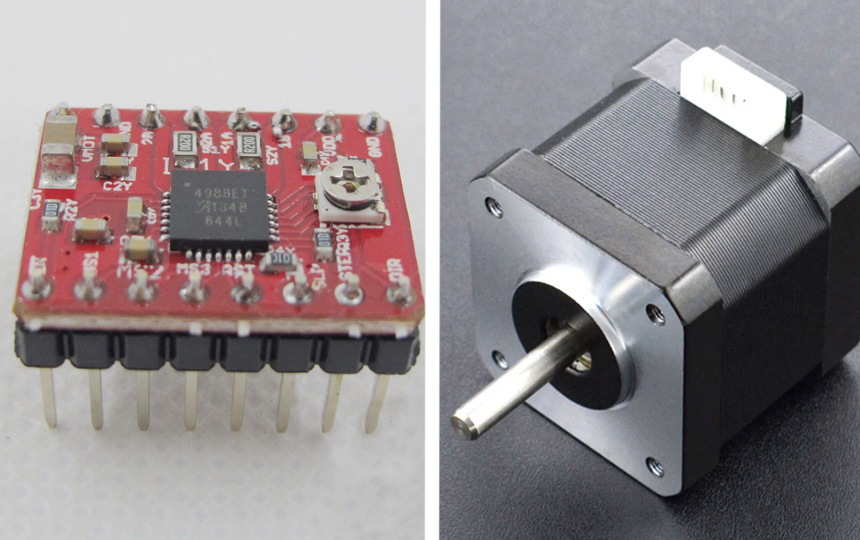
One of the main components required for the outcome of your prints is the stepper motor driver. The stepper motors for a 3D printer must be controlled accurately to create a high-quality print. TI allows the motor to be positioned in the precise location for the best outcome.
You will need to purchase at least four stepper motors when building your printer. You will need one for each of the X and Y axis and two for the Z-axis. You will also need at least one motor for each extruder. It will take some time to get all your motors working correctly, and most people will not get it right on their first try. You will need to adjust the potentiometer located on the top of the motor driver so that it matches the motor current.
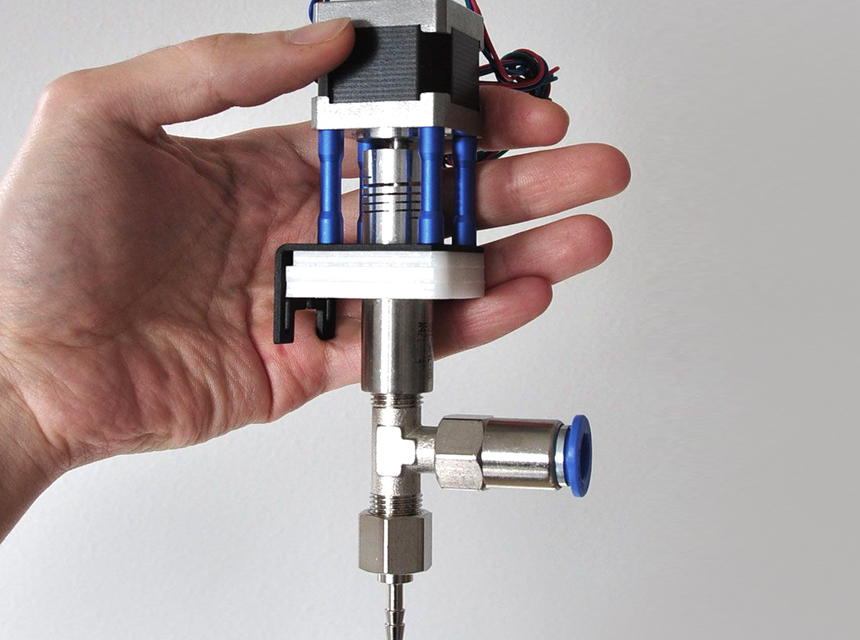
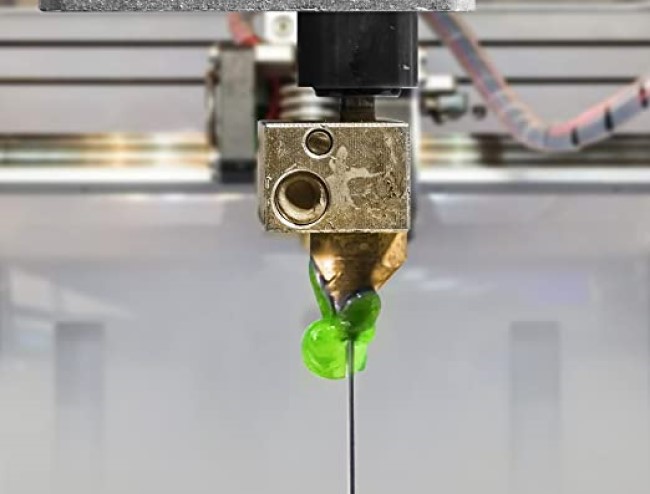
The print head is made up of several components, including the extruder, sensor, fan, and element. When building your own 3D printer, you can choose to use either a direct extruder which means the motor is on the extruder, or you can opt to use a Bowden extruder, meaning the motor is on the frame. Either type will work fine, and you should choose the one that meets your own 3D printing needs. It is highly recommended that you also include a fan.
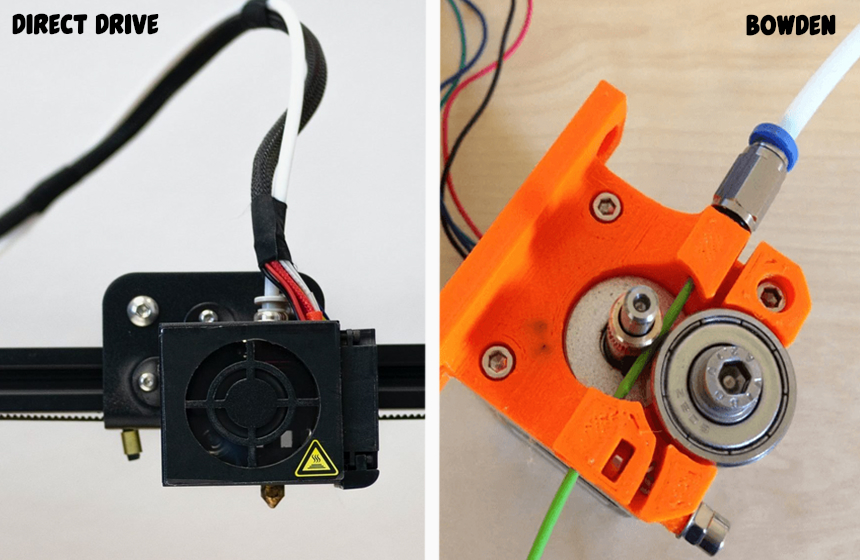
There are two types of extruders you can use in your homemade 3D printer. As discussed above, these are direct drive and Bowden extruders.
The extruder is typically mounted on the printer frame when using a Bowden system. The extruder is mounted on the printer head with a direct drive, allowing it to push the filament directly into the hot end. This allows the filament to travel through the PTEE tube before it reaches the hot end.
You will get the same outcome with both the direct drive and the Bowden. However, there are some advantages and disadvantages to each design.
A direct drive extruder can provide you with better retraction and a wider range of filaments you can use. But maintenance on this type of extruder can be difficult at times, and the vibrations could cause the X and Y movements to be less accurate.
The Bowden System extruders can provide larger build volume and cleaner movements during the printing process. But since it must push and pull the filament through a tube, you will need a more powerful motor, and you should also expect a slower response time.
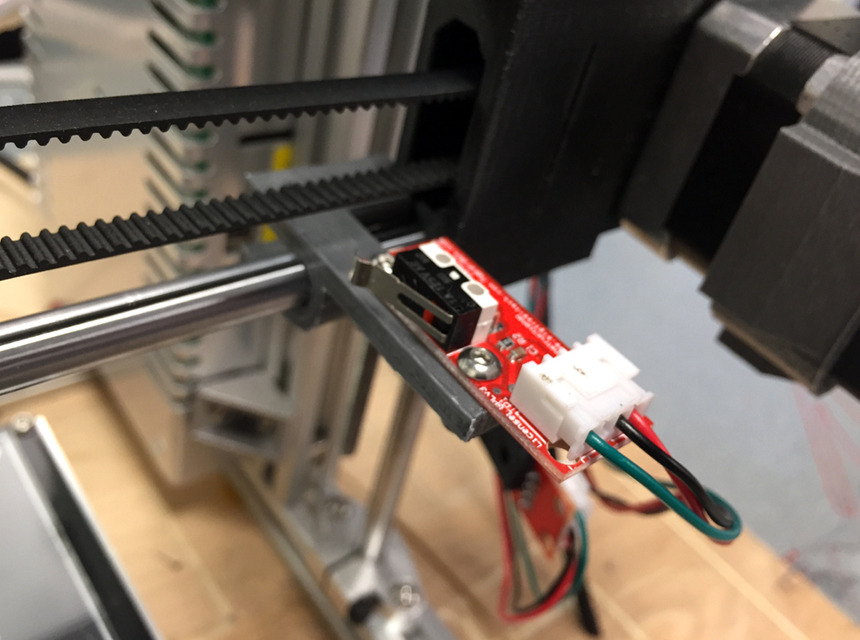
The end stops are the components needed to ensure that the print head stops in a given direction. This sensing is achieved either magnetically, optically, or mechanically. Most 3D printers will use either an optical or mechanical switch.
The origin or 0,0,0 home position is the starting point for the printer head movement. The end stops are always placed at the zero position of each axis. This ensures that the printer head understands what to do when it reaches the zero point.
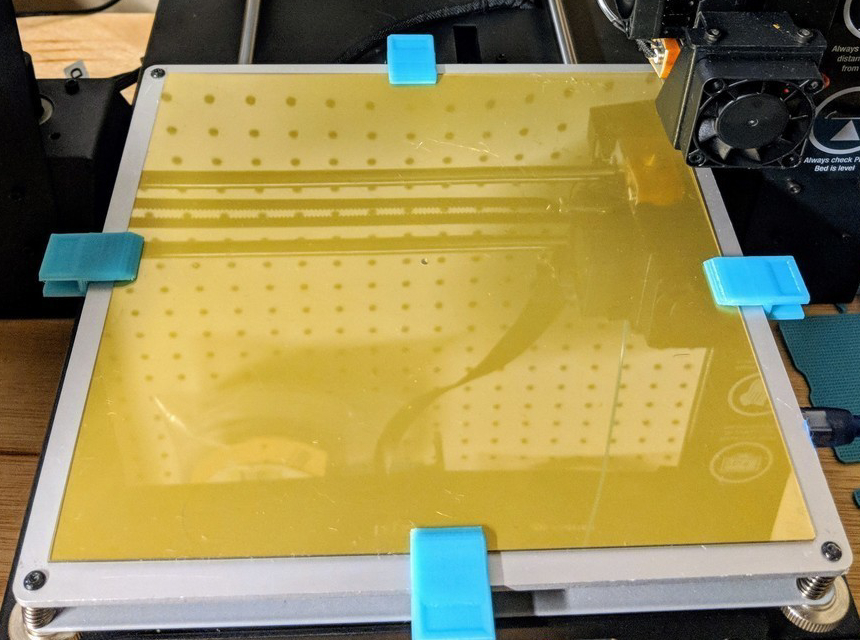
The printing bed is a flat surface that offers adhesion for your final print. Some of the most popular options for print beds include using a glass plate or a flexible sheet such as BuildTeks FlexPlate.
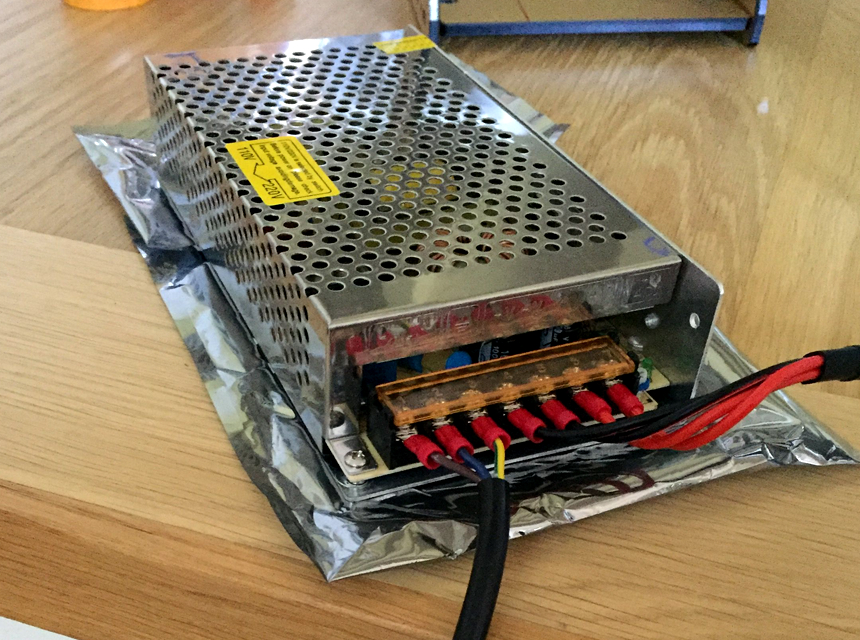
The minimal power supply for most 3D printers is 12V/20A. However, you can calculate the exact level of power you suspect you will need for your printing projects. In most cases, 12 volts are enough for printing 1.75mm PLA filament, while 24 volts are best for printing 3mm ABS filament.
When choosing your power supply, be sure that all your other 3D printer parts, including your fan, bed, and extruders, are designed to work with the same voltage.
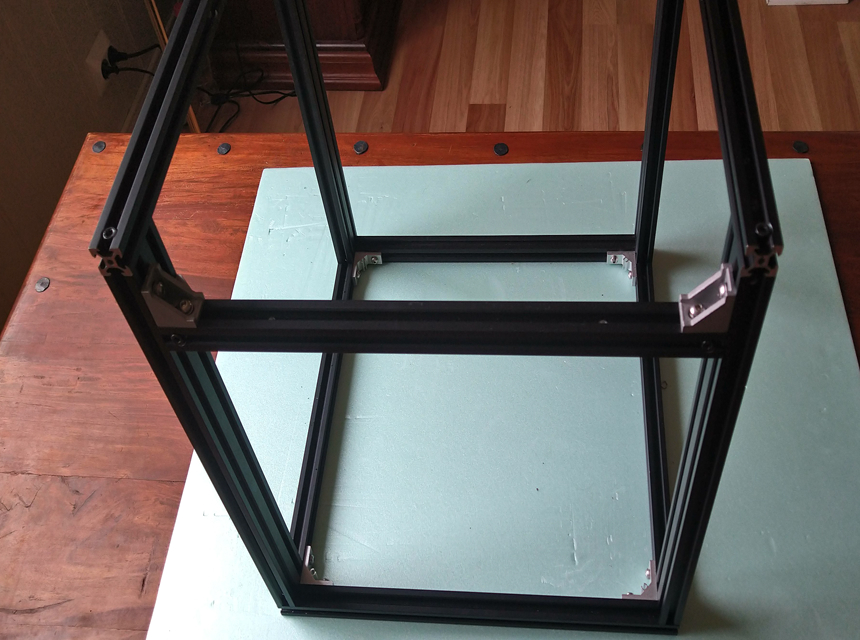
You can purchase a standard printer frame from most retailers that sell 3D printing supplies. Or, if you are feeling creative, you can design and create a custom frame yourself to give your 3D printer a unique touch.
There are several safety tips you should keep in mind when using a 3D printer. These tips can be useful whether you are using a 3D printer you purchased fully assembled or if you have decided to build your own 3D printer from scratch.
3D printers work using extremely high temperatures everywhere, from the printing surface to the hot end. The filament that is used with these printers is melted down so they can take shape you desire to print. The printer’s hot end that heats the filament can run at a temperature of 90 to 300 C+.
To minimize burn risks, you should do the following.
When building your own 3D printer at home, you have the option to use the standard 12V power source or upgrade to something that will provide you with more energy. If you do not have much experience with this type of DIY work, you need to be aware of the dangers of electric shock. Always follow the instructions when installing a power source on your printer and look up helpful how-to videos for more information if needed.
While the risk of fire is minimal with 3D printers, there have been some incidents where these machines caught on fire during use. Be sure always to place your printer away from flammable materials. You should fireproof the area around the machine to ensure nothing catches fire. It may also be a good idea to install a smoke detector in the area where you plan to use the printer the most.
Choosing the right software for your 3D printer is another important thing to keep in mind. Most 3D printer kits will come with a default program for you to use. But most users will want to add on additional firmware or software. There are many options for free downloads online that you can use to improve your printer’s capabilities and performance.
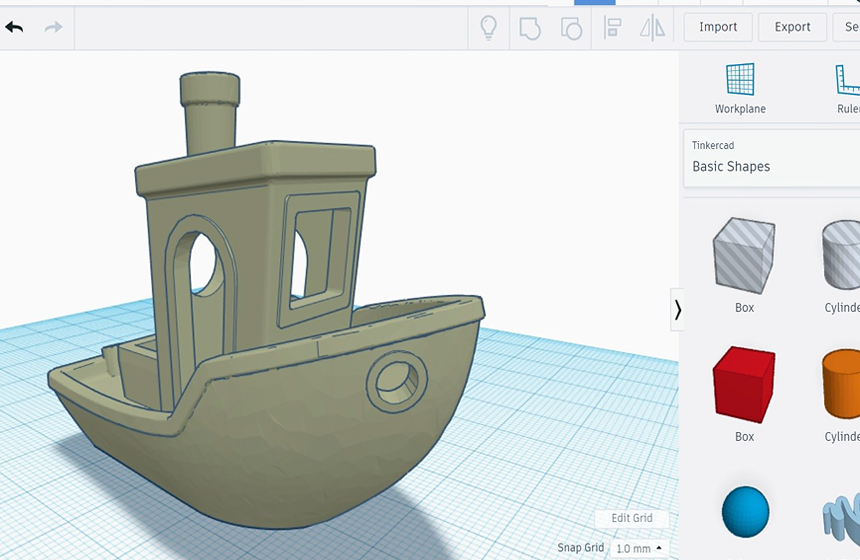
Computer-Aided Design, also known as CAD, is software used to generate a virtual 2D or 3D model you want to create. Most 2D CAD designs are used for technical, engineering, or architectural purposes, while the 3D models are used for either digital applications such as animation or prototyping processes.
Also known as slicing software, the slicer is computer software used for most 3D printing projects. It allows for the conversion of a 3D object model to be understood by the printer.
Firmware is the software that runs on a 3D printer’s microcontroller. It works to translate the contents of the G-code into electric signals. These signals work to either activate or deactivate the printer’s components.
There are several advantages and disadvantages to consider when it comes to building your own 3D printer. Here we will take a look at the benefits of this type of DIY project and what disadvantages you should know about as well.
When making your own 3D printer, you have the option to purchase an assembly kit or do it yourself from scratch. While it may take less time to build a printer using a kit, and it can be more convenient, you will have the option to customize your printer if you do the job all on your own. Plus, you will also gain a better understanding of your printer’s inner workings, which can make things much easier if you ever need to repair or replace a part.
We hope this guide for how to make a 3D printer has helped you understand more about the process of building a 3D printer from scratch. While it can be time-consuming, building your own printer can help save you money while it also familiarizes you with the interior technology of the printer.