
While it is sometimes exciting waiting for several days to see the result of your 3D printing Trusted Source 3D printing - Wikipedia 3D printing, or additive manufacturing, is the construction of a three-dimensional object from a CAD model or a digital 3D model. The term “3D printing” can refer to a variety of processes in which material is deposited, joined or solidified under computer control to create a three-dimensional object, with material being added together (such as plastics, liquids or powder grains being fused together), typically layer by layer. en.wikipedia.org , sometimes you just don’t want to wait. Whether you are a hobbyist or a professional, you might have thought of ways to increase the speed of your printer. In this post, we reveal several tips on how to speed up 3D printing. These tips come in pretty handy, and what is more, they do not cause damage to your equipment.
There are several advantages that 3D printing offers over other forms of printing. However, one of the drawbacks most people complain about is the speed of operation. But do not fret; we will show you how to make your printer go faster. We will also consider other important information that you need to know before you make your printer go turbo.
Before we delve into how to make your printer faster, it only stands to reason that we see the factors that contribute to the speed of the printer. When you know the factors, then we can tweak them to increase our printing speed.
The speed of your printer is affected by certain unique factors. Some of these include the:
All of these are rather straightforward to understand. In addition to the factors listed above, another thing that might have an impact on the printing speed of the machine might be additive manufacturing technologies. Some of these are:
Out of all the important factors that affect your speed, professionals believe that the orientation of parts and the amount of material to be printed are the most important. No surprise then that a larger model will take longer to print.
You can check out some of the best printers for cosplay over here.
Now that we know the factors that come into play as you print let’s now consider the basics of printing speed on your printer. Here we will consider some of the important terminologies that you need to know in printing. It will make it easier for you to understand what we mean later when we provide you with the tips required to boost your speed.
Another thing that you need to know when it comes to your printer’s speed is that there are different categories. From our research, we discovered that there are four main categories when it comes to printing speed.
These are:
If you are an architect looking for the best 3D printer for your work, this article reviews some of the best models on the market right now.
First of all, what does 3D printing speed even mean? In the simplest of terms, this term refers to the rate at which a 3D model is constructed.
In more technical terms, it refers to the rate at which the printer’s extruder deposits printing material on the bed to form the 3D object that you want. The speed is measured in millimeters per second. Most of the manufacturers on the market provide the estimated speeds of their machines on their products’ packaging.
All printers have a printing speed, and although there are tips that can help you to increase the speed, there are limitations that the machine cannot exceed.
Another term that you need to keep in mind through this article is the travel speed of the printer. What does it mean? The travel speed simply means the speed at which the machine’s print head moves when it isn’t extruding material.
If the travel speed is too slow, you might experience stringing on the printout. Most of the time, manufacturers set the travel speed to around 80 mm/s. If you try it out at this speed and discover stringing, then you can increase the travel speed.
This is the machine’s base speed, and when you increase this speed, it has a good effect on the time that it takes to print. You will enjoy much faster speeds. However, there is a downside. When done incorrectly, you might have misaligned layers on your model.
Of the terms that you need to know, retraction and retraction speed are very important. Retraction refers to the recoil movement of the filament. This feature is important when printing because it will help to prevent dripping of the material as it moves and is displaced.
Some of the factors that affect retraction in your printing are the retraction distance, minim displacement, and of course, the retraction speed.
The retraction speed is the speed at which the machine’s extruder drives back the filament. When using the retraction speed in printing, it is vital that you are wary of high speeds. If the speed is too high, the filament might be marked or defaced in such a way that you cannot use it anymore. Check out some of the best filaments for printing here.
However, at the right speeds, usually around 70 mm/s, you should get the best performance in terms of retraction.
With all of these terms in mind, how can you safely speed up your printer without losing your work quality? This section is the thrust of our article and will give you several helpful tips.
While the speed of the 3D printer is one of the drawbacks that it has, using algorithms can help to boost the speed and make these machines more enjoyable to use. Engineers have created algorithms that can compensate for the vibrations and speeds of your printer.
The algorithms were borne from the fact that most manufacturers use cheap parts to make the printers. Therefore, the cheap parts do not offer the same level of durability as more expensive options. With this in mind, the FBS algorithms were created. These compensate for the low quality and speeds that are common to printers with cheaper parts. To work effectively, the algorithms create a copy of the machine’s dynamics and modify the control of the printer. Among the several advantages of this is the reduction of vibrations in the system.
These free algorithms, when implemented in your printer, offer you a way of printing faster.
These algorithms’ major advantage is that they don’t come with the side-effects common with increased speeds. You will still get the best quality from the printer. Not only does it make your printer faster, but it makes it safer to use and gives you more consistent results.
When looking to increase the speed of your 3D printer, the slicer settings are most likely the first place that you checked. And that makes sense. Apart from the other settings found there, you will also discover the ability to increase the speed of the slicer.
Note, though, that increasing the slicer settings’ speed will not give you the upgrade that you desire as it only increases the speed by a little bit. However, it will still come in useful when combined with the other tips that we will provide.
The slicer speed settings are most helpful when you are printing large objects. With these larger objects, you are more likely to see a significant increase in speed.
Another good thing about the settings is that it allows you to keep an eye on the quality of the models you are printing. You can increase the speed in small increments and see the effects that it has on your model. If you are not satisfied, you can either increase or decrease this speed.
When checking out this setting, we recommend that you adjust all the settings, including the infill, support material, and perimeters.
One of the best 3D printers that offer you adjustable speeds is the Creality Ender 5 Pro printer. It gives you reliable and quiet printing performance and speed.
Another tip that will help to increase your printer’s speed is changing the infill pattern. The infill settings on the printer contain loads of infill patterns and choosing the right pattern can be the difference between a slow printing speed and a faster one.
Therefore, check out the patterns and choose one that will print faster than the others and will save you time.
We believe that the rectilinear pattern offers you the fastest returns on your printing from what we have tried so far. It is straightforward and does not need plenty of movement before it gets the work done. It can do the printing in the quarter of the time.
Note, though, that they are several patterns that are stronger than it. Therefore, if strength is an important consideration for you, then you might have to choose some other pattern. But if speed is what you are after, there are no options better than this pattern.
A good option that balances speed and strength is the grid pattern. It will give good strength while being quick to print.
However, even if you are using a pattern that isn’t that strong, you can make it stronger if you increase the extrusion width of your slicer then include walls in the model.
Apart from changing the infill pattern, another tip on reducing printing speeds is reducing your infill density. The infill density depends on what you are aiming for. If your model has no infill density, then it will be hollow. On the other hand, an infill density of 100% will result in a model that is completely solid.
The advantage of using no infill is rather clear. Since there is less material used, your printer will spend even less time on finishing the print. But most people will not create a hollow model. So what can you do?
What you can do is balance the infill density to the requirements of the model. If the print you have on hand is built to serve as a support, you certainly will not print something hollow just because you don’t want to spend time on printing,
However, if the model is simply for show, then it doesn’t really matter whether it is hollow or not. You can choose to have it hollow and save time on printing.
To strike a balance, we recommend that you have an infill density of about 25% for your models. You can also adjust the patterns so that you can still have good strength despite the hollowness of the model.
One of the factors that affect the speed of your printing is the height of the layers. Therefore, adjusting the layer settings can either speed up or reduce printing speed. The layer heights can be adjusted automatically depending on the angle of the layer.
You can find these settings in different software. When done correctly, it works to increase the printing speed and saves you loads of time when it comes to layering. Traditionally, layering is one of the more time-consuming aspects of printing. However, with the adjustments in the height, you can speed it up significantly.
The success of this method is dependent on the model you are working on. It relies on the significant curves and variations of the area you are constructing. Thus, when you use this method, the printer might print thinner or thicker layers depending on where you are working on.
During our testing, we saw that areas with curves have thinner layers; however, they still look very smooth and nice.
The main advantage of having adaptive layer settings is that you save material while speeding up printing time. With this setting in place, the printer optimizes the layer height. Instead of using a common layer setting for all parts of the model, the machine adapts to give you the best finish in the fastest time.
Th video below shows and explains the advanced settings in Cura you can apply to speed up the 3D printing process.
Batch production can save you a lot of time. It makes sense when you consider it. The time that the printer will use in printing a single item can be used to print several items in a single batch.
So, check out your printer to see whether you can have it print out more than one part at a go. If that is the case with the model you have, then don’t keep it empty but take advantage of that feature. By using as much space as you can in a go, you can complete the job pretty quickly.
For example, you can use this feature by using the center and the function of the slicer. Using the center and slicer will increase your speed of printing.
Apart from the obvious advantage that comes from printing more than one part at a go, there are some other practical advantages. For one, you don’t have to frequently reset the settings on the printer. You can use the same heat for the different parts.
However, note that doing this might not be practical with large 3D objects. It will not work correctly. But if you try it will smaller objects, then you should have an easy time duplicating the model and printing them together.
Some practical ways you can take advantage of this is by fiddling with the orientation to determine which one will get the optimal fit. If you opt to use this tip to increase the speed, please keep in mind that the more supports you require, the more time it will take to print.
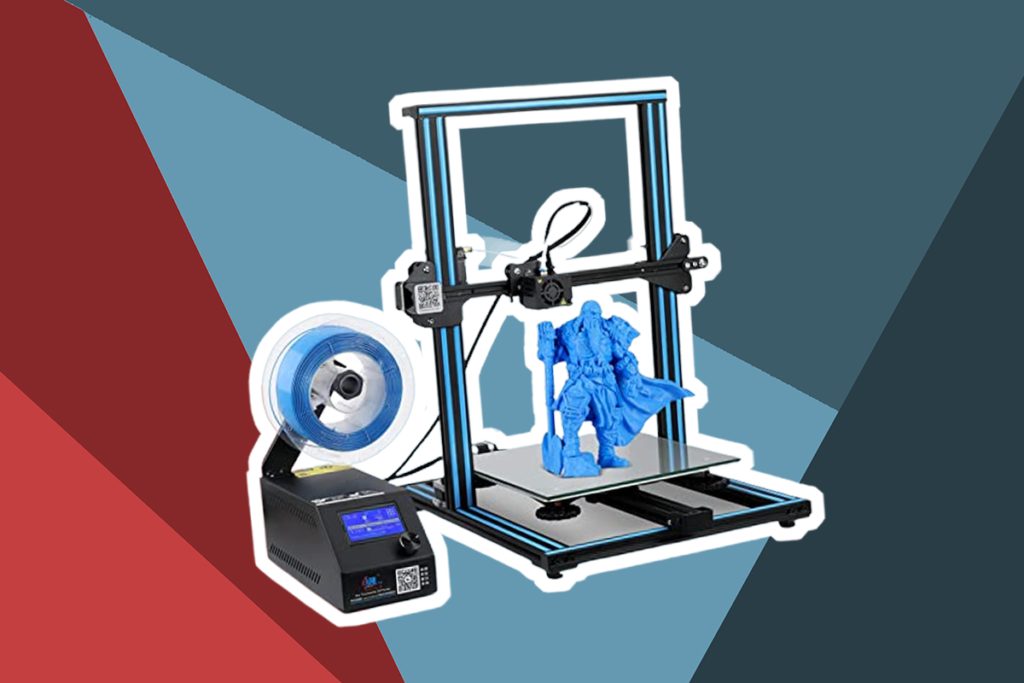
Reviews indicate that the Creality Printer is one of the best for printing different parts of a model due to its design and size.
Therefore, use this tip while keeping in mind the other tips that we have discussed.
The methods that we have listed above are great and will not cause a drop in the quality of your print. However, sometimes you just want to complete a print as quickly as possible and do not mind the drop in quality. If that is the case, then these are some of the tips that can help you go faster without regard for the quality.
Layer height is a factor that affects the speed of your printing. If you have a printer that has its nozzle replaced for a larger print head, then you certainly need to increase the layer height. This increase in layer height will increase the speed at which the machine prints the models. However, it will most likely lead to a drop in the overall quality of your prints.
For example, if you have changed the nozzle with a bigger print head, it is easy to maximize the layer height. However, the higher it is, the less the detailing on the job. You will observe that the layers will be thinner.
But since your work would be faster, you might not be bothered about this change in height.
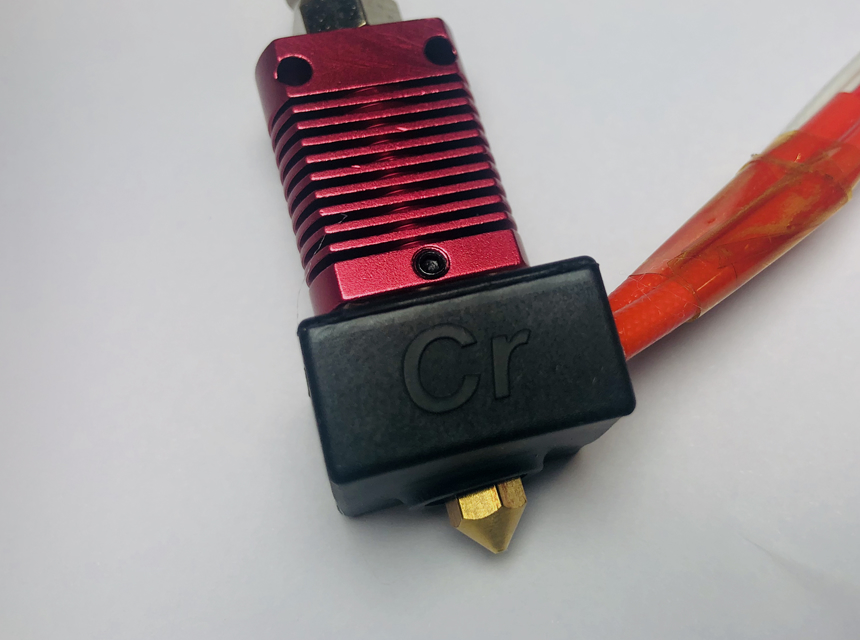
A bigger nozzle is one of the more effective means of speeding up the printing. The major advantage of using a bigger nozzle is that it will help you to print models, especially large ones, with remarkable speed. However, if you change to a bigger nozzle, you will have to sacrifice the accuracy of your print.
The standard nozzle size ranges between 0.2 to 0.4 mm. However, you can go even larger.
The jerk settings determine how quickly the print head moves. Moving smoothly is the ideal recommendation. However, if you are after speed, you might not be too concerned about smooth movement.
Fiddling with the jerk settings will make the print head move faster. The downside is that you have a lower quality of print, and the printer might even develop some mechanical issues.
The acceleration settings are part of the jerk settings and will also need adjustments if you are to get the best speed. These settings control how fast the print head reaches top speed. If you are a bit concerned about the quality of your prints, you can strike a balance between the jerk and acceleration settings. This will increase the speed without affecting the machine too drastically.
Supports are great at helping you boost the quality of your prints. They come in handy when you are printing a model that is complex in design. However, they can increase the time it takes to print. If you want to boost print time, then you can remove supports from your work. Learning how to print without supports is a skill that can greatly increase the speed of your work.
3D printing is an exciting technology that offers many applications. Many use it today instead of traditional printing methods. Although there are numerous advantages and applications, one downside is the slow speed of creating models. This article has shown you that that does not have to be the case. There are several tips that, when put into practice, can help to increase the speed of your printer without losing quality. We have also considered some tips that will boost speed but at the expense of quality.
Consider these tips on how to speed up 3D printing and use those that offer what you desire. With the right tools and tips, you can choose to get the most out of your 3D printer. Happy printing!
